
Table of Contents
1. Install JDK
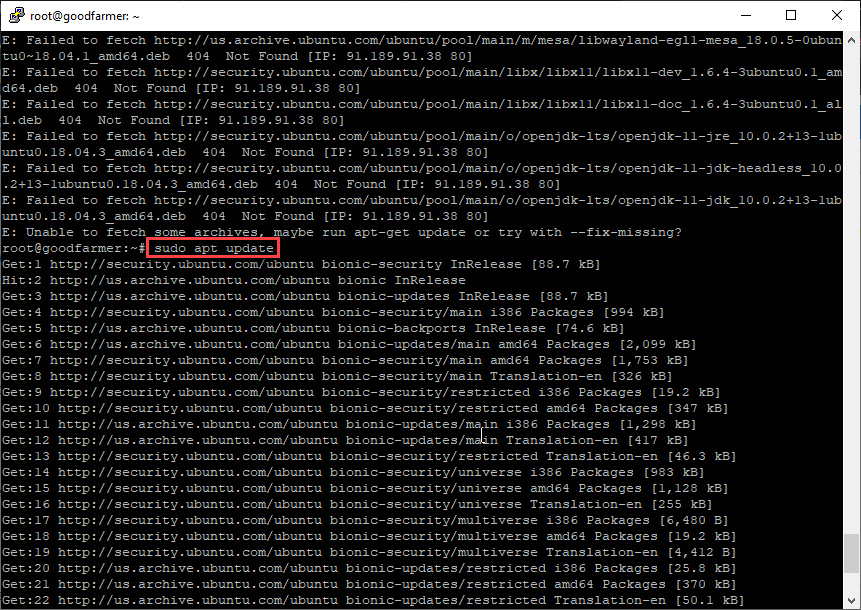
Run terminal with command to update:
sudo apt update
Run terminal with command to upgrade:
sudo apt upgrade
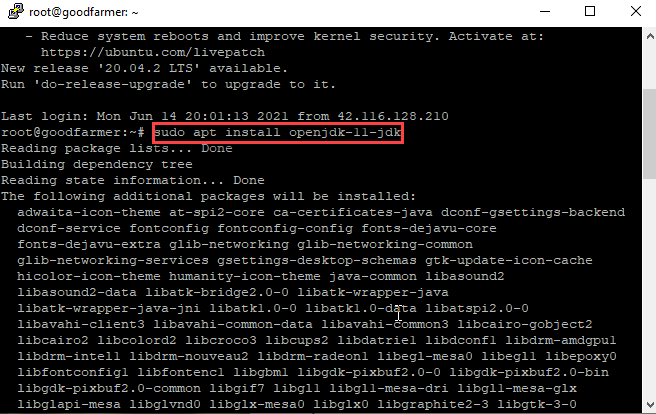
Run command to setup JDK:
sudo apt install openjdk-11-jdk
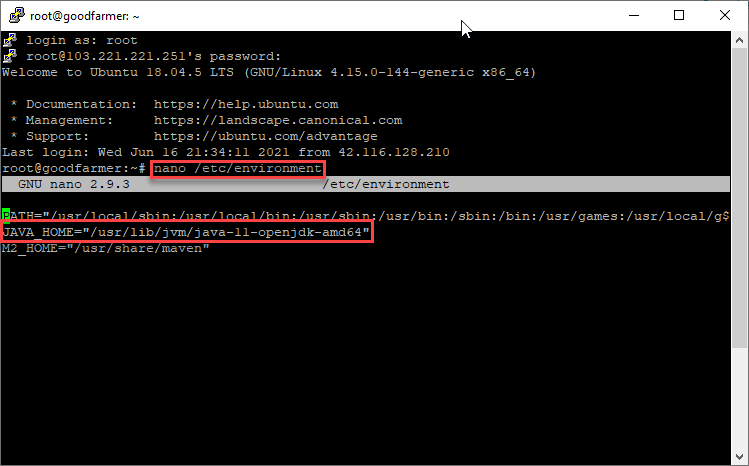
Setup enviroment variable JAVA_HOME:
nano /etc/environment
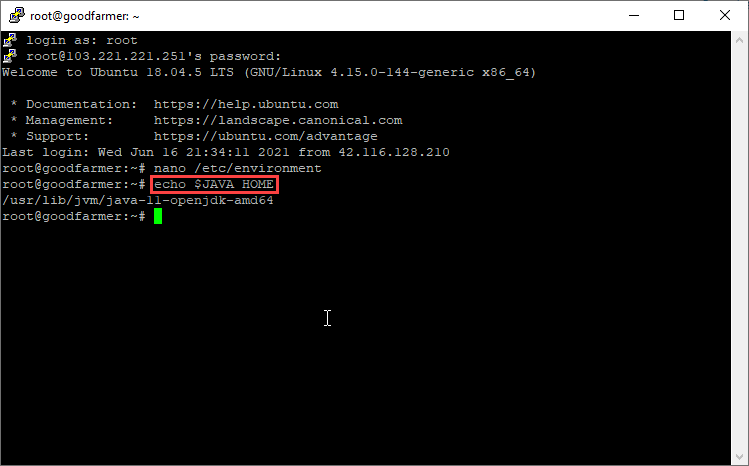
Reboot server and check JAVA_HOME variable:
echo $JAVA_HOME
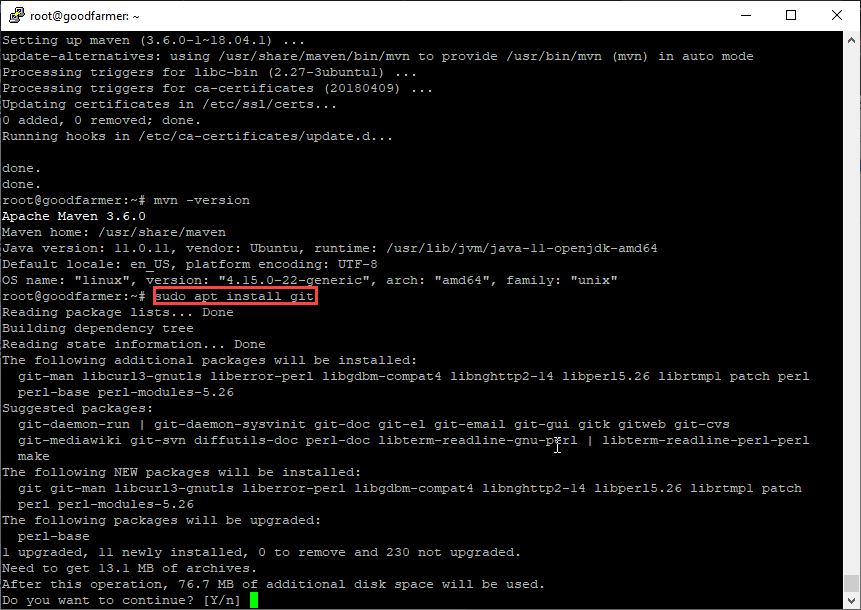
2. Install Maven
Run command to update:
sudo apt update
sudo apt install maven
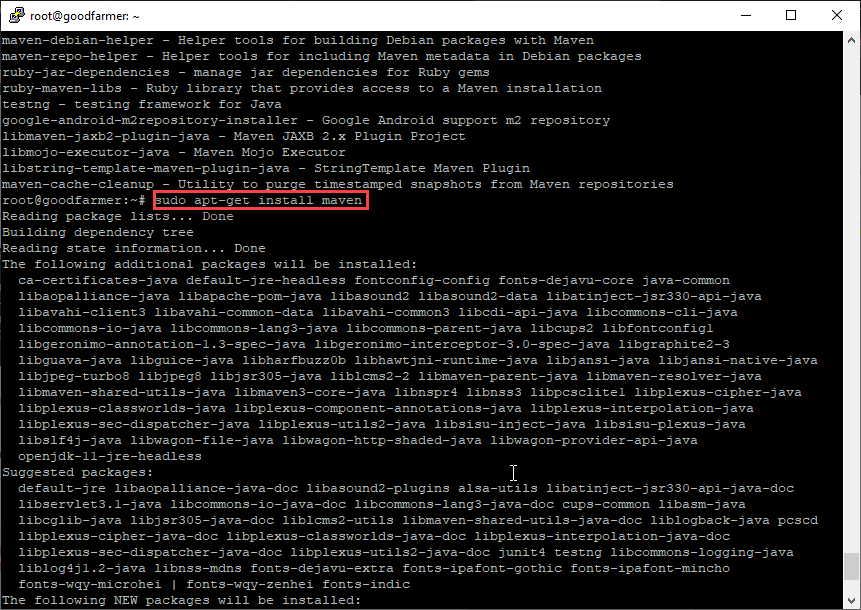
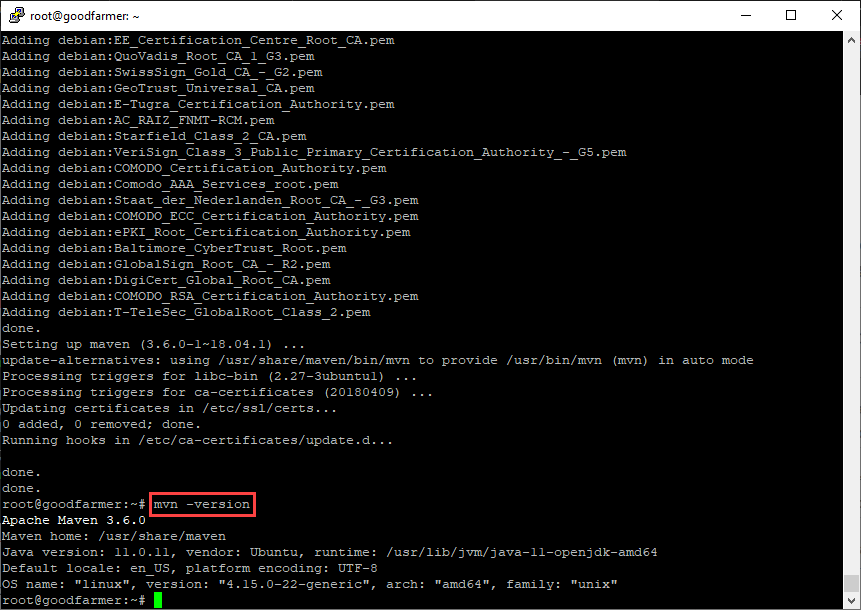
Check maven version:
mvn -version
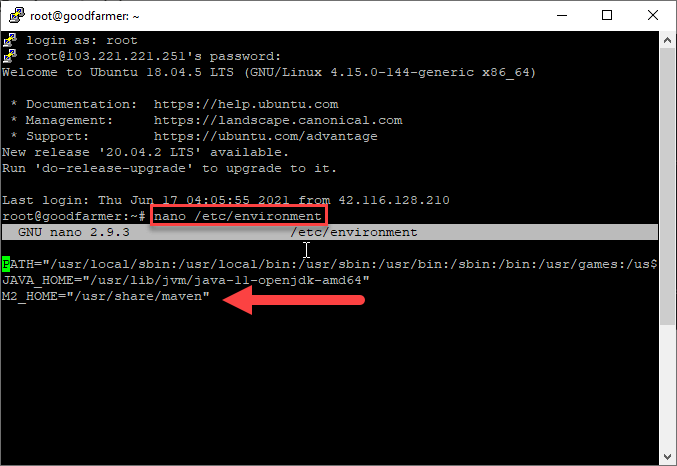
Setup enviroment varible for Maven:
nano /etc/enviroment
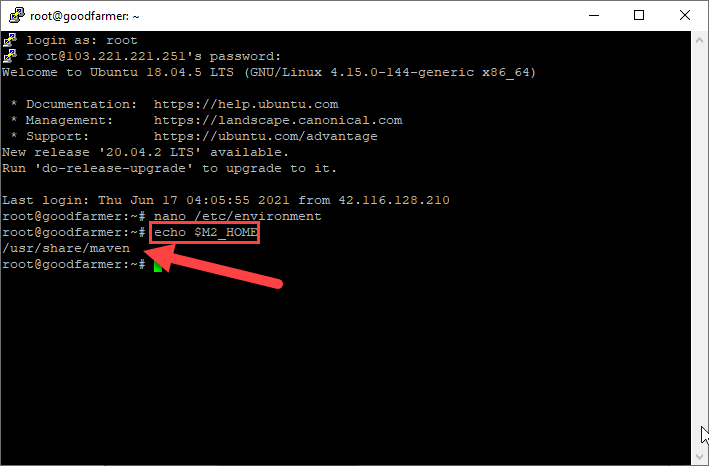
Check maven path by enviroment variable:
echo $M2_HOME
3. Install Git command:
sudo apt update
sudo apt install git
Check git version:
git --version
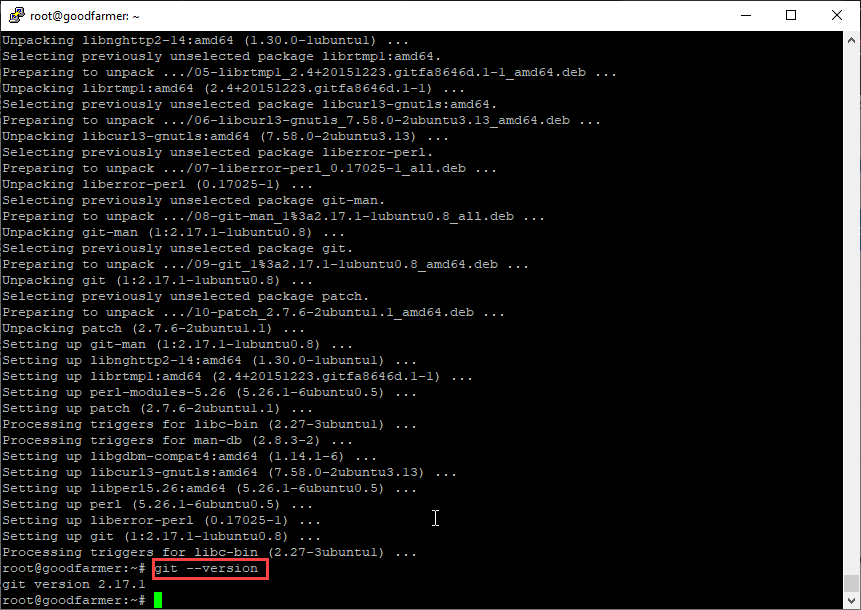
Git global config with your info:
git config --global user.name "VietMX"
git config --global user.email "maixuanviet.com@gmail.com"

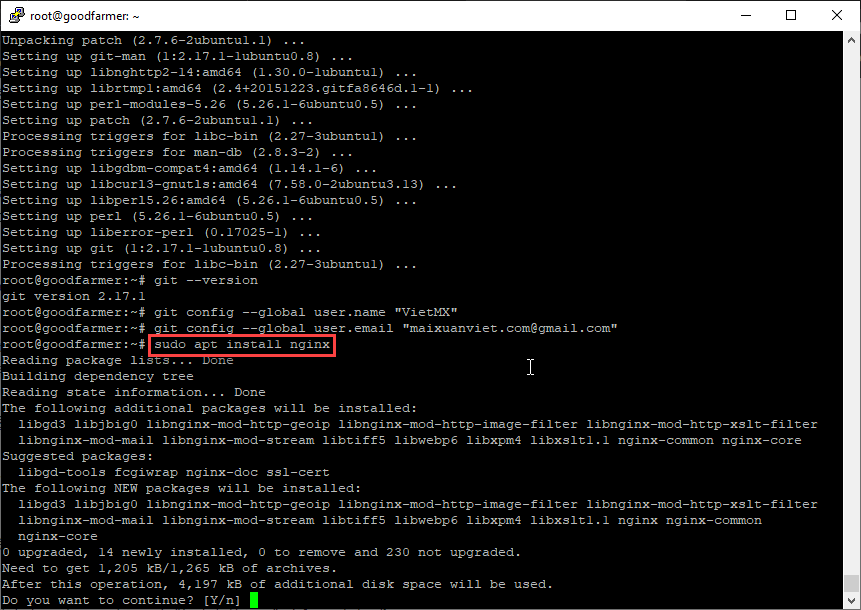
4. Install Nginx
sudo apt update
sudo apt install nginx
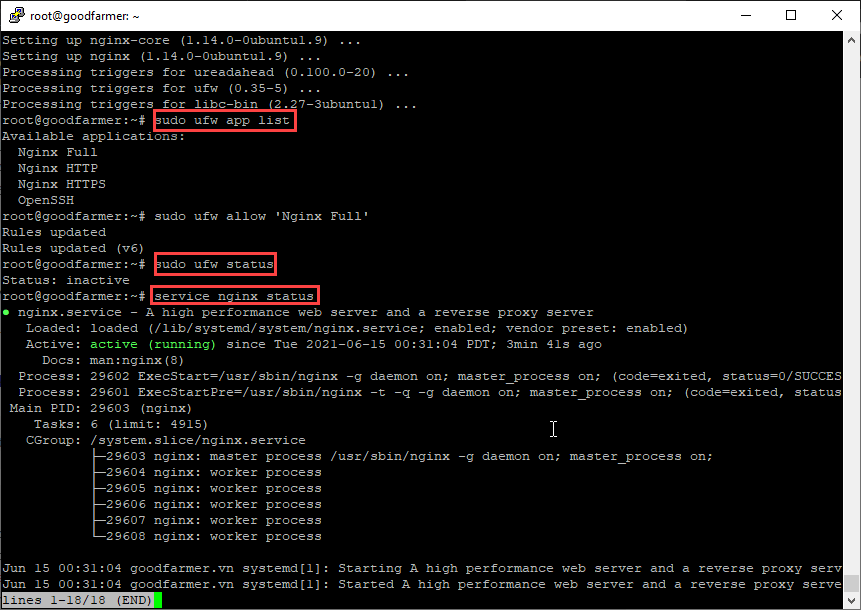
Update firewall allow nginx:
sudo ufw app list
sudo ufw allow 'Nginx Full'
sudo ufw status
service nginx status
5. Install Docker
Install necessary packages before install docker:
sudo apt update
sudo apt upgrade
sudo apt autoremove
sudo apt install apt-transport-https ca-certificates curl gnupg-agent software-properties-common -y
curl -fsSL https://download.docker.com/linux/ubuntu/gpg | sudo apt-key add -
sudo add-apt-repository "deb [arch=amd64] https://download.docker.com/linux/ubuntu $(lsb_release -cs) stable"
Install Docker with command line:
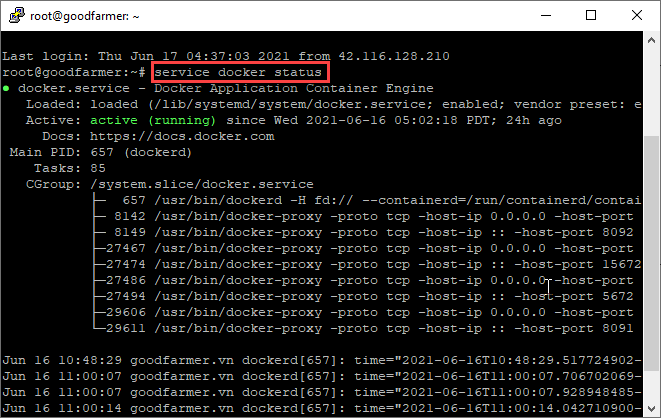
sudo apt update
sudo apt install docker-ce -y
sudo service docker status
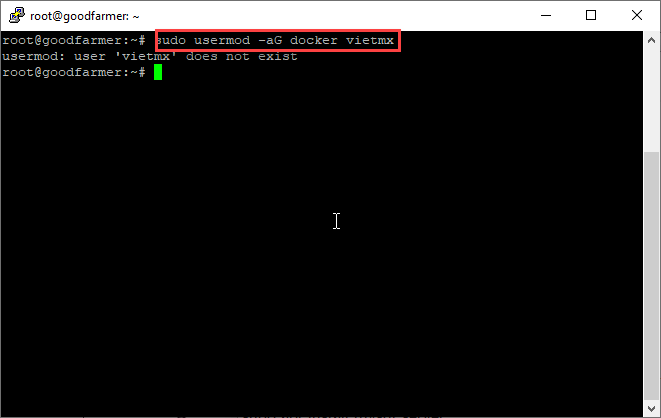
Grant permission for user (different root account):
sudo usermod -aG docker $USER
6. Install MySQL Server
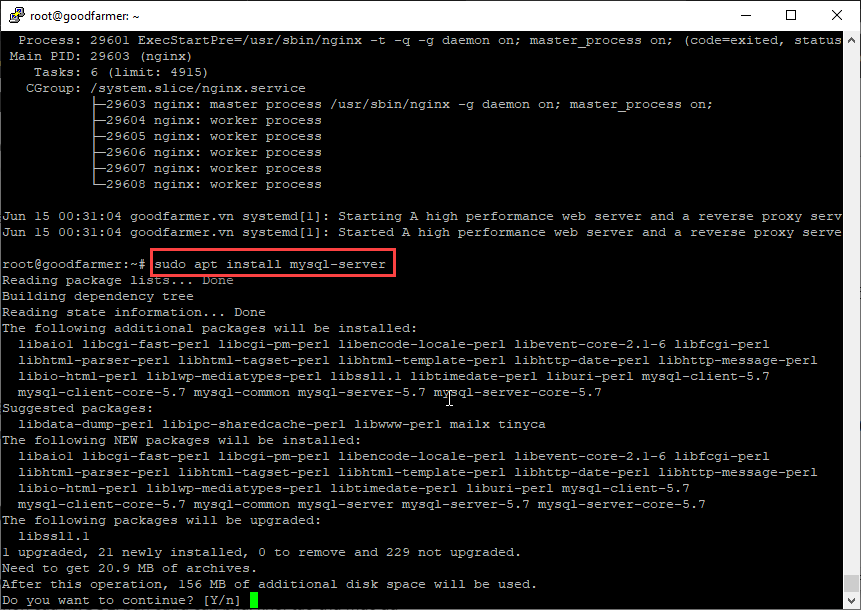
Run command to install MySQL Server:
sudo apt update
sudo apt install mysql-server
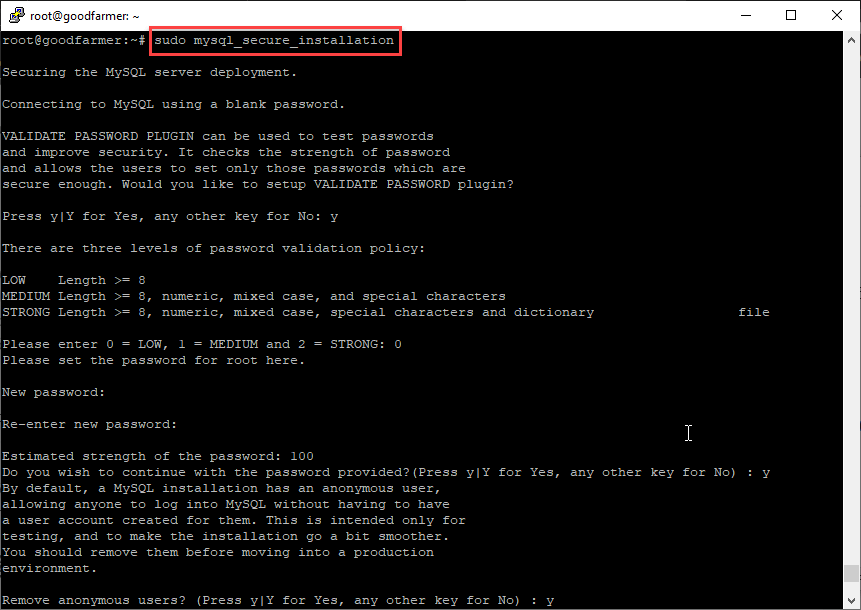
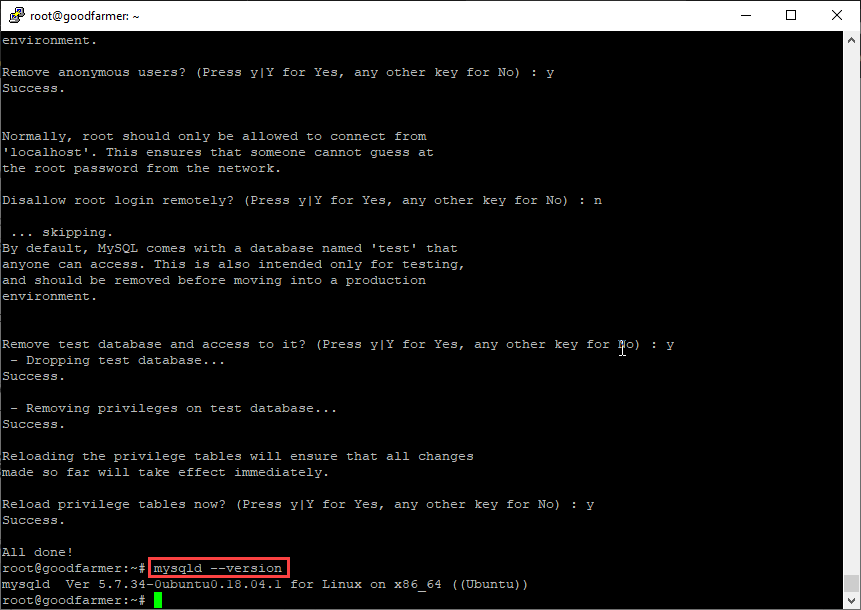
Config MySQL Server secure installation:
sudo mysql_secure_installation
Check MySQL Server version:
mysqld --version
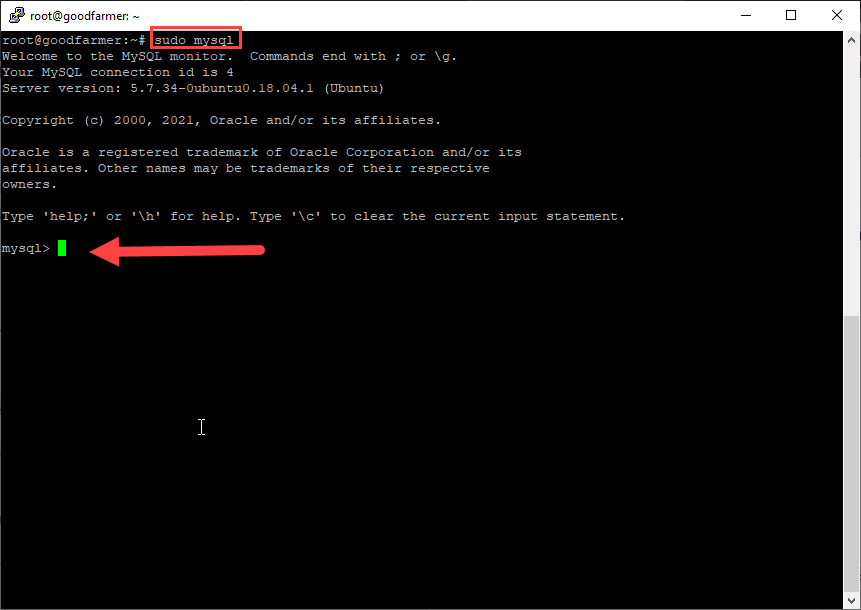
Open MySQL Server from Terminal:
sudo mysql
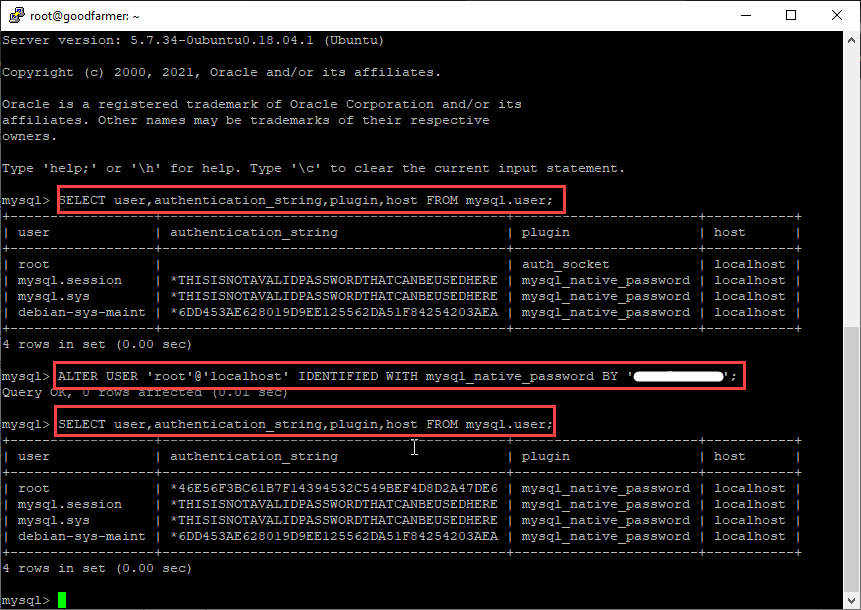
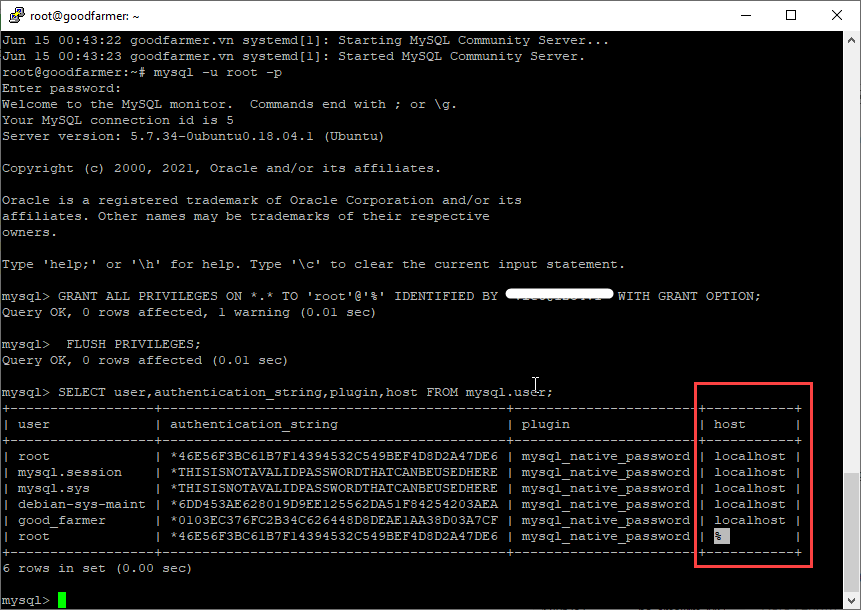
Select user list of database:
SELECT user,authentication_string,plugin,host FROM mysql.user;
Change user use auth_socket to native password:
ALTER USER 'root'@'localhost' IDENTIFIED WITH mysql_native_password BY 'your_password';
FLUSH PRIVILEGES;
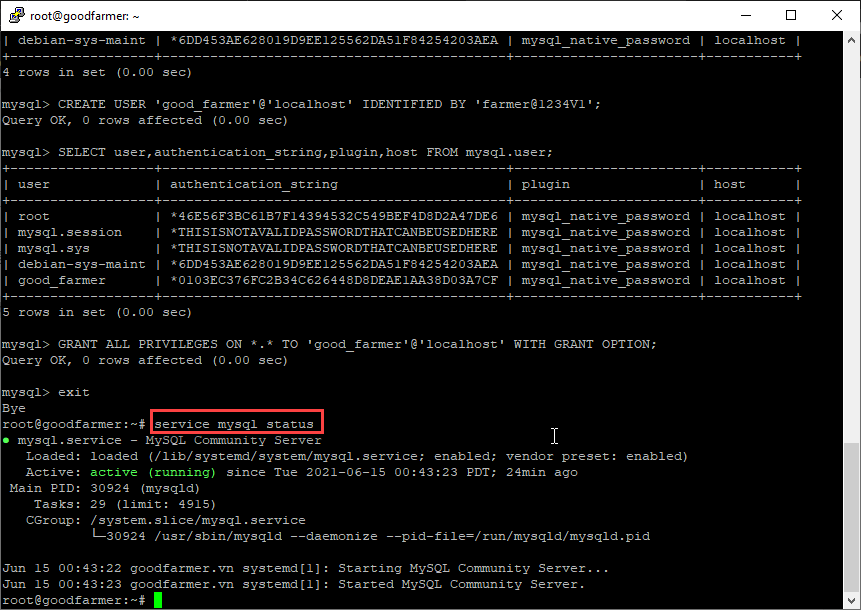
Check mysql status:
sudo service mysql status
Allow remote login to MySQL Server:
GRANT ALL PRIVILEGES ON *.* TO 'root'@'%' IDENTIFIED BY 'your_password' WITH GRANT OPTION;
FLUSH PRIVILEGES;
Edit mysql config file to allow remote IP access:
nano /etc/mysql/mysql.conf.d/mysqld.cnf

Comment line:
#bind-address = 127.0.0.1

Login to MySQL server with command:
mysql -u root -p
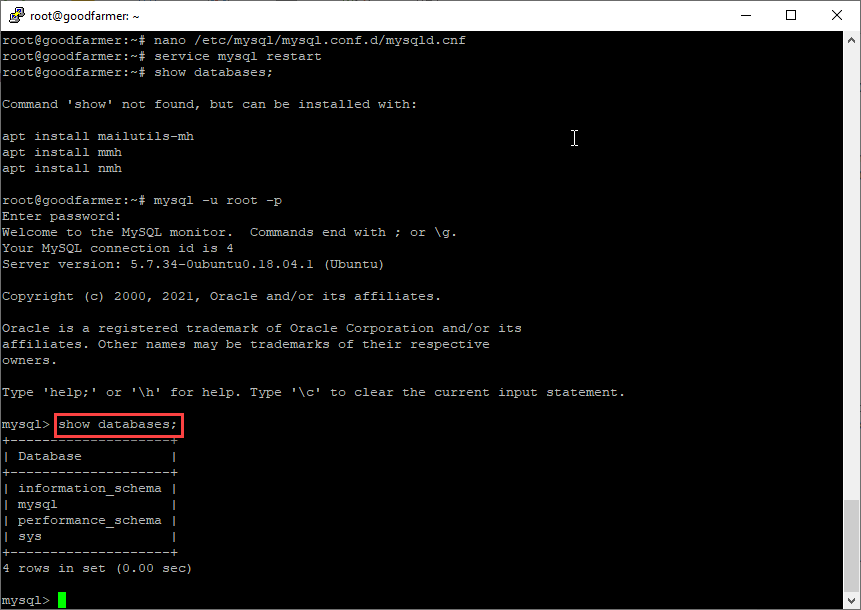
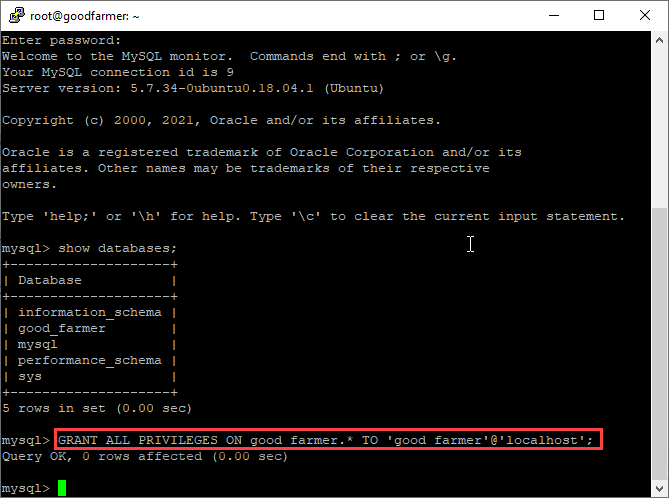
Show database list in MySQL server:
show databases;
Create new user for MySQL and grant permission:
CREATE USER 'vietmx'@'%' IDENTIFIED BY 'you_password';
GRANT ALL PRIVILEGES ON *.* TO 'user_db_name'@'%' WITH GRANT OPTION;
FLUSH PRIVILEGES;
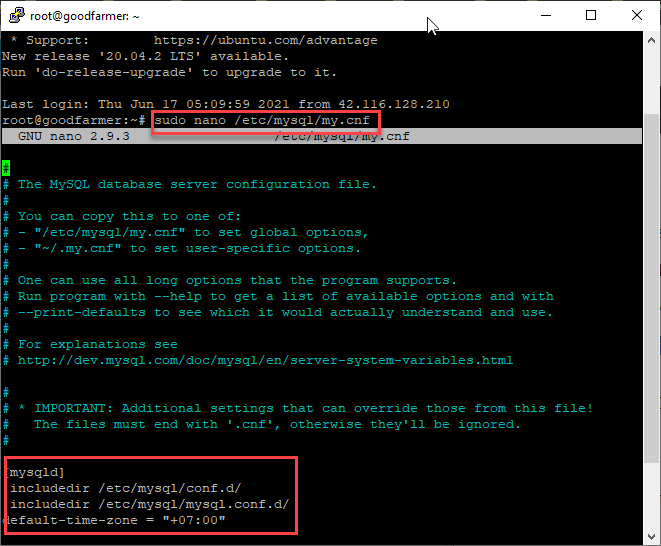
Set default timezone for MySQL:
sudo nano /etc/mysql/my.cnf
[mysqld]
default-time-zone = "+07:00"
Restart MySQL service:
sudo service mysql restart
7. Install Redis
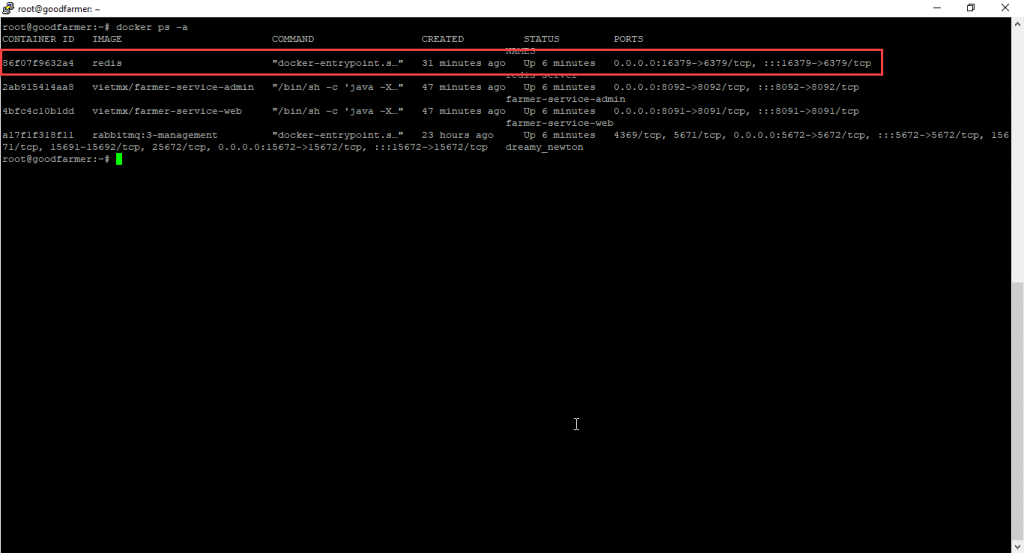
Run command on Terminal:
sudo docker run --name redis -d -p 6379:6379 redis redis-server --requirepass "your_pass"
sudo docker update --restart unless-stopped redis
8. Install RabbitMQ
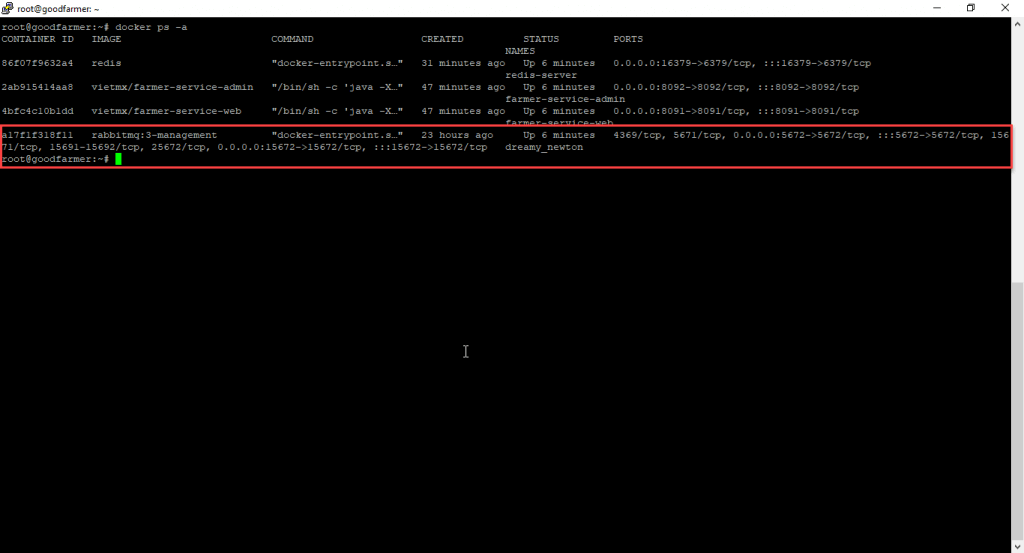
Run command on Terminal:
sudo docker run --name rabbitmq-server -p 5672:5672 -p 15672:15672 -d --restart unless-stopped rabbitmq:3-management
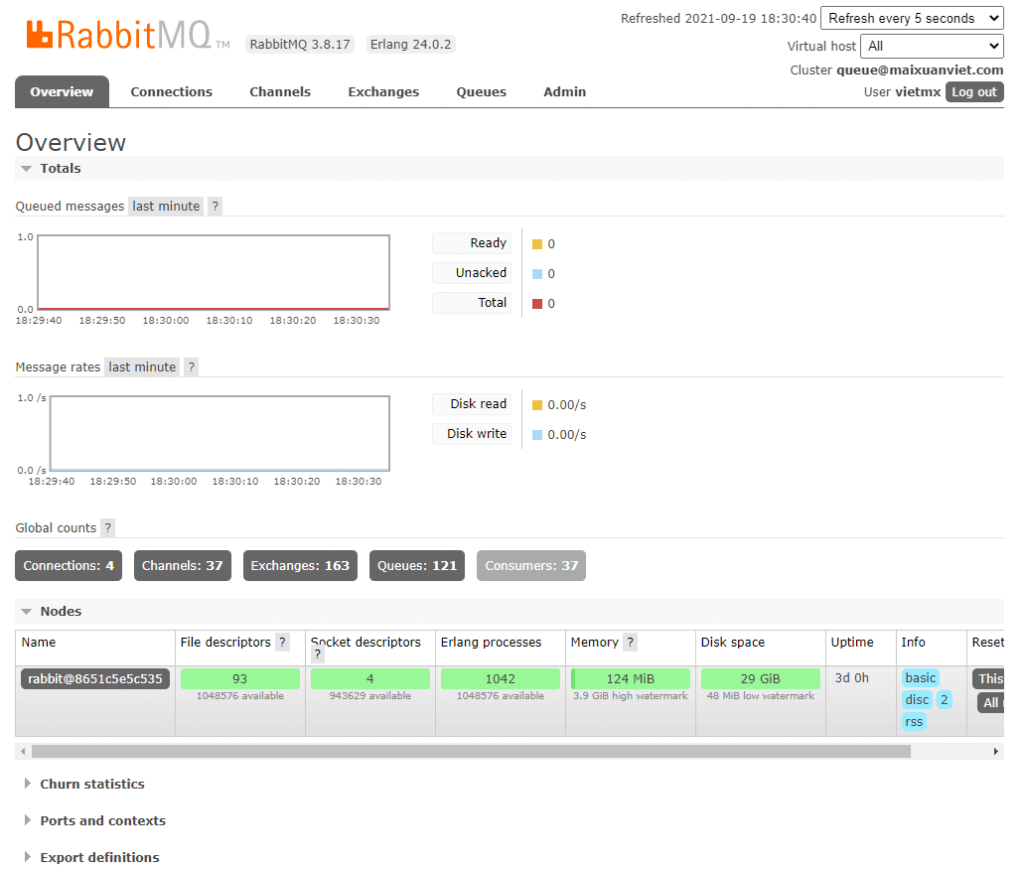
Default Account Login: guest/guest with URL access:
http://localhost:15672 (or https://www.maixuanviet.com:5672)
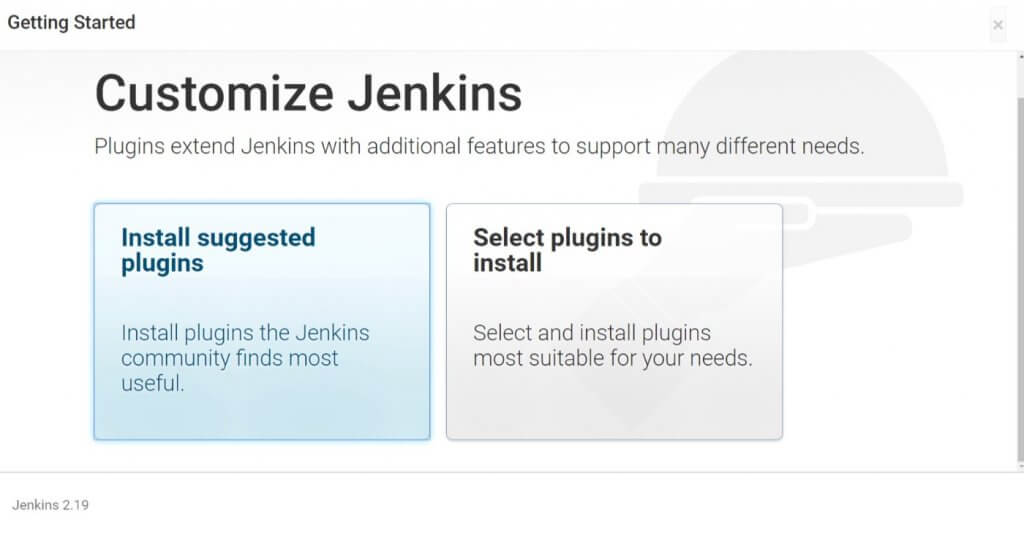
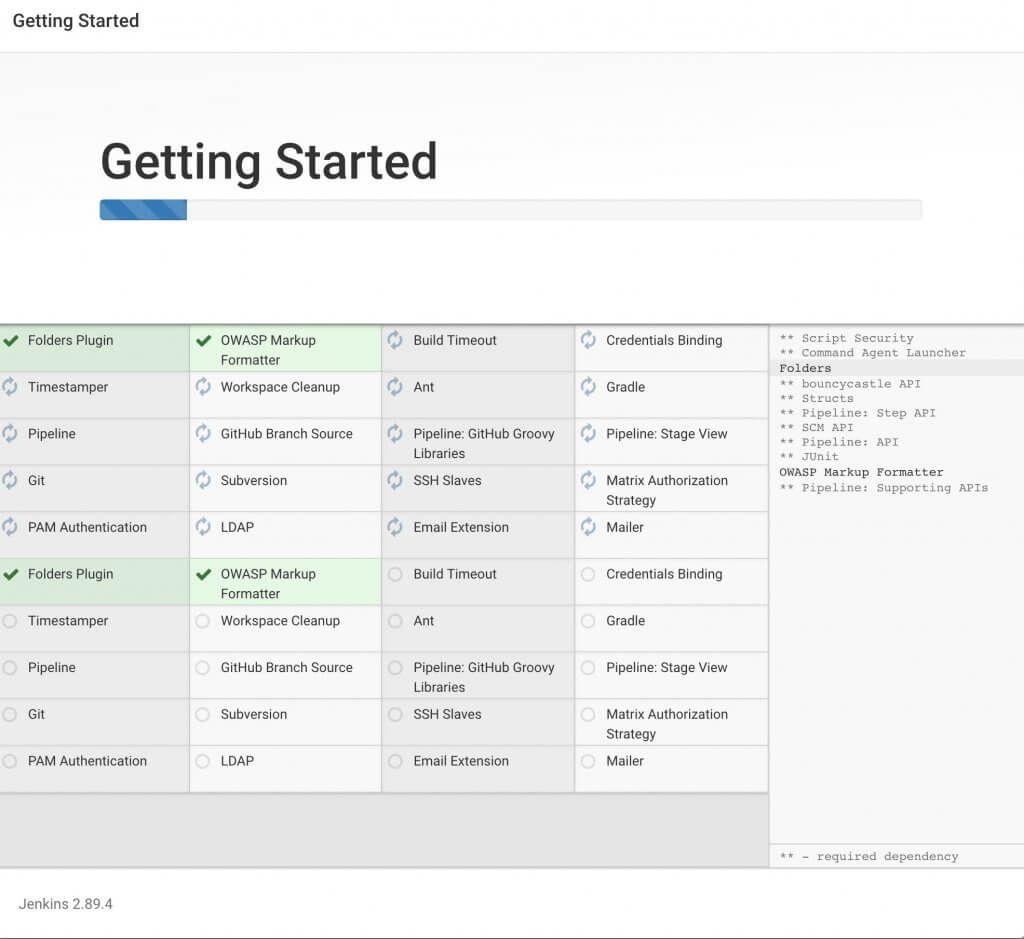
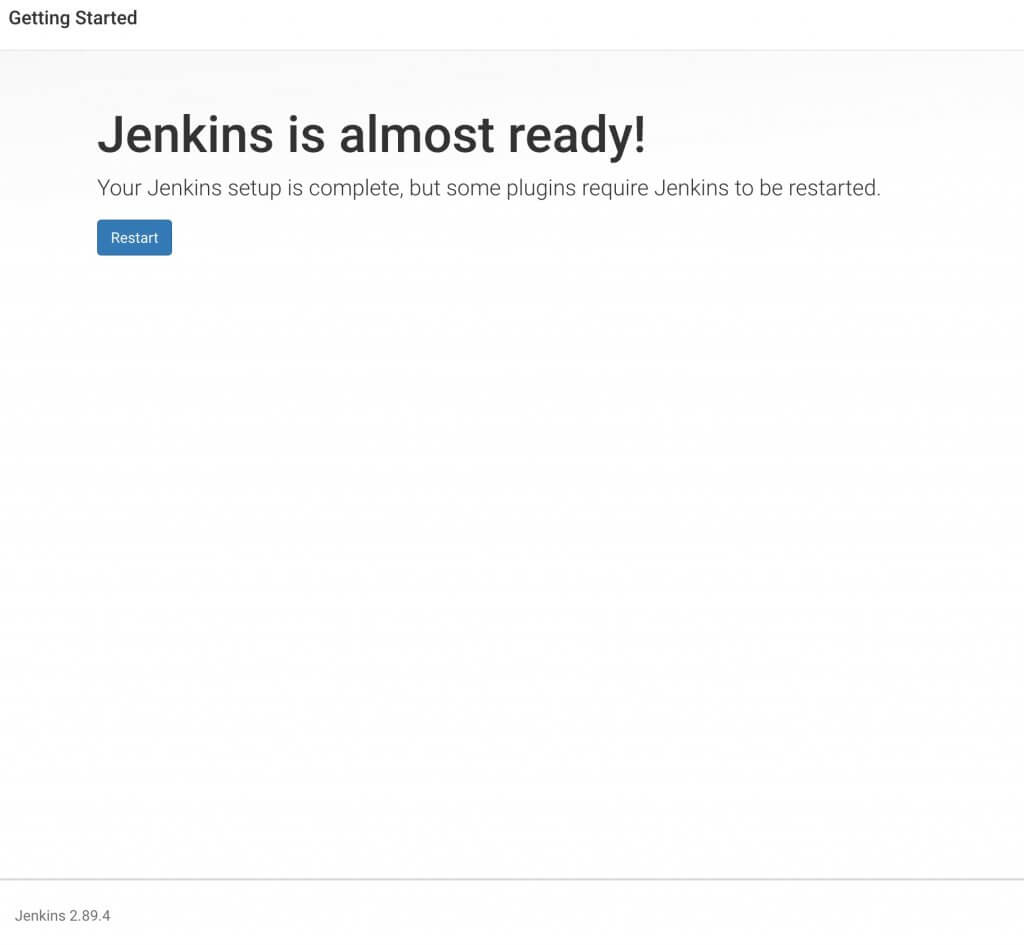
9. Install Jenkins
Run command on terminal:
sudo wget -q -O - https://pkg.jenkins.io/debian-stable/jenkins.io.key | sudo apt-key add -
echo "deb https://pkg.jenkins.io/debian binary/" | sudo tee /etc/apt/sources.list
sudo apt update
sudo add-apt-repository universe
sudo apt install jenkins -y
sudo usermod -a -G docker jenkins
service jenkins restart
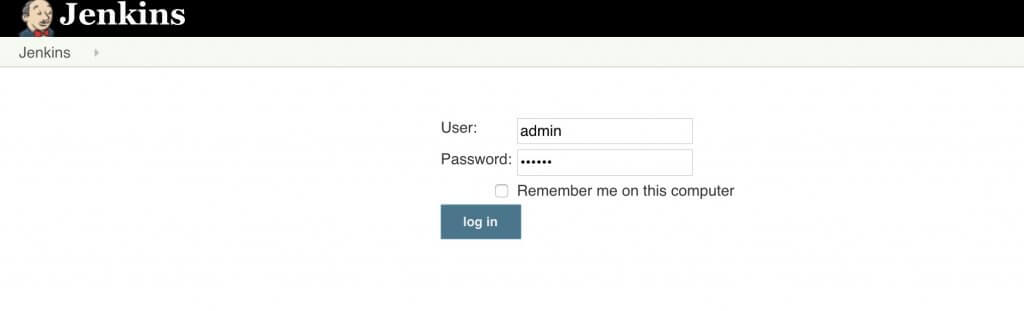
Access jenkins with link: http://[IP_Server]:8080:
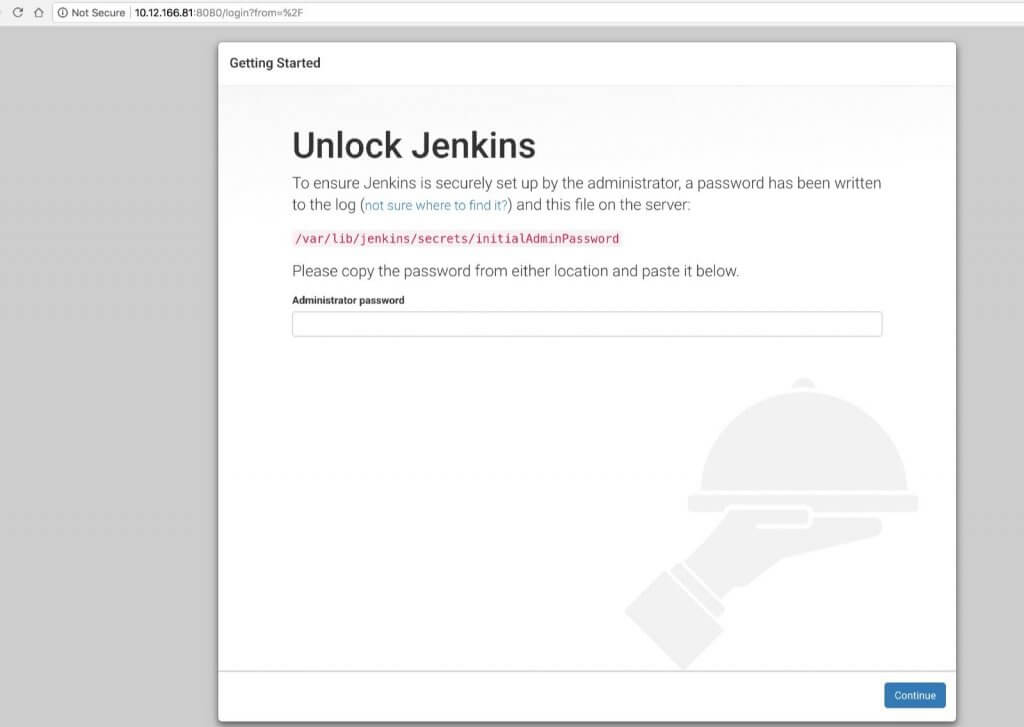
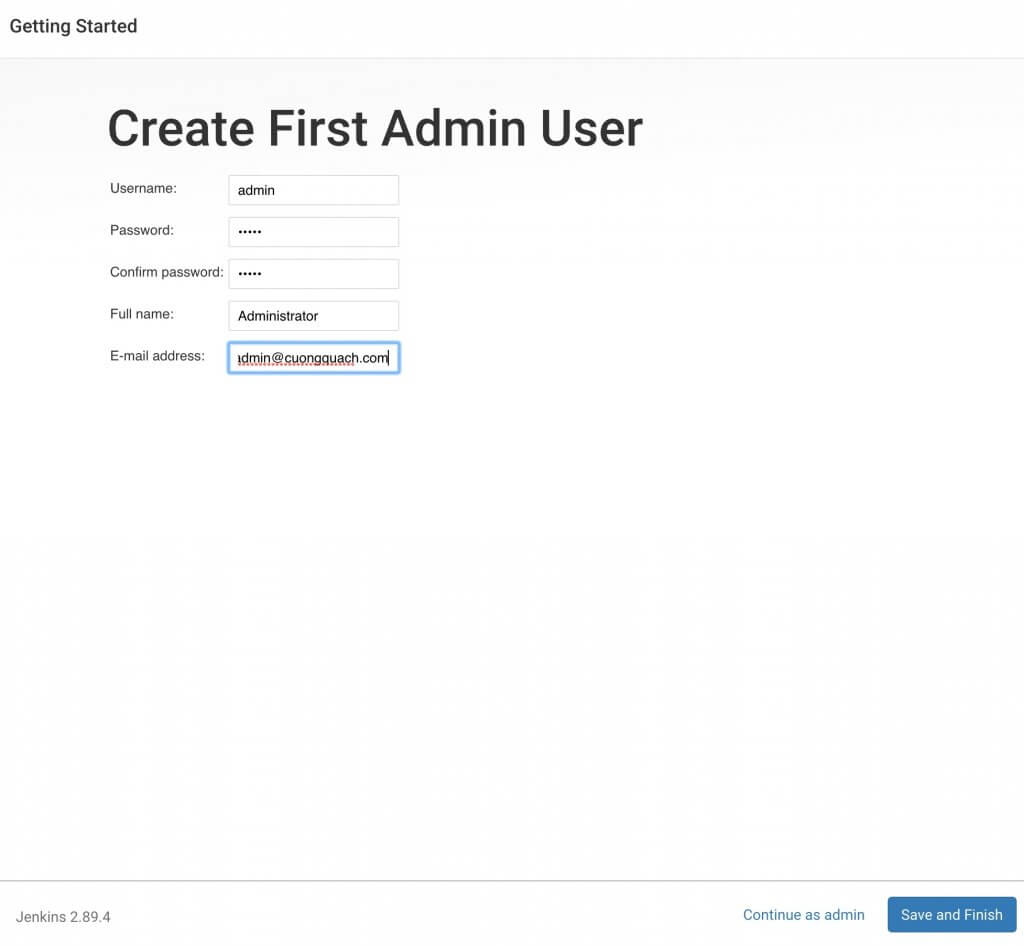
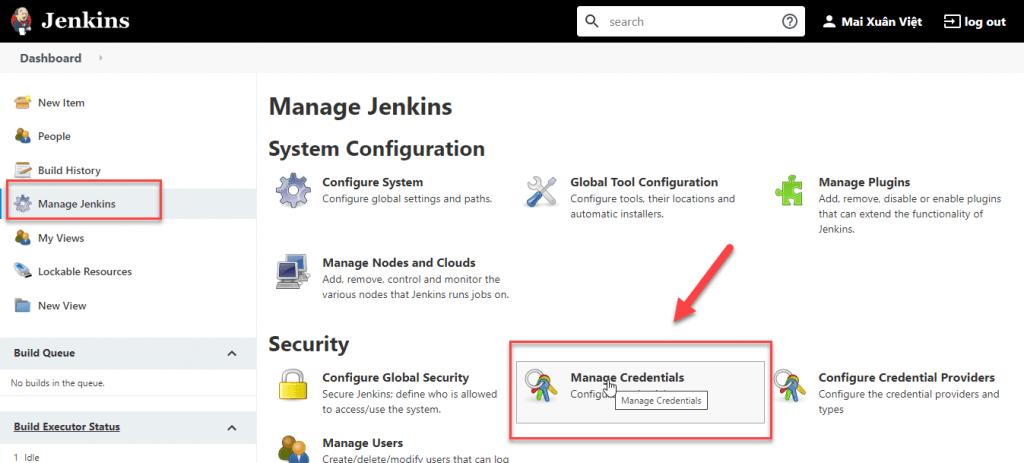
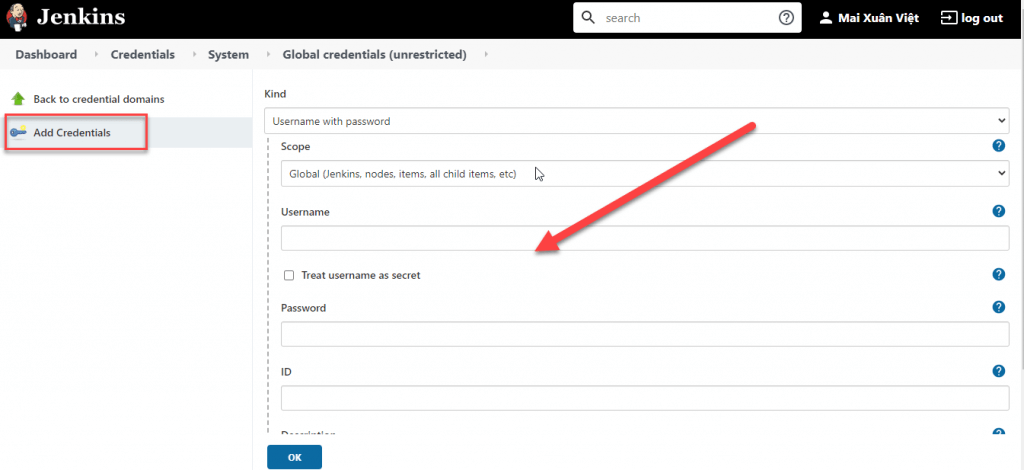
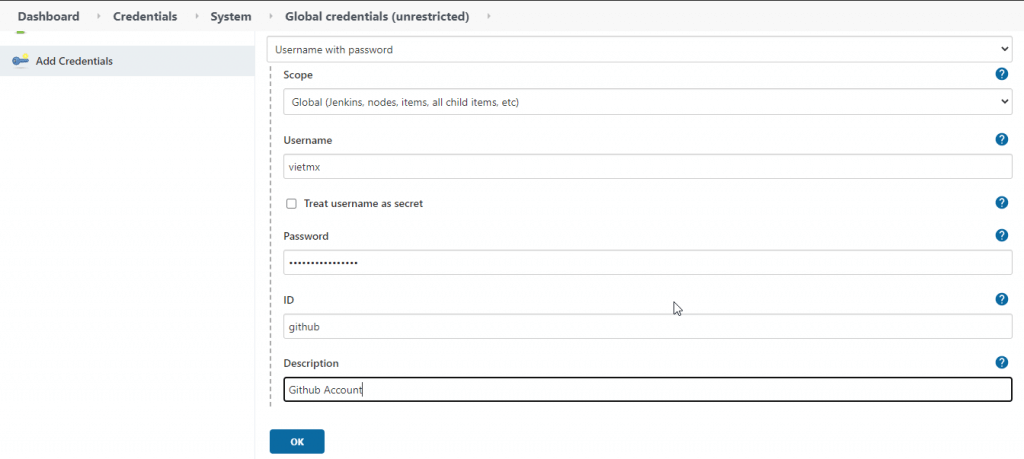
After install done, we setup Credentials for Jenkins connect with Github and Dockerhub.

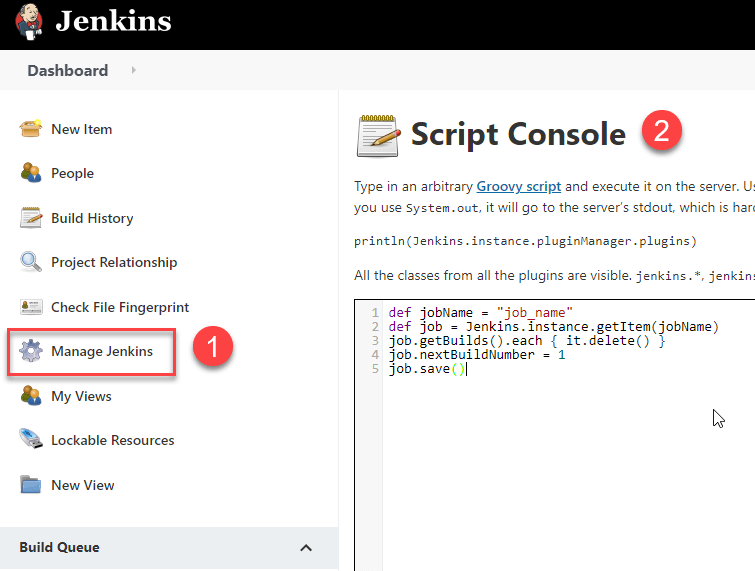
Note: If you need clean Jenkins build history, you can run script bellow:
def jobName = "job_name"
def job = Jenkins.instance.getItem(jobName)
job.getBuilds().each { it.delete() }
job.nextBuildNumber = 1
job.save()
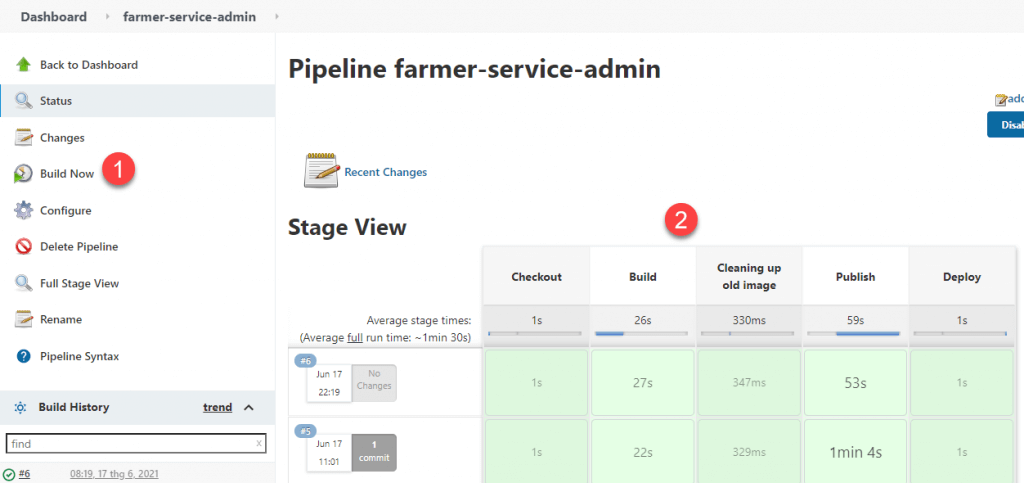
Create a new job build:
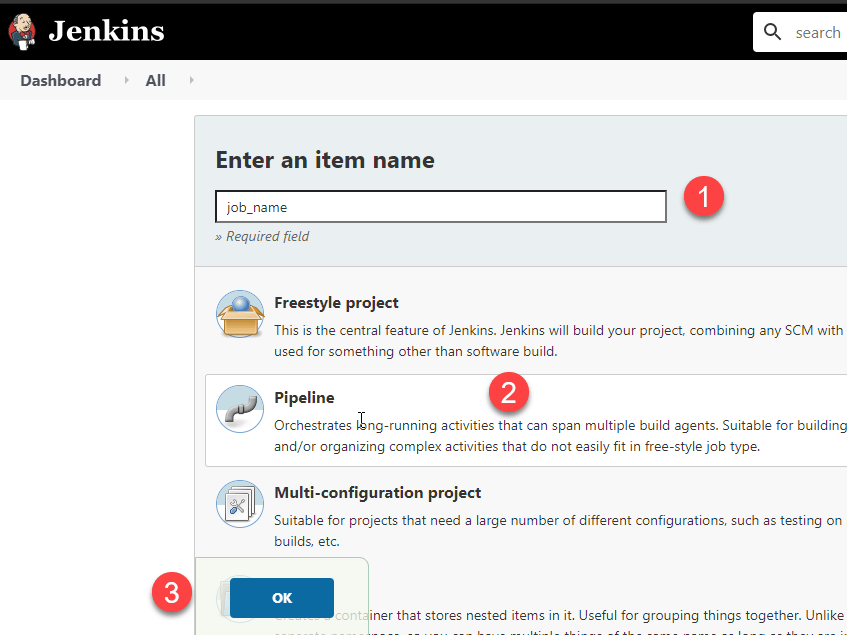

Script build example:
pipeline {
	agent any
	environment {
		GITHUB_CREDENTIAL="github"
		GITHUB_REPO="https://github.com/vietmx/farmer-backend.git"
		GITHUB_BRANCH="master"

		MODULE_NAME="farmer-service-admin"

		DOCKER_REGISTRY = "vietmx/farmer-service-admin"
		DOCKER_CREDENTIAL = 'dockerhub'
		DOCKER_FILE = "farmer-service-admin/Dockerfile"
	}
	stages {
		stage('Checkout'){
		    steps {
		        git branch: "$GITHUB_BRANCH", credentialsId: "$GITHUB_CREDENTIAL", url: "$GITHUB_REPO"
		    }
		}

		stage('Build') {
			steps {
				sh 'mvn clean -pl ' + MODULE_NAME + ' -am'
				sh 'mvn package -pl ' + MODULE_NAME + ' -am'
			}
        }


		stage('Publish') {
			steps {
                script {
					docker.withRegistry( '', DOCKER_CREDENTIAL) {
						def dockerImage = docker.build(DOCKER_REGISTRY + ":latest",  " -f " + DOCKER_FILE + " .")
						dockerImage.push()
					}
				}
			}
		}

		stage ('Deploy') {
			steps {
			    sh 'docker container rm -f farmer-service-admin'
			    sh 'docker run -d -it --restart unless-stopped --name ' + MODULE_NAME + ' -v /lib:/deloy -p 8092:8092 ' + DOCKER_REGISTRY
			}
		}

        stage('Cleaning up old image') {
            steps {
                sh 'docker image prune --force'
            }
        }
	}
}
pipeline {
	agent any
	environment {
		GITHUB_CREDENTIAL="github"
		GITHUB_REPO="https://github.com/vietmx/vietmx-demo.git"
		GITHUB_BRANCH="master"

		MODULE_NAME="vietmx-demo"
	}
	stages {
		stage('Checkout'){
		    steps {
		        git branch: "$GITHUB_BRANCH", credentialsId: "$GITHUB_CREDENTIAL", url: "$GITHUB_REPO"
		    }
		}

		stage('Build') {
			steps {
				sh 'pwd'
				sh 'npm install'
				sh 'sudo rm -rf dist'
				sh 'npm run build --prod'
			}
        }

		stage ('Deploy') {
			steps {
			    sh 'sudo cp -r dist/* /var/www/html/vietmx-demo'
			}
		}
	}
}
In this short tutorial we will apply minor update to existing Jenkins installation on Ubuntu 18.04 LTS and Ubuntu 20.04 LTS machine.
Common location of jenkins war file on ubuntu server is:
/usr/share/jenkins
Update the installation
Jump to jenkins home directory:
cd /usr/share/jenkins
Stop the jenkins server:
sudo service jenkins stop
Move existing jenkins war file:
sudo mv jenkins.war jenkins.war.old
Download latest jenkins war file:
sudo wget https://updates.jenkins-ci.org/latest/jenkins.war
Start the Jenkins server:
sudo service jenkins start
Remove jenkins.war.old in directory jenkins:
sudo rm jenkins.war.old
Everything should be good now.
10. Config domain and setup SSL
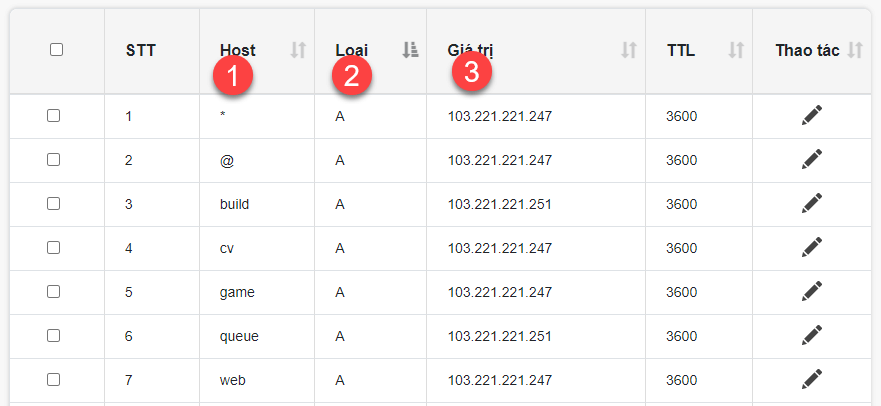
Config DNS for your domain:
Config domain in nginx of your server:
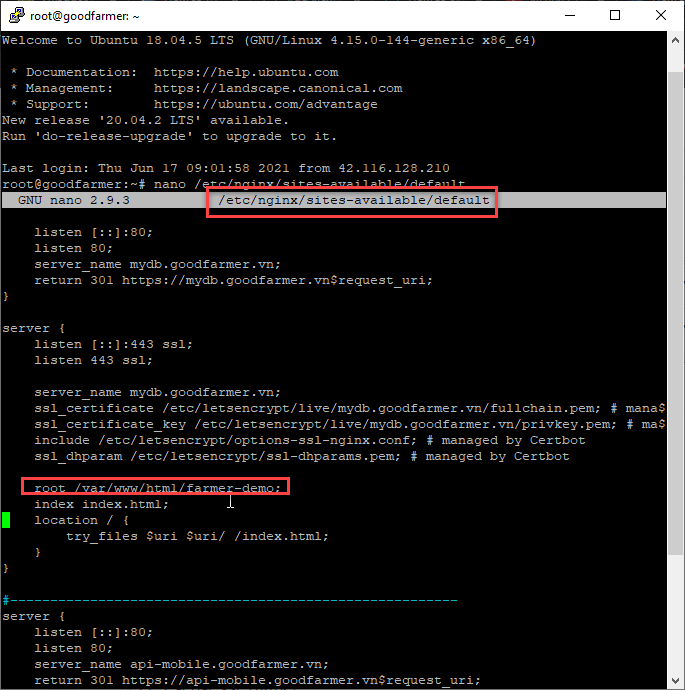
Containt file config same below:
#--------------------------------------------------------
server {

    listen [::]:80;
    listen 80;
    server_name demo.goodfarmer.vn;
    return 301 https://demo.goodfarmer.vn$request_uri;
}

server {
    listen [::]:443 ssl;
    listen 443 ssl;

    server_name demo.goodfarmer.vn;
    ssl_certificate /etc/letsencrypt/live/demo.goodfarmer.vn/fullchain.pem; # managed by Certbot
    ssl_certificate_key /etc/letsencrypt/live/demo.goodfarmer.vn/privkey.pem; # managed by Certbot
    include /etc/letsencrypt/options-ssl-nginx.conf; # managed by Certbot
    ssl_dhparam /etc/letsencrypt/ssl-dhparams.pem; # managed by Certbot

    root /var/www/html/farmer-demo;
    index index.html;
    location / {
        try_files $uri $uri/ /index.html;
    }
}

#--------------------------------------------------------
server {
    listen [::]:80;
    listen 80;
    server_name queue.maixuanviet.com;
    return 301 https://queue.maixuanviet.com$request_uri;
}

server {
    listen [::]:443 ssl;
    listen 443 ssl;
    server_name queue.maixuanviet.com;

    ssl_certificate /etc/letsencrypt/live/queue.maixuanviet.com/fullchain.pem; # managed by Certbot
    ssl_certificate_key /etc/letsencrypt/live/queue.maixuanviet.com/privkey.pem; # managed by Certbot
    include /etc/letsencrypt/options-ssl-nginx.conf; # managed by Certbot
    ssl_dhparam /etc/letsencrypt/ssl-dhparams.pem; # managed by Certbot

    location / {
        proxy_pass http://localhost:15672;
        proxy_set_header Host $host;
        proxy_set_header X-Real-IP $remote_addr;
        proxy_set_header X-Forwarded-For $proxy_add_x_forwarded_for;
        proxy_set_header X-Forwarded-Proto $scheme;
    }
}

server {
    listen [::]:80;
    listen 80;
    server_name build.maixuanviet.com;
    return 301 https://build.maixuanviet.com$request_uri;
}

server {
    listen [::]:443 ssl;
    listen 443 ssl;

    server_name build.maixuanviet.com;

    ssl_certificate /etc/letsencrypt/live/build.maixuanviet.com/fullchain.pem; # managed by Certbot
    ssl_certificate_key /etc/letsencrypt/live/build.maixuanviet.com/privkey.pem; # managed by Certbot
    include /etc/letsencrypt/options-ssl-nginx.conf; # managed by Certbot
    ssl_dhparam /etc/letsencrypt/ssl-dhparams.pem; # managed by Certbot

    location / {
        proxy_pass http://localhost:8080;
        proxy_set_header Host $host;
        proxy_set_header X-Real-IP $remote_addr;
        proxy_set_header X-Forwarded-For $proxy_add_x_forwarded_for;
        proxy_set_header X-Forwarded-Proto $scheme;
    }
}


#--------------------------------------------------------
server {
    if ($host = demo.goodfarmer.vn) {
        return 301 https://$host$request_uri;
    } # managed by Certbot

    if ($host = queue.maixuanviet.com) {
        return 301 https://$host$request_uri;
    } # managed by Certbot

    if ($host = build.maixuanviet.com) {
        return 301 https://$host$request_uri;
    } # managed by Certbot

}
Install certbot to setup SSL:
sudo apt-get install certbot python3-certbot-nginx
sudo add-apt-repository ppa:certbot/certbot
sudo apt-get update
sudo certbot --nginx -d domain.com
sudo systemctl reload nginx
11. Install NodeJS
Get nodejs source in here:
https://github.com/nodesource/distributions
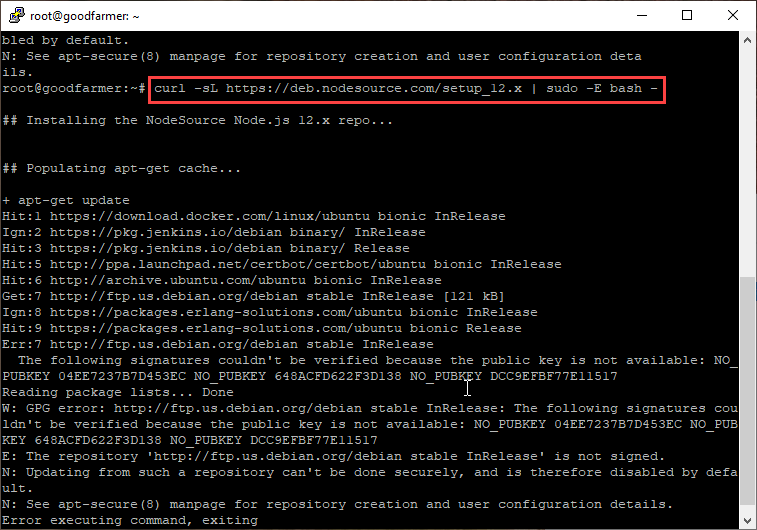
Run command bellow to install:
sudo apt-get install -y nodejs
node -v
npm -v
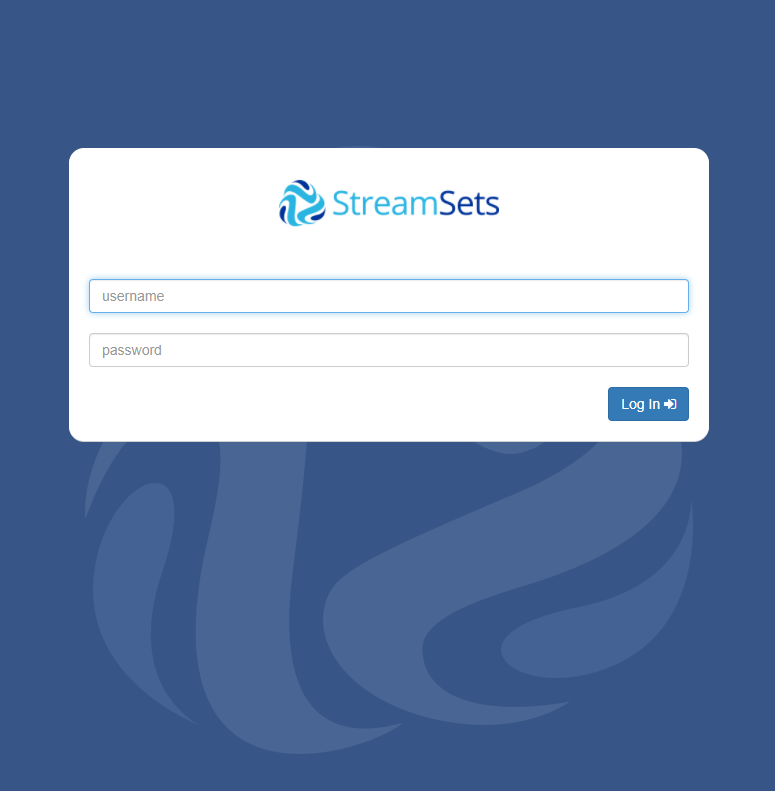
12. Install StreamSets Data Collector (SDC)
Run command on Terminal:
docker run --restart on-failure --restart unless-stopped -p 18630:18630 -d --name sdc streamsets/datacollector
Login with account admin/admin with URL:
http://localhost:18630 (or your domain)
Link Tutorial: https://github.com/streamsets