
Some applications may need configuration properties that may need a change and developers may need to take them down or restart the application to perform this. However, this might be lead to downtime in production and the need of restarting the application. Spring Cloud Configuration Server lets developers to load the new configuration properties without restarting the application and without any downtime.
1. Working with Spring Cloud Configuration Server
First, download the Spring Boot project from https://start.spring.io/ and choose the Spring Cloud Config Client dependency. Now, add the Spring Cloud Starter Config dependency in your build configuration file.
Maven users can add the following dependency into the pom.xml file.
Gradle users can add the following dependency into the build.gradle file.
compile(‘org.springframework.cloud:spring-cloud-starter-config’)
Now, you need to add the @RefreshScope annotation to your main Spring Boot application. The @RefreshScope annotation is used to load the configuration properties value from the Config server.
package com.example.configclient;

import org.springframework.boot.SpringApplication;
import org.springframework.boot.autoconfigure.SpringBootApplication;
import org.springframework.cloud.context.config.annotation.RefreshScope;

@SpringBootApplication
@RefreshScope
public class ConfigclientApplication {
   public static void main(String[] args) {
      SpringApplication.run(ConfigclientApplication.class, args);
   }
}
Now, add the config server URL in your application.properties file and provide your application name.
Note − http://localhost:8888 config server should be run before starting the config client application.
spring.application.name = config-client
spring.cloud.config.uri = http://localhost:8888
The code for writing a simple REST Endpoint to read the welcome message from the configuration server is given below −
package com.example.configclient;

import org.springframework.beans.factory.annotation.Value;
import org.springframework.boot.SpringApplication;
import org.springframework.boot.autoconfigure.SpringBootApplication;
import org.springframework.cloud.context.config.annotation.RefreshScope;
import org.springframework.web.bind.annotation.RequestMapping;
import org.springframework.web.bind.annotation.RestController;

@SpringBootApplication
@RefreshScope
@RestController
public class ConfigclientApplication {
   @Value("${welcome.message}")
   String welcomeText;

   public static void main(String[] args) {
      SpringApplication.run(ConfigclientApplication.class, args);
   }
   @RequestMapping(value = "/")
   public String welcomeText() {
      return welcomeText;
   }
}
You can create an executable JAR file, and run the Spring Boot application by using the following Maven or Gradle commands −
For Maven, you can use the command shown below −
mvn clean install
After “BUILD SUCCESS”, you can find the JAR file under the target directory.
For Gradle, you can use the command shown below −
gradle clean build
After “BUILD SUCCESSFUL”, you can find the JAR file under the build/libs directory.
Now, run the JAR file by using the command shown here:
java –jar <JARFILE>
Now, the application has started on the Tomcat port 8080 as shown here −

You can see the log in console window; config-client application is fetching the configuration from the https://localhost:8888
2017-12-08 12:41:57.682  INFO 1104 --- [
   main] c.c.c.ConfigServicePropertySourceLocator :
   Fetching config from server at: http://localhost:8888
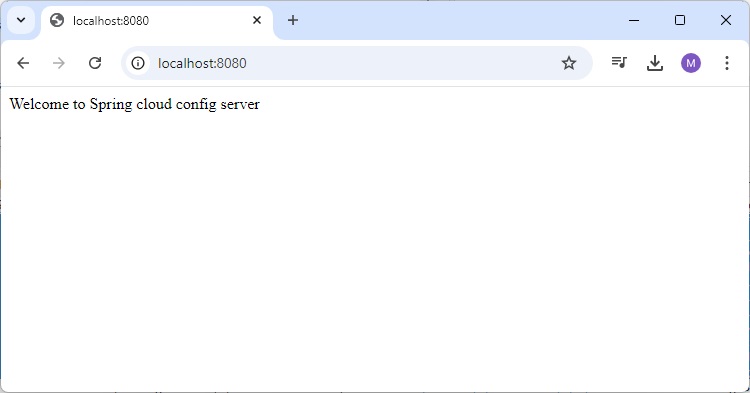
Now hit the URL, http://localhost:8080/ welcome message is loaded from the Configuration server.
Now, go and change the property value on the Configuration server and hit the actuator Endpoint POST URL http://localhost:8080/refresh and see the new configuration property value in the URL http://localhost:8080/