
Table of Contents
Whenever we submit a form on the client-side of any website, all the form data goes to the server-side. Usually, form-data gets encoded before we submit it to the server. We can do this by specifying the enctype attribute in the <form> tag in HTML. If we don’t specify it, form-data gets encoded with the default type.
1. Introduction
This is usually the case when we are dealing with text-only data like name, email, and password, etc.
But, if we are uploading some kind of files, we need to specify the enctype attribute with the value multipart/form-data. This value is required when we are using forms that have a file input type element.
Multer is an npm package that makes it easy to handle file uploads. It does it very efficiently, thus it is quite popular. In this article, we will see how to use Multer to handle multipart/form-data using Node.js, Express and MongoDB.
2. Prerequisites
There are four things you should know/have installed before you attempt this tutorial.
- Good understanding of HTML and CSS.
- Node.js should be installed in your system and you should have a working knowledge of it.
- MongoDB should be installed in your system and you should have a working knowledge of it.
- Good understanding of the command-line or integrated terminals in code-editors.
3. Goals of the tutorial
The goal of this tutorial is to help you understand these four things:
- How to design an API endpoint for posting data.
- How to use Multer as a middleware for that API.
- How to manage and store those files on the server-side.
- How to view those files on the front-end.
4. Project setup
First, create a new folder/directory in your system and name it Multer-Tutorial. Then, open this folder in your favorite code editor. I’ll be using VSCode.
Next, create a new HTML file and name it index.html. Inside it, we will add a form to upload files. Your HTML code should look something like this:
<!DOCTYPE html>
<html lang="en">
  <head>
    <meta charset="UTF-8" />
    <meta name="viewport" content="width=device-width, initial-scale=1.0" />
    <link
      href="https://fonts.googleapis.com/css2?family=Lato:wght@100;400;700;900&display=swap"
      rel="stylesheet"
    />
    <link
      href="https://stackpath.bootstrapcdn.com/font-awesome/4.7.0/css/font-awesome.min.css"
      rel="stylesheet"
      integrity="sha384-wvfXpqpZZVQGK6TAh5PVlGOfQNHSoD2xbE+QkPxCAFlNEevoEH3Sl0sibVcOQVnN"
      crossorigin="anonymous"
    />
    <!-- style.css file path in the line below. -->
    <link rel="stylesheet" href="css/style.css" />
    <!-- -------------------------------------- -->
    <title>Multer Tutorial</title>
  </head>
  <body>
    <main class="admin">
      <div class="admin__upload-file">
        <form action="#" enctype="multipart/form-data" method="post">
          <input type="file" class="admin__input" id="myFile" name="myFile" />
          <input class="admin__submit" type="submit" />
        </form>
      </div>
    </main>
  </body>
</html>
4.1. Important points to note in the code above
- In the form tag, the
enctypeattribute must be set tomultipart/form-data, for Multer to work. - Also, in the form tag, we have specified the action attribute to
#. This is because we haven’t made any API endpoint to receive the data from this form. We’ll be creating this API endpoint later in this tutorial.
Note: The header links in the HTML code is my personal way of styling. You can style this page as you want and don’t forget to write your CSS in the style.css file created inside the CSS folder in the root directory. I will share my CSS code at the end of this tutorial because this article focuses on using Multer.
You should follow the same folder structure that’s specified. I’ll be sharing it several times as we create new files and folders so you can follow this tutorial without any difficulty.
4.2. Current folder structure
|-- Multer-Tutorial (Root Directory)
|-- -- index.html (file) css (folder)
|-- -- -- style.css (file)
5. Next steps
Before moving forward, make sure that Node.js is installed in your system. Write this command in your terminal to check whether it is installed.
node -v
It should show you the installed version of Node.js in your system.
Something like:- v14.8.0
Now, since our static site is ready we can start initiating this project with npm. To do this:-
- Write this command in the integrated terminal in your code editor or in any command line tool. Make sure that you are in the root directory of this project while running this command.
npm init
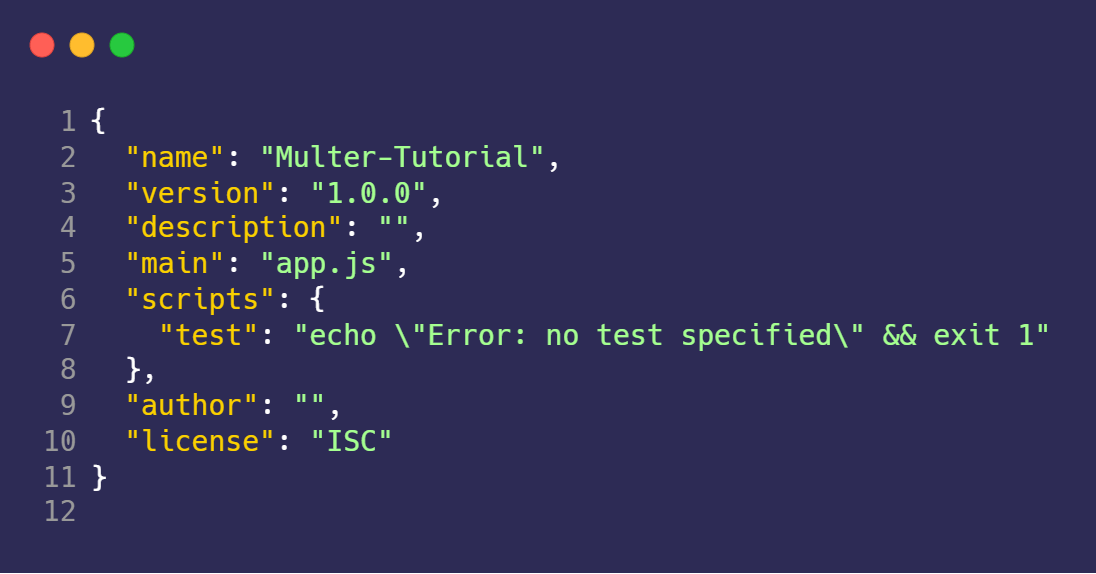
npm init -y creates a new package.json file. This file will help us to manage all the dependencies that we will install later on in this tutorial but you should create the main option in package.json from index.js to app.js.
The resulting package.json file should look like this:
6. Setting up the project with Node.js, Express, and MongoDB
First, we need to install the three most important npm packages that we need for this tutorial.
These are: express, body-parser and mongoose.
Thus, write this command in the terminal:
npm i express body-parser mongoose
- Express will help us create different API endpoints and much more.
body-parserwill mount the data coming from the form onto the incoming request.- Mongoose will help us work with MongoDB easily.
Let’s start by creating a new file named app.js in our root directory. In this file, we will make different routes and also write some configuration code.
Write the following code in your app.js file.
// Calling all the required packages
const express = require("express");
const bodyParser = require("body-parser");

const app = express();

// Configurations for "body-parser"
app.use(
  bodyParser.urlencoded({
    extended: true,
  })
);

// Configurations for setting up ejs engine &
// displaying static files from "public" folder
// TO BE ADDED LATER

// Routes will be added here later on

//Express server
module.exports = app;
Note that I have exported the app because we will be creating a new file. In that file, we will make our express server and a connection with our MongoDB cluster.
Please refer to these two videos to learn how to make a MongoDB cluster in Atlas (cloud database) and how to connect it to our project.
When you are ready with your cluster, create a new file in the root directory and name it server.js. This file will make the connection with our server and database.
Write this code in the file:
const app = require("./app");
const mongoose = require("mongoose");

process.on("uncaughtException", (err) => {
  console.log("UNCAUGHT EXCEPTION, APP SHUTTING NOW!!");
  console.log(err.message, err.name);
  process.exit(1);
});

const DB = "ENTER YOUR CONNECTION STRING HERE";

mongoose
  .connect(DB, {
    useCreateIndex: true,
    useFindAndModify: true,
    useNewUrlParser: true,
    useUnifiedTopology: true,
    autoIndex: true,
  })
  .then(() => {
    console.log("DB connected successfully");
  });

const port = 3000;

const server = app.listen(port, () => {
  console.log("Server is up listening on port:" + port);
});
Don’t forget to enter your connection URI string in the DB variable.
Now, we have to run our project on the express server that we have mentioned. To do this, run the “server.js” file by writing this command on the terminal.
nodemon server.js
You should see this message on the terminal if you have done everything right:
Server is up listening on port:3000
DB connected successfully
If you see something else like any error, watch those videos again or try fixing those errors by surfing on the internet.
Before writing any code in the app.js file, we have to make some new folders and change the locations of some files. You must be wondering why we are putting so much effort into emphasizing these things.
It is because writing clean and manageable code with an organized folder structure is as important as writing the “right” code. These kinds of folder structure and refactoring will help you with your big, future projects.
- Create a new folder in the root directory and name it
public. This will hold the static files that we will serve. Cut thecssfolder that we created at the start of this project and paste it into this folder. - Create a second folder and name it
views. This will hold our HTML file that we created at the beginning.
Since we are dealing with a HTML file, we have to make some changes. First, change the file extension from .html to .ejs because we’ll be using the ejs render engine. Then, inside the head tag, where we have linked our CSS file, change that link from this:
<link rel="stylesheet" href="css/style.css" />
to this:-
<link rel="stylesheet" href="/css/style.css" />
We have added the ‘/’ in front of it because we now have to mention the relative path from the public folder, as it contains our static files.
New folder structure
├───node_modules (folder)
├───public (folder)
│ └───css (folder)
|──────└───style.css (file)
|───views (folder)
│────└───index.ejs (file)
├───app.js (file)
├───package-lock.json (file)
├───package.json (file)
├───server.js (file)
We have to define some routes in our app.js file, so we will start by defining the route for our home page.
Follow these steps:
- Install the template engine for ejs by writing this command:
npm i ejs
Include the path package at the top which is a built-in Ndde.js package.
const path = require("path");
- Write the configuration code for setting up the EJS template engine and defining the path.
app.set("view engine", "ejs");
app.set("views", path.join(__dirname, "views"));
app.use(express.static(`${__dirname}/public`));
- Now, we will create our first API endpoint, to render the HTML file that we build at the start of this tutorial.
app.use("/", (req, res) => {
  res.status(200).render("index");
});
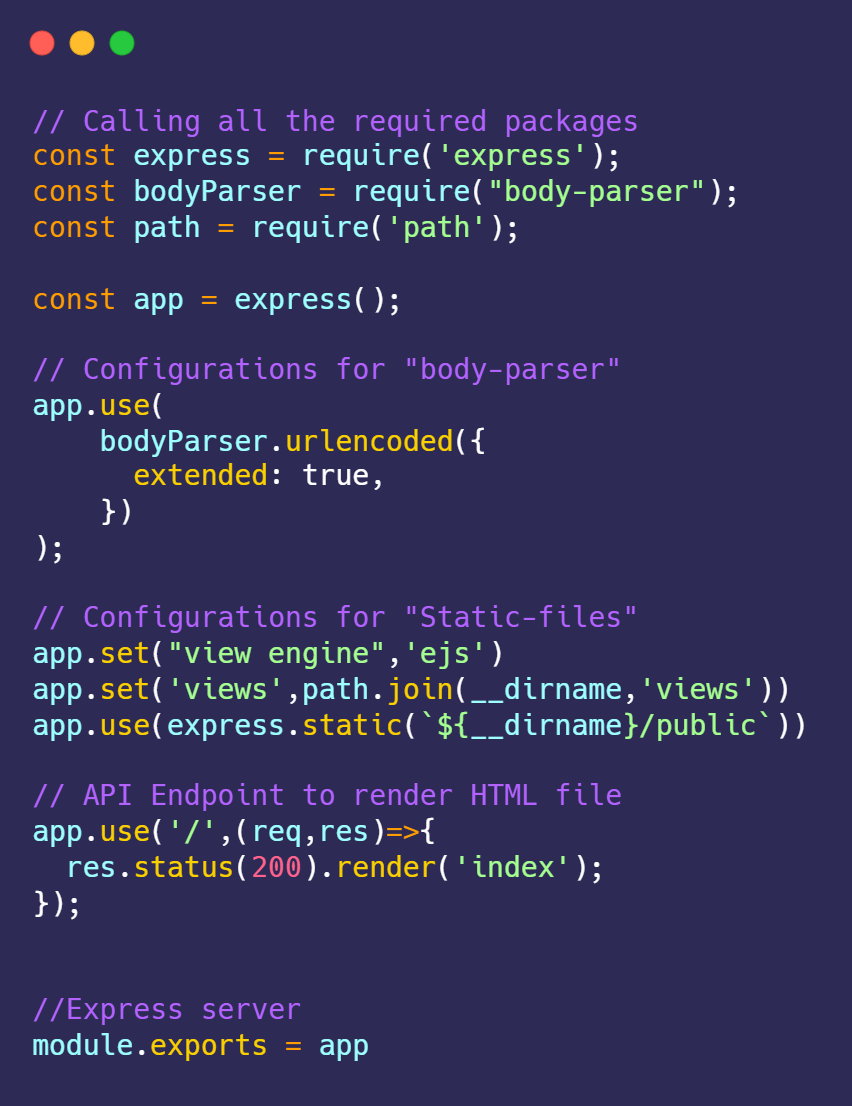
After all these steps, your app.js file should look like this.
Restart the server with the same command as above:
nodemon server.js
You should see the rendered HTML file that you created earlier.
7. Uploading and storing files
Before using Multer to handle the upload action of files, we need to understand a few things.
- The actual files are never stored in the database. They are always stored someplace on the server. In our tutorial, we will store the uploaded files in the public folder.
This is because all the files that are in the public folder are meant to be available to the public at the front-end.
Later in the tutorial, we will learn how to view those files on the front-end. So, that is another reason to store them in the public folder.
- But, we will use the database to store some information about those files. The first thing can be the name of the file and other information can vary according to the project.
Next we create a schema to store the name of our uploaded files. We will do this with the help of the Mongoose package that we installed earlier.
To do this, follow these three steps:
- Create a new folder and name it
model. - Create a new file in it and name it the `fileSchema.js“.
- Write this code in that file.
// Calling the "mongoose" package
const mongoose = require("mongoose");

// Creating a Schema for uploaded files
const fileSchema = new mongoose.Schema({
  createdAt: {
    type: Date,
    default: Date.now,
  },
  name: {
    type: String,
    required: [true, "Uploaded file must have a name"],
  },
});

// Creating a Model from that Schema
const File = mongoose.model("File", fileSchema);

// Exporting the Model to use it in app.js File.
module.exports = File;
This is how we create a Schema with Mongoose and extract a model from it. We will now use this model to store information about uploaded files in MongoDB. Don’t forget to call this model in the app.js file at the top.
const File = require("./model/fileSchema");
Next, create a new folder named “files” inside the public folder. This is where we’ll be storing the uploaded files.
Updated folder structure:
├───model (folder)
│ └───fileSchema.js (file)
├───node_modules (folder)
├───public (folder)
│ └───css (folder), files(folder)
|──────└───style.css (file)
|───views (folder)
│────└───index.ejs (file)
├───app.js (file)
├───package-lock.json (file)
├───package.json (file)
├───server.js (file)
8. Multer
As mentioned previously, Multer is a Node.js middleware used for handling multipart/form-data, which is primarily used for uploading files.
For those who don’t know what a middleware is in Node.js, it’s a function that receives the request and response object when a user from the client-side makes any request.
There are two uses of middleware in Node.js:
- To send the response based on the request coming from the user.
- To change or modify the request object and send it to the next middleware.
We can add as many middleware as we wish in this request-response cycle. Let’s start by installing Multer.
Write this command in your terminal:
npm i multer
After installing the package, we will import it at the top of the app.js file:
const multer = require("multer");
Then we will start by creating an API endpoint to upload the file, just above the previous one.
Note: Make sure that the endpoint used to render the page is at the end of all the API endpoints.
//API Endpoint for uploading file
app.post("/api/uploadFile", (req, res) => {
  // Stuff to be added later
});
9. Let’s start using Multer
We are going to store the uploaded files in our disk storage inside the files folder that we just created. Let’s start by defining the destination. Copy the following code in your app.js file just below the code for configuration of static files.
//Configuration for Multer
const upload = multer({ dest: "public/files" });
In this code, we are calling the multer function that takes certain options as arguments. We pass the dest (destination) option and the value of dest will be:public/files.
After that, we have to use this upload variable as the middleware in the API endpoint created above.
Change that API endpoint to this:
app.post("/api/uploadFile", upload.single("myFile"), (req, res) => {
  // Stuff to be added later
  console.log(req.file);
});
Here, upload.single is again a function. The single determines that only a single file is to be uploaded. In the case of there being many files, we can use multiple instead of single.
It takes a string as an argument and that string is the name of the input that we mentioned in our HTML code.
We did console.log(req.file) to see the details of the file that we are uploading. This will help us configure multer in a more advanced way. We will also be able to do the filtering on those files.
Now, we can start by sending the request with files on this API. But, before that, we need to make small changes in our HTML code in the index.ejs file.
Open that file and change the value of the action attribute in the form to ‘/api/uploadFile’. Also, note the name of the input that we mentioned in the above code.
<form action="/api/uploadFile" enctype="multipart/form-data" method="POST">
  <input type="file" class="admin__input" id="myFile" name="myFile" />
  <input class="admin__submit" type="submit" />
</form>
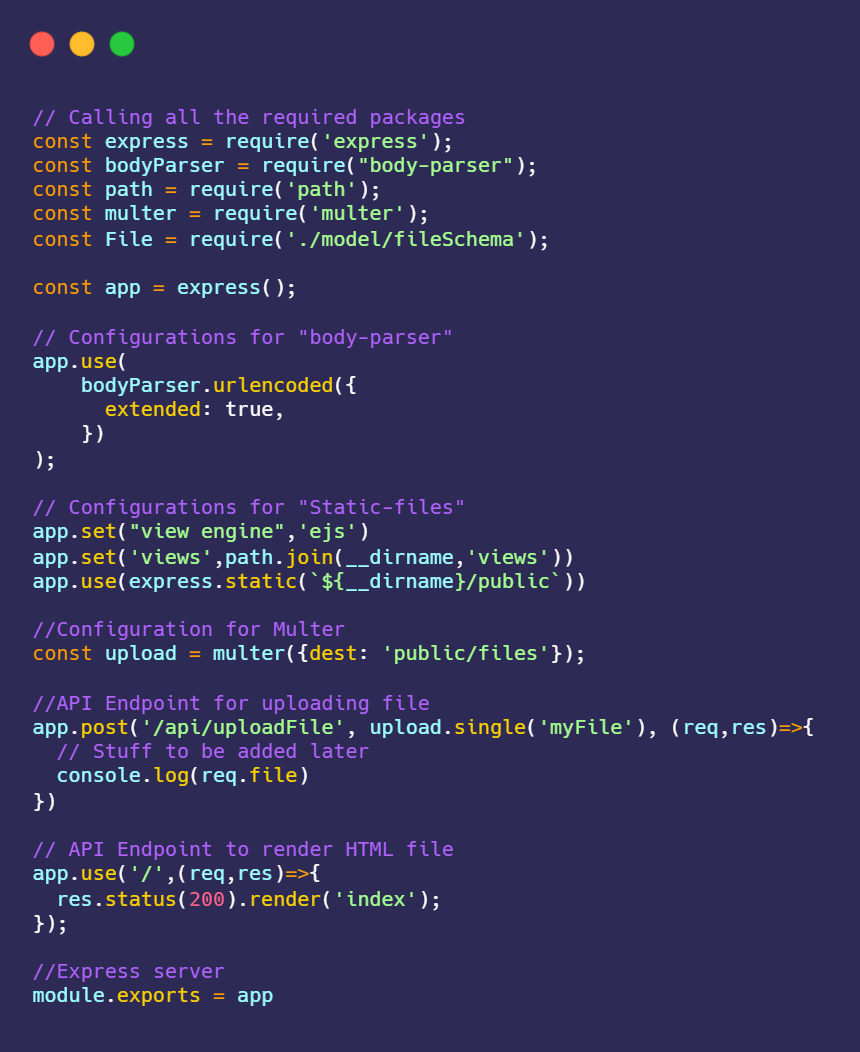
Just to make sure that we are on the same page, here is the state of the app.js file up to now.
Finally, you can upload a file from your rendered page. You should see something like this on your terminal window when you hit submit.
This is my output. Yours will be different based on what you uploaded.
{
  fieldname: 'myFile',
  originalname: 'Final Resume.pdf',
  encoding: '7bit',
  mimetype: 'application/pdf',
  destination: 'public/files',
  filename: '54a87baf681a51490eda5626f495df6c',
  path: 'public\\files\\54a87baf681a51490eda5626f495df6c',
  size: 2034370
}
Also, note that a new file would already have been created in your files folder under public. But, that file won’t be readable because there is no extension for that file.
With the information we just got, we will configure multer in a more complex way so that our files become readable.
10. Configuring Multer
Now, we can start configuring Multer in a more complex way and we will do that in two parts:
- Configuring the disk storage and naming the uploaded files.
To do this, replace the previous one-liner code for configuration with this code:
Delete this:
//Configuration for Multer
const upload = multer({ dest: "public/files" });
Now write this:
//Configuration for Multer
const multerStorage = multer.diskStorage({
  destination: (req, file, cb) => {
    cb(null, "public");
  },
  filename: (req, file, cb) => {
    const ext = file.mimetype.split("/")[1];
    cb(null, `files/admin-${file.fieldname}-${Date.now()}.${ext}`);
  },
});
Multer has an in-built method called diskStorage and it takes a couple of options. The first option is again the destination, but we cannot simply set it as we did before.
The destination option is a callback function that takes three arguments:
- req, which is the incoming request object.
- file, which is the incoming file object (that we saw in the terminal a bit before).
- cb, which is again another callback function.
We call the cb function that takes the two arguments. The first is error which we are going to pass null to. The second is the destination folder which is public.
The second option that this method takes is the filename. It is almost the same as the destination option except in this, the inner callback function takes the filename as the second argument.
So, you can see that I have created a unique filename for this using the template string in JavaScript. You can refer to the file object that we logged in to our terminal earlier. I have taken the extension from the mimetype property of the file object and also the fieldname.
Congratulations. We have completed the first step of configuring Multer. Next, we will make a filter to filter out different kinds of files. I will make a filter to only allow the upload of PDF files. You can make your own filter by referring to the code below:
// Multer Filter
const multerFilter = (req, file, cb) => {
  if (file.mimetype.split("/")[1] === "pdf") {
    cb(null, true);
  } else {
    cb(new Error("Not a PDF File!!"), false);
  }
};
Now, this piece of code is very simple. Multer filter is just a function that also has req, file, and a callback function as its arguments. In this, we will check if the uploaded files are PDFs, if so we will pass true in the callback function. If it isn’t a PDF, we will pass false along with an error in the callback function. If you want to filter out some other files like images, you can do that easily by checking the mimetype of the uploaded files.
The last step is to again call the Multer function but now passing our manually configured multerStorage and multerFilter as options like the code below:
//Calling the "multer" Function
const upload = multer({
  storage: multerStorage,
  fileFilter: multerFilter,
});
Save the file to restart the server.
Now, if you try to upload a PDF file, you should see that uploaded file (in PDF format) in your files folder under the public directory. But, if you upload any other file, it will show an error.
So, we can finally see our uploaded file in our disk storage. But, if we want to see this file on the front-end, we need to store the name of the file in our database. Since, we have already created the schema for our database, all we have to do is to save the name of the file in our route-handler function.
Write the following code inside the uploadFile API endpoint:-
// Stuff to be added later
// console.log(req.file)
try {
  const newFile = await File.create({
    name: req.file.filename,
  });
  res.status(200).json({
    status: "success",
    message: "File created successfully!!",
  });
} catch (error) {
  res.json({
    error,
  });
}
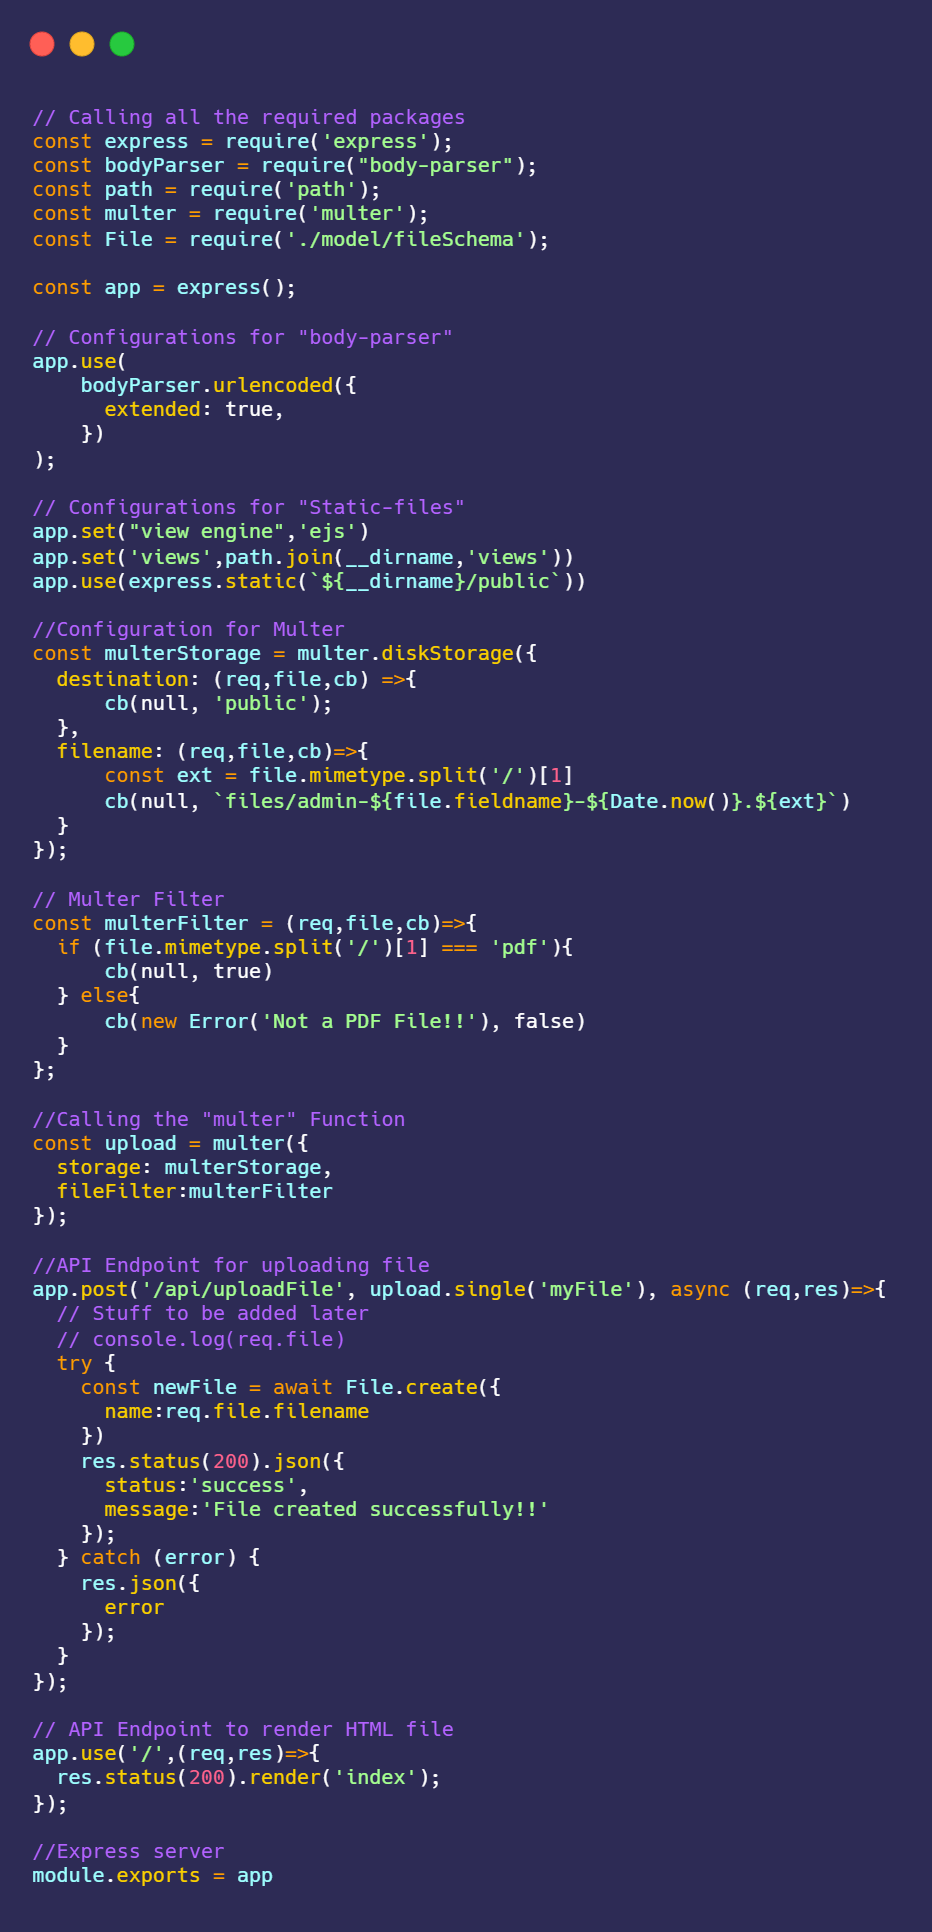
Updated app.js File
Know if you upload a file and hit submit again, the name of the file will be saved in your cloud database. To see that, you can go to your cluster at the MongoDB site, and in the collections, you should see something like the image below:
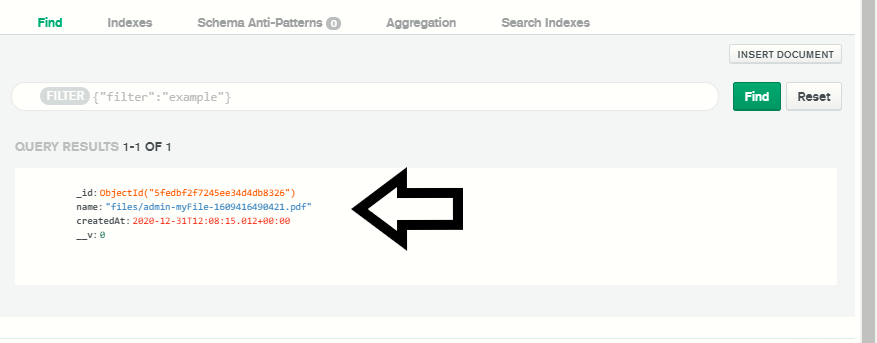
Note that, the name of the file in the database should match the filename in your disk storage and this is how we can upload a file using Multer as a middleware in a node.js application.
11. View these files on your front-end
The next part of this tutorial is to view these uploaded files on the front-end of your project. To do this, we have to create another API endpoint to get all the files.
Write the following code in your app.js file:
app.get("/api/getFiles", async (req, res) => {
  try {
    const files = await File.find();
    res.status(200).json({
      status: "success",
      files,
    });
  } catch (error) {
    res.json({
      status: "Fail",
      error,
    });
  }
});
Now, all we have to do is make an API call on this endpoint. I prefer using Axios to do this. After getting the results, we can show these files on our page using some basic HTML code and CSS.
Include this script at the end of your HTML code before closing the <html> tag.
<script src="https://unpkg.com/axios/dist/axios.min.js"></script>
I’ll include the JavaScript code after the HTML but you can create a new JavaScript file and then place it in the public directory the same as your CSS file.
<script>
  const parentDiv = document.querySelector(".admin");
  window.addEventListener("load", async () => {
    try {
      let result = await axios({
        method: "GET",
        url: "/api/getFiles",
      });
      let files = result.data.files;

      files.forEach((file) => {
        markup = `
              <div class="files__entity">
                <i class="files__icon fa fa-file-text" aria-hidden="true"></i>
                <span class="files__date">Date created:- ${file.createdAt}</span>
                <a href="${file.name}" class="files__link"><i class="fa fa-eye tests__icon" aria-hidden="true"></i></a>
              </div>
            `;
        parentDiv.insertAdjacentHTML("beforeend", markup);
      });
    } catch (error) {
      console.log(error);
    }
  });
</script>
With this code, we are calling the API endpoint that we created and with the data we receive, we are making entities for each different file. We also made a link in those entities and set its value to the name of the file stored in the database. This way, when we click that link, our uploaded file will open in our browser.
12. CSS Styles
*,
*::before,
*::after {
  margin: 0;
  padding: 0;
  box-sizing: inherit;
}

html {
  font-size: 62.5%;
  scroll-behavior: smooth;
}

.admin {
  margin-left: 50%;
  margin-top: 7rem;
  transform: translateX(-30%);
}

.admin__input {
  border: none;
  background-color: #41398e;
  padding: 1rem 1.8rem;
  color: #e2e0e0;
  border-radius: 10rem;
  margin-right: 2.5rem;
}

.admin__submit {
  border: none;
  background-color: #603556;
  padding: 1rem 1.8rem;
  color: #e2e0e0;
  border-radius: 10rem;
  cursor: pointer;
}

.admin__submit:focus {
  outline: none;
}

.files__entity {
  background-color: lightgray;
  display: inline-block;
  padding: 5px 10px;
  text-align: center;
  margin-top: 20px;
  font-size: 14px;
}
13. Conclusion
Congratulations. You’ve uploaded files using Multer and viewed them on the front-end. There are also lots of things that we can do with Multer, therefore I suggest you to check out its documentation here.
If you want to upload images, resize them according to your needs, in order to save space on the server. We would have to store the images in the buffer storage before storing them in disk storage.
Happy Coding!