
Table of Contents
JIMP eliminates the boilerplate code required to resize images to a given dimension before storing or adding watermark to images for branding purposes.
1. Getting Started with Node.js and JIMP image processing
In a Node.js application, Javascript Image Manipulation Program (or JIMP) makes it easier to manipulate images to achieve whatever design we want.
JIMP provides the functionality to crop, resize, blur, and add effects to images.
2. Prerequisites
To follow this tutorial along – the reader should have the following.
- Node.js installed on your computer.
- Knowledge of Javascript.
3. Project setup
- Create a project directory named
image-processing. - In the folder created above, run the command below to initialize Node.js in our project directory.
$ npm init
- Run the command below to add
JIMPpackage into our application.
$ npm install --save jimp
- Create a file name
index.jsin the project directory.
4. Image editing
4.1. Supported image formats
JIMP supports several image formats which includes:
@jimp/jpeg@jimp/png@jimp/bmp@jimp/tiff@jimp/gif
4.2. Reading an image
JIMP is built on the callback and the promise based APIS for image manipulations. We use the JIMP static method jimp. read to read the image that is to be processed. jimp. read takes an image path as the input.
jimp. read image input can be:
- URL to the image.
- Image path on the file system.
The code snippet below demonstrates how to read an image in JIMP.
Jimp.read('https://images.pexels.com/photos/4629485/pexels-photo-4629485.jpeg?auto=compress&cs=tinysrgb&dpr=3&h=750&w=1260')
  .then(image => {
    // Process the image
  })
  .catch(err => {
    // Handle exceptions.
  });
4.3. Resizing the images
JIMP uses the two-pass bilinear algorithm to resize the width and height of an image through its resize() method.
Image resize syntax:
resize( w, h[, mode] )
Add the code snippet below into index.js file.
const Jimp = require('jimp');
async function resize() {
  // reads the image
  const image = await Jimp.read('https://images.pexels.com/photos/4629485/pexels-photo-4629485.jpeg?auto=compress&cs=tinysrgb&dpr=3&h=750&w=1260');
  // resizes the image to width 150 and heigth 150.
  await image.resize(150, 150);
  // saves the image on the file system
  await image.writeAsync(`resize_${Date.now()}_150x150.png`);
}
resize();
Original image:

Resized image:

Jimp. AUTO can be passed in the place of height or width to resize the image while maintaining the aspect ratio. Jimp. AUTO can only be passed for either height or width at a time.
Whenever a resizing algorithm is not passed then JIMP applies the Jimp.RESIZE_BILINEAR algorithm.
Other resizing algorithms available in JIMP include:
Jimp.RESIZE_BEZIERJimp.RESIZE_BICUBICJimp.RESIZE_NEAREST_NEIGHBORJimp.RESIZE_HERMITE
4.4. Cropping an image
JIMP has a resize() method that crops the image to a specified x and y coordinates.
Syntax:
crop( x, y, w, h)
Add the code snippet below into the index.js file.
async function crop() {
  // reads the image
  const image = await Jimp.read('https://images.pexels.com/photos/4629485/pexels-photo-4629485.jpeg?auto=compress&cs=tinysrgb&dpr=3&h=750&w=1260');
  // crops the image
  await image.crop(500, 500, 150, 150);
  // Saves the image to the file system
  await image.writeAsync(`${Date.now()}_crop_150x150.png`);
}
crop()
Cropped image:

4.5. Rotating an image
JIMP provides a rotate() method that can be used to rotate an image through the angle provided while maintaining the dimensions of the image.
Syntax:
rotate( deg[, mode] );
Add the code snippet below into the index.md file.
async function rotate() {
  // reads the image
  const image = await Jimp.read('https://images.pexels.com/photos/4629485/pexels-photo-4629485.jpeg?auto=compress&cs=tinysrgb&dpr=3&h=750&w=1260');
  // rotates the image
  await image.rotate(45);
  // Saves the image into the file system
  await image.writeAsync(`${Date.now()}_rotate_150x150.png`);
}
rotate()
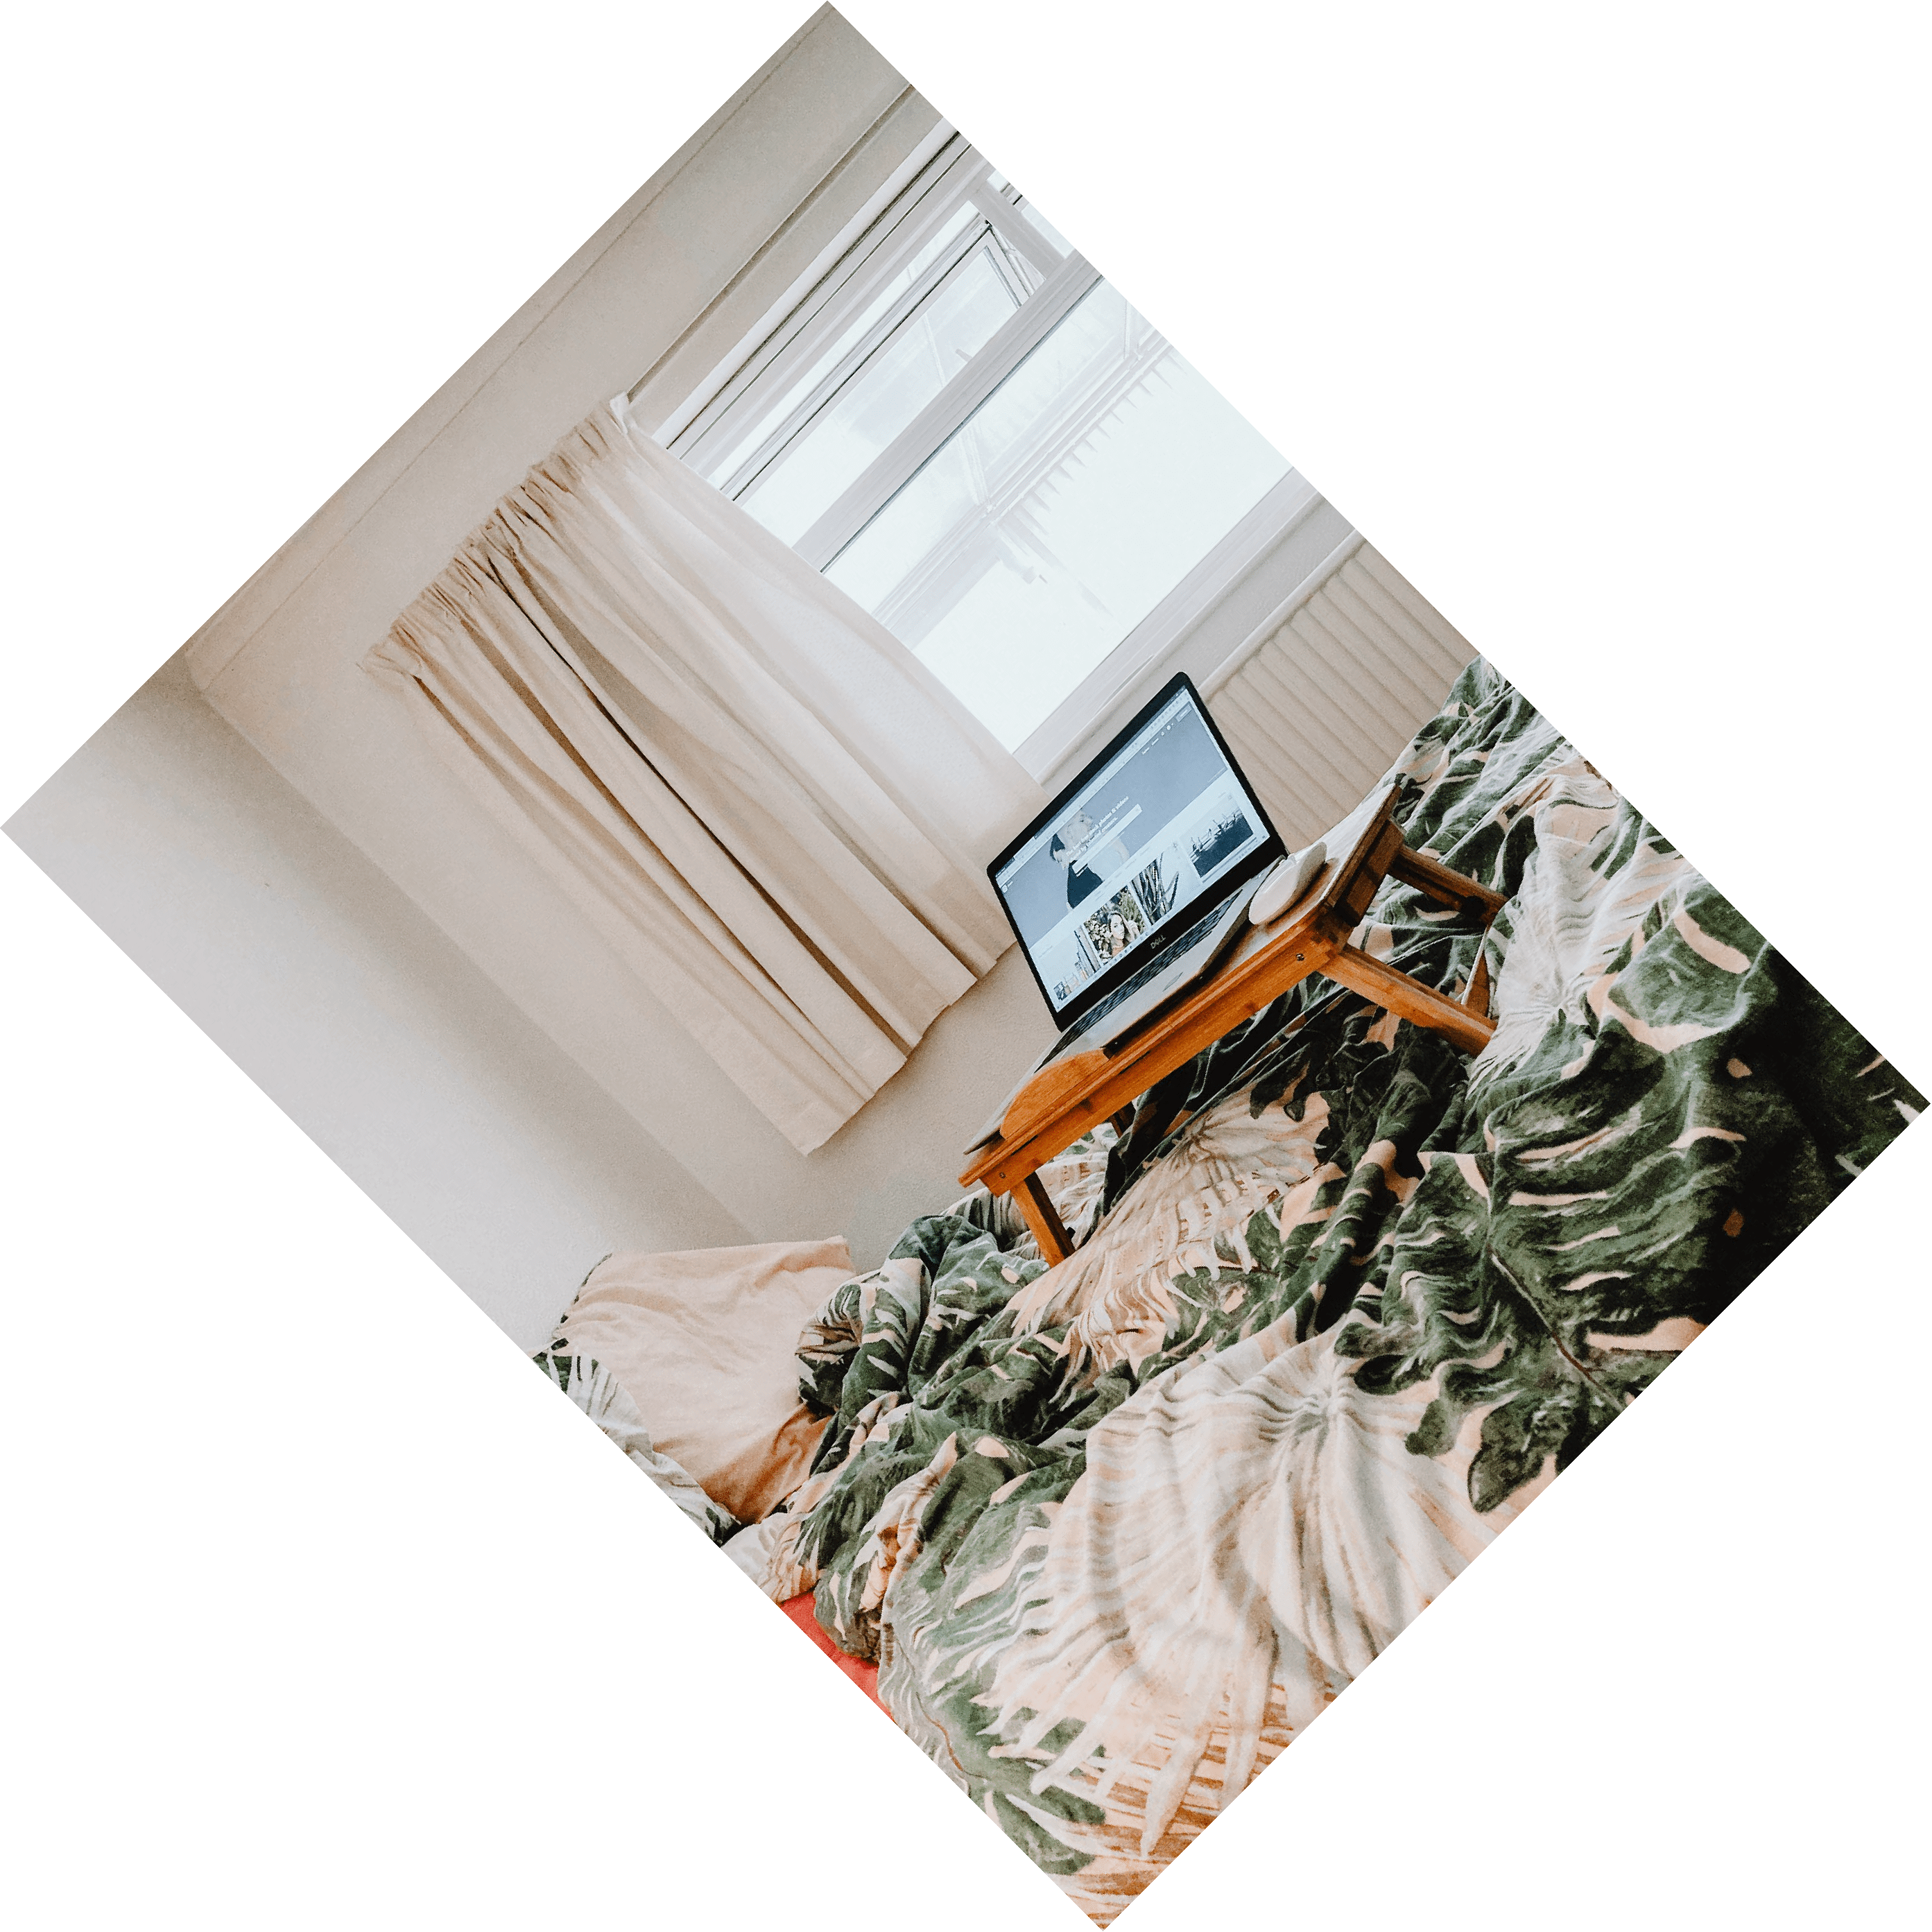
Rotated image:
4.6. Blurring an image
JIMP uses the blur algorithm which blurs an image by a given x pixels. JIMP provides the blur() method which takes in the blur pixels.
Syntax:
blur(r)
Add the code snippet below into the index.js file.
async function blur() {
  // reads the image
  const image = await Jimp.read('https://images.pexels.com/photos/4629485/pexels-photo-4629485.jpeg?auto=compress&cs=tinysrgb&dpr=3&h=750&w=1260');
  // blurs the image with the given number of pixels
  await image.blur(20);
  // Saves the image into the disk
  await image.writeAsync(`${Date.now()}_blur_150x150.png`);
}
blur()
Blurred image:

4.7. Adding an image overlay
JIMP provides a composite() method that adds an image over another image at x and y positions.
Syntax:
composite( src, x, y, [{ mode, opacitySource, opacityDest }] );
Add the code snippet below into the index.md file.
async function waterMark(waterMarkImage) {
  // reads the watermark image
  let  watermark = await Jimp.read(waterMarkImage);
  // resizes the watermark image
  watermark = watermark.resize(300,300);
  // reads the image
  const image = await Jimp.read('https://images.pexels.com/photos/4629485/pexels-photo-4629485.jpeg?auto=compress&cs=tinysrgb&dpr=3&h=750&w=1260');
  //adds the watermark to the image at point 0, 0
 watermark = await watermark
  image.composite(watermark, 0, 0, {
    mode: Jimp.BLEND_SOURCE_OVER,
    opacityDest: 1,
    opacitySource: 0.5
  })
  //Saves the image into the file system
  await image.writeAsync(`test/${Date.now()}_waterMark_150x150.png`);
}
waterMark('https://destatic.blob.core.windows.net/images/nodejs-logo.png');
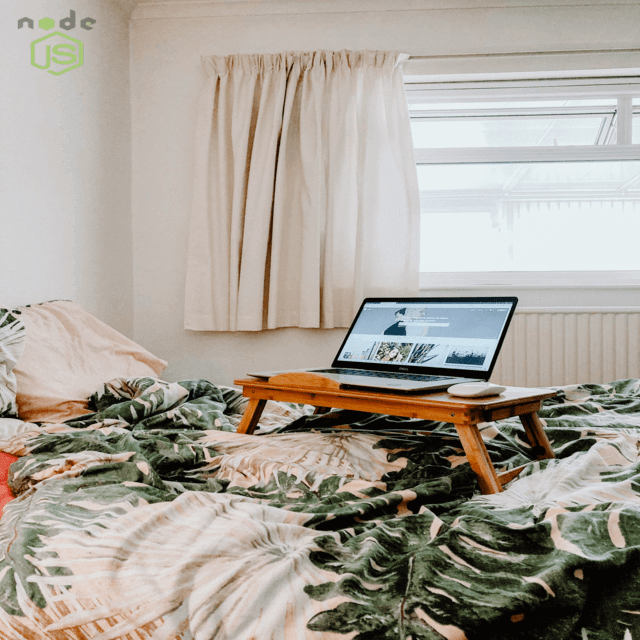
Watermarked image:
4.8. Running the program
- On the terminal, navigate to the project directory.
- Execute the command below to run our program.
$ node index.js
5. Conclusion
Now that you have learned how to use JIMP in a Node.js application, add watermarks to images that users upload to your Node.js application using JIMP. You can download the full source code here:
const Jimp = require('jimp');
async function resize() {
  // reads the image
  const image = await Jimp.read('https://images.pexels.com/photos/4629485/pexels-photo-4629485.jpeg?auto=compress&cs=tinysrgb&dpr=3&h=750&w=1260');
  // resizes the image to width 150 and heigth 150.
  await image.resize(150, 150);
  // saves the image on the file system
  await image.writeAsync(`resized-image.png`);
}
resize();

async function crop() {
    // reads the image
    const image = await Jimp.read('https://images.pexels.com/photos/4629485/pexels-photo-4629485.jpeg?auto=compress&cs=tinysrgb&dpr=3&h=750&w=1260');
    // crops the image
    await image.crop(500, 500, 150, 150);
    // Saves the image to the file system
    await image.writeAsync(`cropped-image.png`);
  }
  crop()


  async function rotate() {
    // reads the image
    const image = await Jimp.read('https://images.pexels.com/photos/4629485/pexels-photo-4629485.jpeg?auto=compress&cs=tinysrgb&dpr=3&h=750&w=1260');
    // rotates the image
    await image.rotate(45);
    // Saves the image into the file system
    await image.writeAsync(`rotated-image.png`);
  }
  rotate()


  async function blur() {
    // reads the image
    const image = await Jimp.read('https://images.pexels.com/photos/4629485/pexels-photo-4629485.jpeg?auto=compress&cs=tinysrgb&dpr=3&h=750&w=1260');
    // blurs the image with the given number of pixels
    await image.blur(20);
    // Saves the image into the disk
    await image.writeAsync(`blurred-image.png`);
  }
  blur()


  async function waterMark(waterMarkImage) {
    // reads the watermark image
    let  watermark = await Jimp.read(waterMarkImage);
    // resizes the watermark image
    watermark = watermark.resize(300,300);
    // reads the image
    const image = await Jimp.read('https://images.pexels.com/photos/4629485/pexels-photo-4629485.jpeg?auto=compress&cs=tinysrgb&dpr=3&h=750&w=1260');
    //adds the watermark to the image at point 0, 0
   watermark = await watermark
    image.composite(watermark, 0, 0, {
      mode: Jimp.BLEND_SOURCE_OVER,
      opacityDest: 1,
      opacitySource: 0.5
    })
    //Saves the image into the file system
    await image.writeAsync(`watermarked-image.png`);
  }
  waterMark('https://destatic.blob.core.windows.net/images/nodejs-logo.png');