
Table of Contents
Choosing the right JavaScript tech stack in the massive ecosystem is challenging. One of the Node.js web server framework that is rising in popularity these days is Fastify due to its ease of use and great developer experience.
In this tutorial, we will use Fauna to create a User collection containing our users’ documents, protect the routes, read and delete the user document in the collection.
Feel free to check complete application in this Github repository to follow along.
1. Prerequisites
- A basic understanding of JavaScript programming language is essential.
- Have any recent version of Node.js runtime installed on your system.
- Have a text editor like VS Code installed.
- You need an API Client such as Postman. In my case, I will be using Thunder Client which is available as a VSCode extension.
- FaunaDB is a cloud database. Therefore, you will need at least a basic free tier account.
2. Project setup
To get started, create your project folder and name it fastify-fauna, open it in your favorite IDE, and make sure to access it from the terminal.
Initialize NPM with the command npm init -y. This should create an initial package.json file in your project folder.
Next, we will need to install our application npm dependencies which include:
fastify: Fastify is a Node.js web framework with great developer experience and a powerful plugin architecture.faunadb: FaunaDB client is a Node.js database driver that interacts with the Fauna cloud multi-model database.dotenv: API keys are sensitive data in any application and therefore should not be hardcoded or pushed to any Github repository. Adotenvis a module that injects environment variables from a.envfile into our Node.js application.
To install these packages using npm, run the command:
npm install fastify faunadb dotenv
Next, create an entry file index.js in the root folder and add the following code to initiate our server:
const app = require('fastify')({ logger: true })

const startServer = async ()=> {
  try {

    await app.listen(3000)
    app.log.info(`Listening on ${fastify.server.address().port}`)
  } catch (err) {
    app.log.error(err)
    process.exit(1)
  }
}

startServer()
To briefly dissect the above code:
- We import the fastify module to create the
appobject asconst app = require('fastify')({ logger: true }). Theloggeris being passed as an optional parameter to ensure that we get logs on our application in the console. - Before listening to requests on
port 3000, fastify expects an asynchronous function (async function startServer()) that will resolve or reject in case our server fails to start.
Later on, we will use the command node index.js to start our server and check if everything is okay.
3. Creating Fauna initial database
You need to create a free account to access the fauna dashboard so as to create a new database.
Initially, the dashboard screen should look like this:
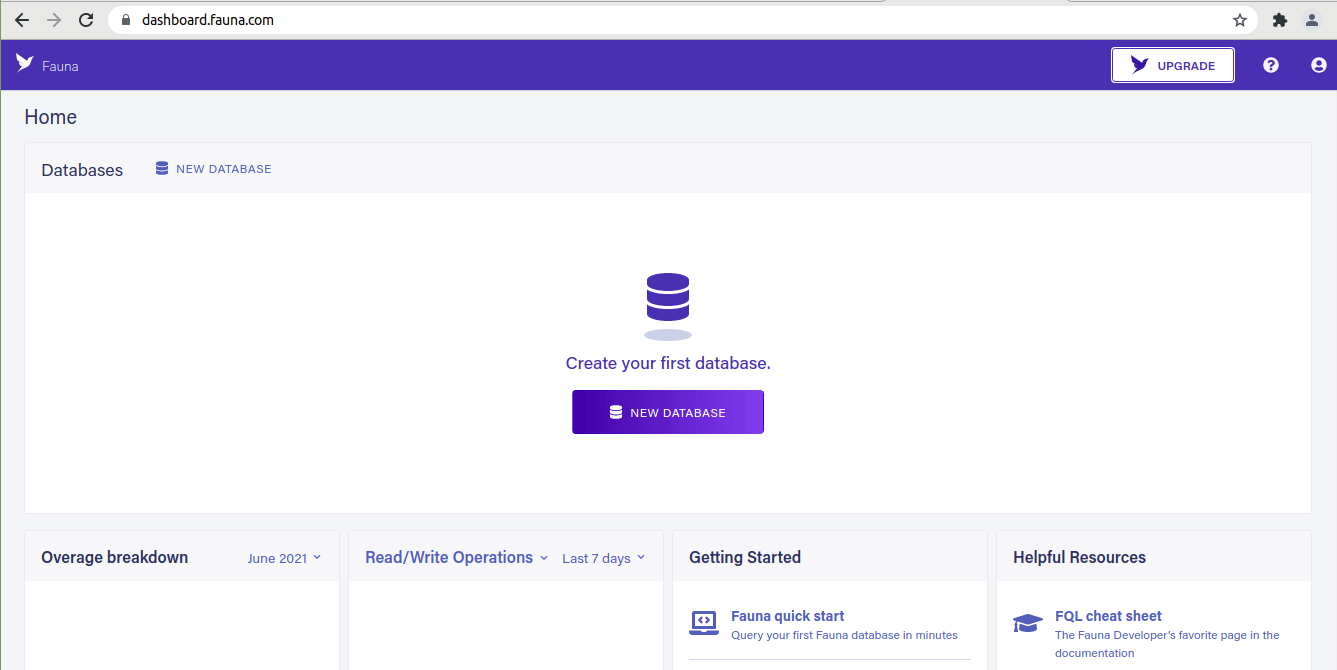
Fauna dashboard
Next, give your database a name. Name the database FASTIFY-FAUNA:
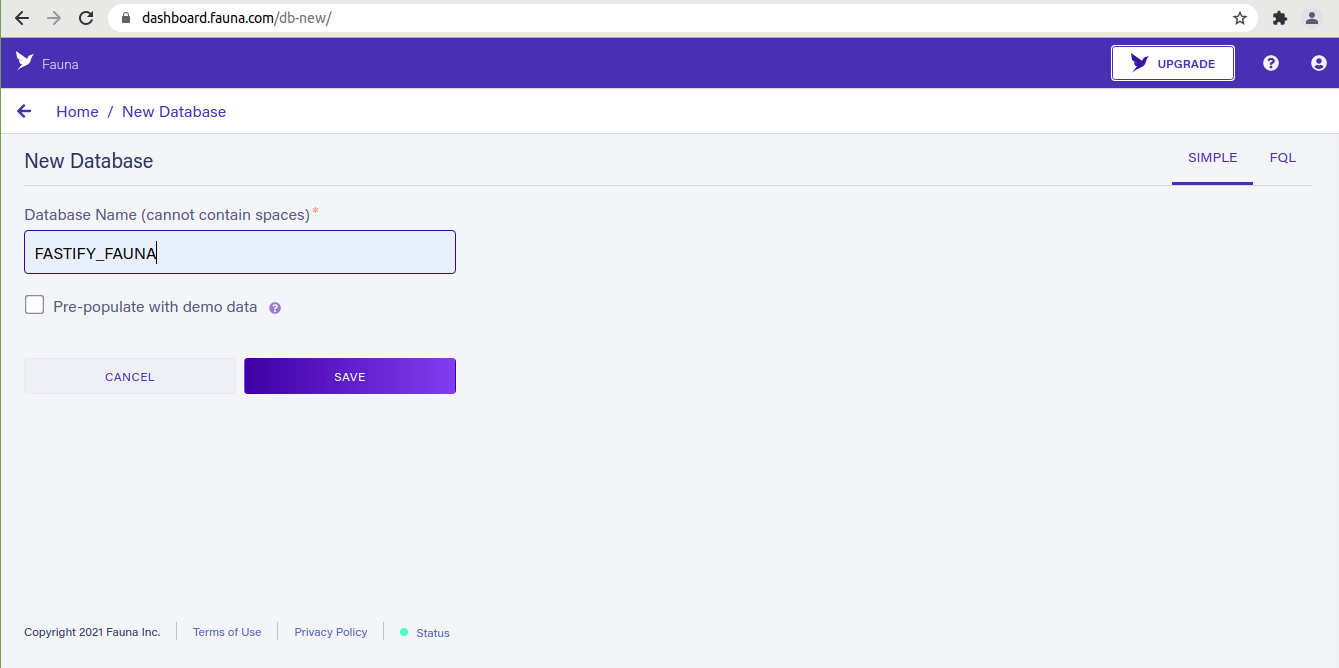
Create new database in Fauna
Since we need to access our fauna database from our Node.js application code, we can create a server access key.
On your Fauna dashboard, navigate to the Security section and create a new key. Make sure to use its Role options as Server:
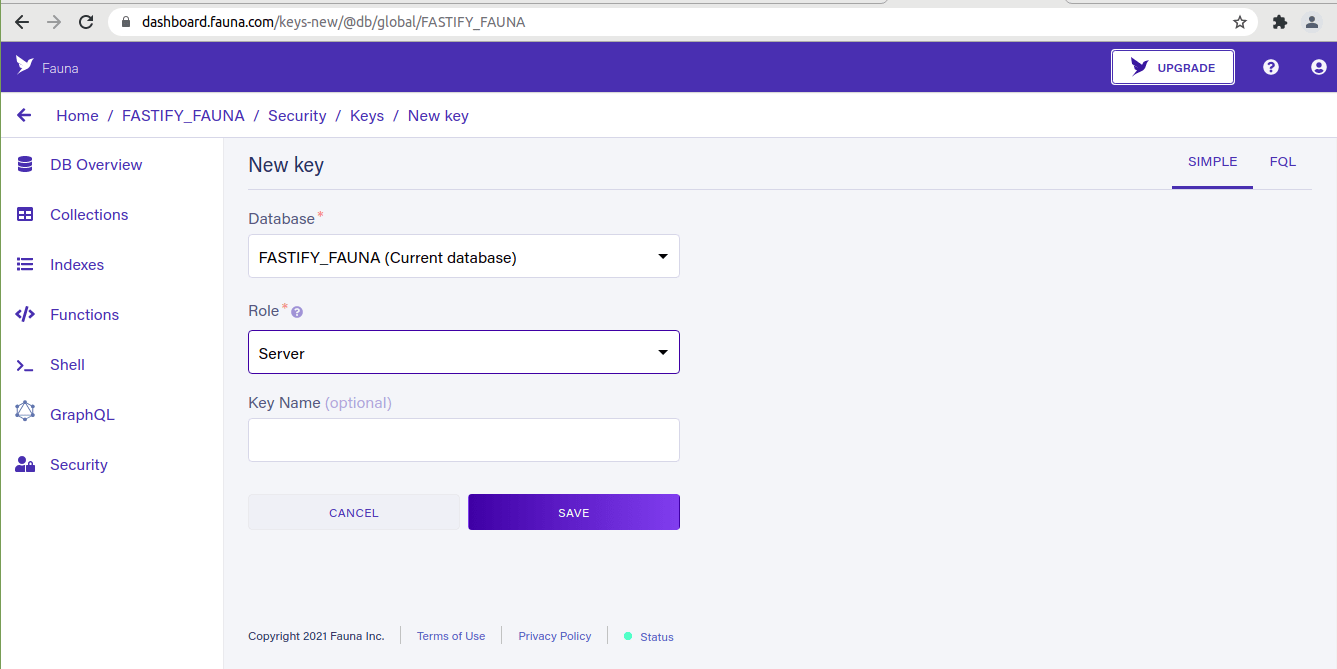
Creating a security key
The key is a secret and is what we use to access Fauna from Node.js.
Note: The server key should be stored safely, as Fauna will not show it again.
From here, we are now ready to execute our database queries. Using the shell in our dashboard, we need to create our fauna database collection and index.
A collection stores the documents for users. To create the Users collection, open the shell and run the query:
CreateCollection({
  name: "Users"
})
When we executing the above query, it should return:
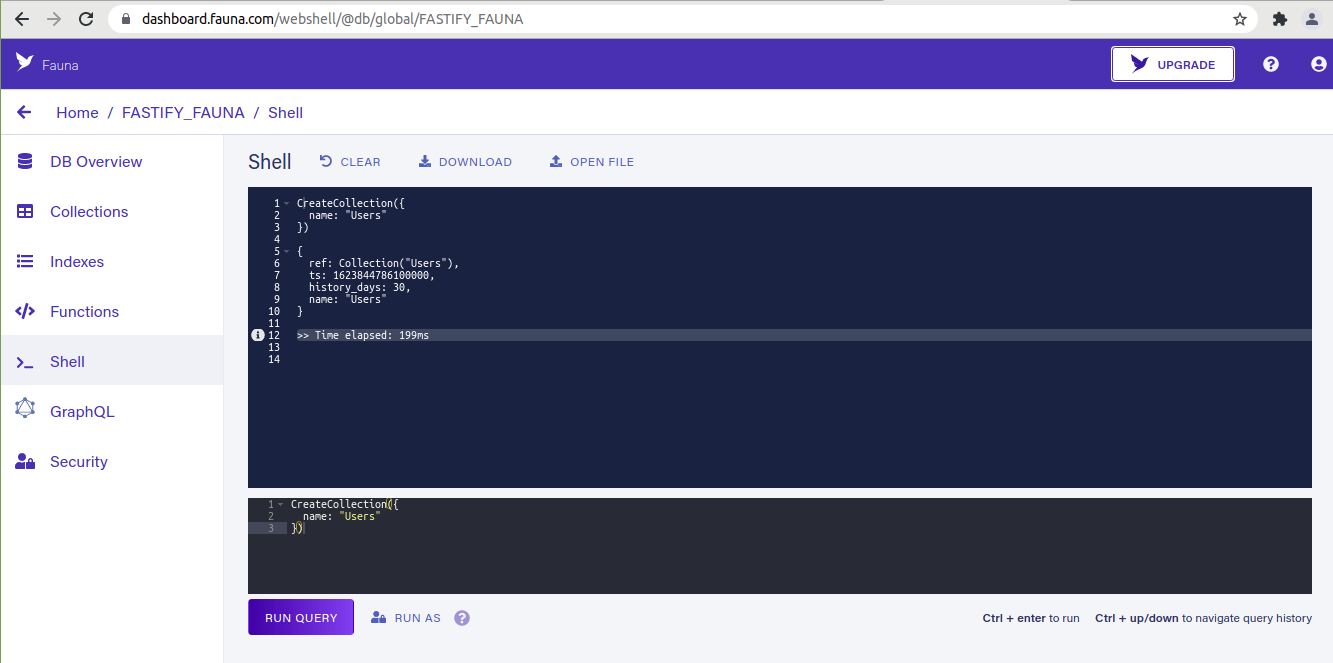
Create new collection in DB
Next, we need a database index. This is a copy of data columns from a table that is mainly designed to enable very efficient search and unique entries.
CreateIndex({
  name: "Users_by_username",
  source: Collection("Users"),
  terms: [{field: ["data", "username"]}],
  unique: true
})
Our server key needs to be stored in a .env file.
Create it and add your server secret:
FAUNA_SECRET=fnAEL1cTZWACBe86wLa_EgUk6JAz8IebvKlQAK-u
You should use the secret you obtained from the dashboard as I will be deleting this.
Any environment variable that in our .env file will be accessed using process.env in our code. To prevent the .env file containing our sensitive server information from being pushed to a Github repository, create a .gitignore and add as shown below:
.env
node_modules
4. Creating our custom error class
Before we can start working on our server routes endpoints, we need to handle any expected error that may be received from Fauna.
To achieve this, we will use a custom FaunaError class that integrates into the Fastify’s error handling lifecycle.
Add folder and a file as errors/FaunaError.js and paste the following code:
class FaunaError extends Error {
  constructor (err) {
    super()

    const errors = err.requestResult.responseContent.errors

    this.code = errors[0].code
    this.message = errors[0].description

    this.statusCode = 500

    if (this.code === 'instance not unique'){
      this.statusCode = 409
    }

    if (this.code === 'authentication failed') {
      this.statusCode = 401
    }

    if (this.code === 'unauthorized') {
      this.statusCode = 401
    }

    if (this.code === 'instance not found') {
      this.statusCode = 404
    }

    if (this.code === 'permission denied') {
      this.statusCode = 403
    }
  }
}

module.exports = FaunaError
This class checks the HTTP status and description returned from the Fauna error instance. Fastify will read the statusCode property and return it as the HTTP code of the response when a request fails.
5. Creating users in Fauna
Let’s now create our first Fastify REST route that makes a POST request to create new users:
app.post('/users', require('./routes/create-user.js'))
Now, create a routes folder and inside it, add routes/create-user.js file.
Paste the code:
const faunadb = require('faunadb')
const FaunaError = require('../errors/FaunaError.js')

// destructure Create and Collection
const {Create, Collection} = faunadb.query

module.exports = {
  schema: {
    body: {
      type: 'object',
      required: ['username', 'password'],
      properties: {
        username: {type: 'string'},
        password: {
          type: 'string',
          minLength: 8
        }
      }
    }
  },
  async handler (request, reply) {

    const {request} = body

    const {username, password} = request

    const client = new faunadb.Client({
      secret: process.env.FAUNA_SECRET
    })

    try {
      const result = await client.query(
        Create(
          Collection('Users'),
          {
            data: {username},
            credentials: {password}
          }
        )
      );

      reply.send(result)

    } catch (error) {
      throw new FaunaError(error)
    }
  }
}
This is a public route and therefore, our server secret will be used to execute the queries. Once our users are authenticated, we will be using their generated secret to run queries.
The authorization rules will only permit users to perform actions that have been allowed at a certain endpoint. More on this later.
Fauna uses an HTTP engine that is different from other database clients, we will need to instantiate a new client on every request to the database. It runs on the cloud and therefore each database query is simply an HTTP request.
If an error is returned from the database, we need to catch it, instanciate the FaunaError class before logging it into the console. Fastify should take care of the rest, since logging is enabled.
To test our routes during development, an HTTP client is useful. My preferred tool is Thunder client which is available as a VS Code extension.
Let’s make a POST request to http://localhost:3000/users with the body as a JSON object. Do not forget to add the Content-Type header:
{
  "username": "Winchy",
  "password": "supersecretpassword"
}
If everything works as we expected, our response body should contain a JSON document representation that has been created in our Users collection:
{
  "ref": {
    "@ref": {
      "id": "301556533148254727",
      "collection": {
        "@ref": {
          "id": "Users",
          "collection": {
            "@ref": {
              "id": "collections"
            }
          }
        }
      }
    }
  },
  "ts": 1606435813770000,
  "data": {
    "username": "Winchy"
  }
}
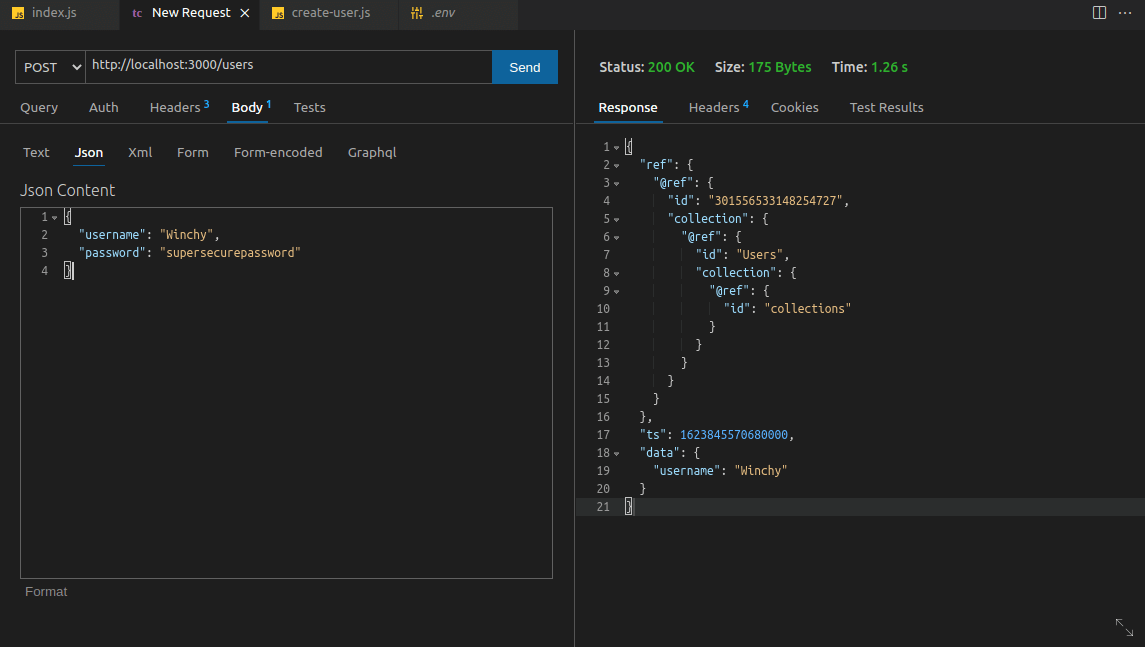
Request-Response for creating new users
Trying to create the same user twice should return a Fauna error since the Users_by_username index does not allow two documents to exist with the same username.
6. Adding user authentication
Before making further requests, let’s create an endpoint with Fastify that will authenticate our users.
Add this code to the index.js file:
app.post('/login', require('./routes/login.js'))
This is a /login POST HTTP endpoint from the routes folder that will be used for authenticating users. For this route, create a login.js file inside our routes directory and add the code:
const faunadb = require('faunadb')
const FaunaError = require('../errors/FaunaError.js')

const {Login, Match, Index} = faunadb.query

module.exports = {
  schema: {
    body: {
      type: 'object',
      required: ['username', 'password'],
      properties: {
        username: {type: 'string'},
        password: {type: 'string'}
      }
    }
  },
  async handler (request, reply) {

    const {request} = body

    const {username, password} = request

    const client = new faunadb.Client({
      secret: process.env.FAUNA_SECRET
    });

    try {

      const result = await client.query(
        Login(
          Match(Index('Users_by_username'), username), // match by username and password
          {password}
          )
        )

      reply.send({
        secret: result.secret
      })

    } catch (error) {
      throw new FaunaError(error)
    }
  }
}
Here, we use the index Users_by_username with the declarative Login() function that is destructured from the faunadb.query object instance. The FAUNA_SECRET then needs to passed to the client instance before authentication.
Once the username and password from the request body match, the user authentication should be completed successfully. This will return a server secret to make a future request for that user.
Let’s try it out by making a POST request to http://localhost:3000/login.
The JSON body of our request should be:
{
  "username": "Winchy",
  "password": "supersecretpassword"
}
If this is successful, the API should return a response body with the user’s secret:
{
  "secret": "fnED7o254PACAAPuFGfOAAIDnuZTNlU5Z7dD3LdjPKycDCyUkeI"
}
The client is required to store the generated secret and use it for further requests to the API. More on this in the next route.
This is a simple basic form of authentication. In your production applications, you should decide which authentication strategy works better for your use case. Always use HTTPS to interact with servers and third-party APIs.
7. Retrieving user documents
Unlike our previous routes, we will make this endpoint a private route. The recommended way to use private routes in Fastify is using hooks. They act as custom bits of code that will be executed at certain points in the request/response lifecycle.
A hook is registered using the .addHook method which helps us interact and listen to events within Fastify’s lifecycle.
Refer to the Fastify docs for more infomation on hooks.
Our hook will first check if the fauna-secret header is present on all routes that we mark as private. A decorator is created by .decorateRequest() method which lets Fastify know that our request object will be a subject to modifications.
The code to achieve this should be in the index.js file:
app.addHook('onRequest', async (request, reply) => {

  if (!reply.context.config.isPrivateRoute) return

  const faunaSecret = request.headers['fauna-secret']

  if (!faunaSecret) {
    reply.status(401).send()
    return
  }

  request.faunaSecret = faunaSecret
})

app.decorateRequest('faunaSecret', '')
If we happen use an invalid secret, Fauna should return an error response.
Add this to the index.js file before making a GET request:
app.get('/users/:userId', require('./routes/get-user.js'))
Also create the routes/get-user.js file with the code:
const faunadb = require('faunadb')
const FaunaError = require('../errors/FaunaError.js')

const {Get, Ref, Collection} = faunadb.query

module.exports = {
  config: {
    isPrivateRoute: true
  },
  schema: {
    params: {
      type: 'object',
      required: ['userId'],
      properties: {
        userId: {
          type: 'string', // use type and pattern
          pattern: "[0-9]+"
        }
      }
    }
  },
  async handler (request, reply) {

    const userId = request.params.userId

    const client = new faunadb.Client({
      secret: request.faunaSecret
    })

    try {

        const result = await client.query(
            Get(
                Ref(
                    Collection('Users'),
                    userId
                )
            )
        )

        reply.send(result)

    } catch (error) {
        throw new FaunaError(error)
    }
  }
}
A brief code walkthrough:
- We imported our fauna client and
FaunaErrorclass into ourget-user.jsfile. - We imported the
Get,Ref, andCollectionmethods from thefauna.queryobject for making queries to the Fauna database. - In the config part of our route, we added property
isPrivateRoutewhich indicates that the route is private for our custom hook. - Also, the user secret provided is used to communicate with Fauna.
If we try this request on this route, Fauna responds with an error since our user currently has no permissions to read the collection Users. A quick fix is to modify this like a new custom role in Fauna.
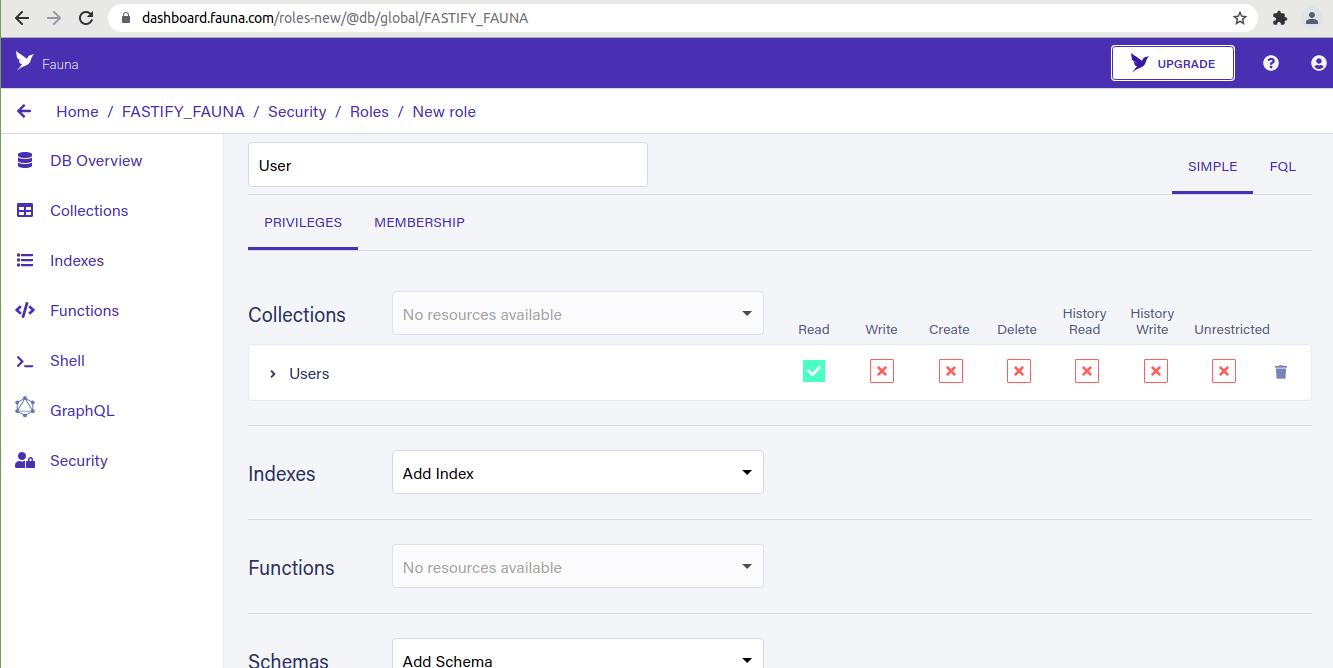
To add authorization from the dashboard, go to the Security section of the dashboard under the Roles tab and click on the New Custom Role to enable it.
Assign a name of User, add the collection of Users, and click on the Read permission to enable it:
Creating new custom roles
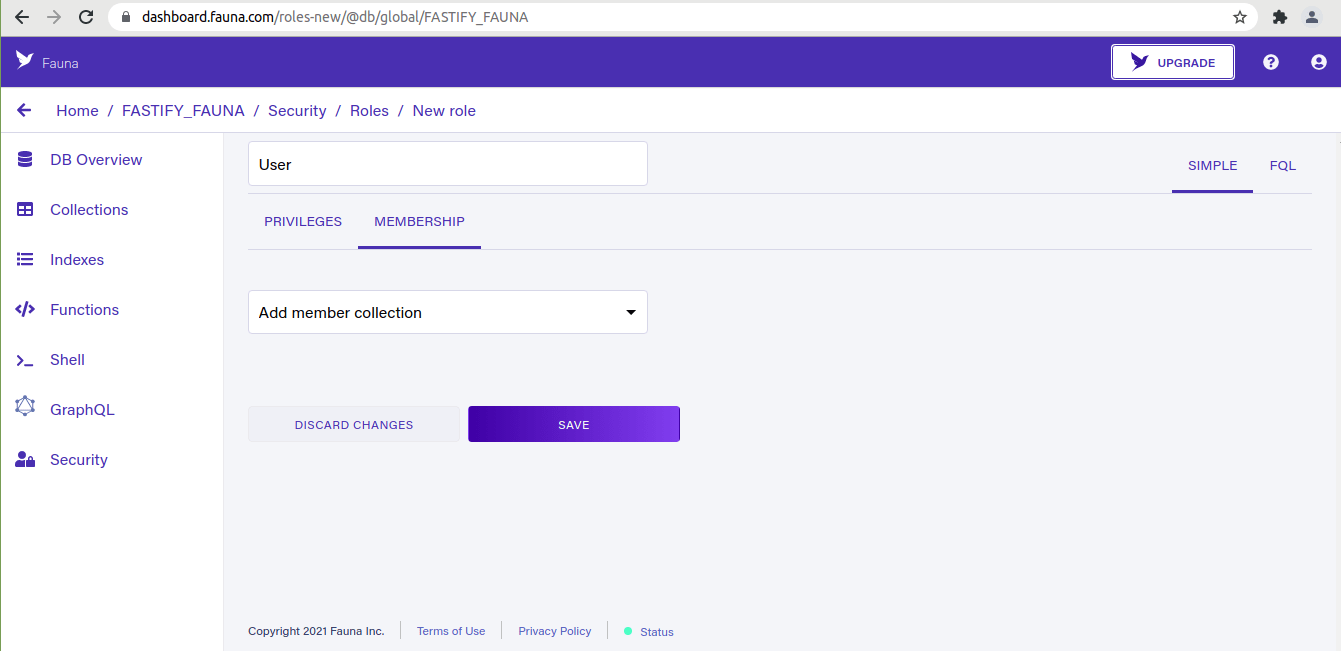
Fauna will need to know who belongs to the added role. Add it in the dashboard under the Membership tab and make sure the Users option collection is selected as the member of this role:
Create new membership collection
Any user who logs in with a token based on a document from the Users collection will have the read permission on any document in that collection. My document ID from the previous user happens to be 301556533148254727.
For your case, check the ID of the user by going back to the Collections section of the Fauna dashboard and grab it from that document.
Before we make this HTTP request, we need to ensure that we add the user’s secret (the one that we got after logging in our user) and add it into the custom fauna-secret HTTP header:
Now, we need to make a GET HTTP request to the endpoint http://localhost:3000/users/301556533148254727.
The request should respond with the document ID in the URI:
{
  "ref": {
    "@ref": {
      "id": "301556533148254727",
      "collection": {
        "@ref": {
          "id": "Users",
          "collection": {
            "@ref": {
              "id": "collections"
            }
          }
        }
      }
    }
  },
  "ts": 1606435813770000,
  "data": {
    "username": "Winchy"
  }
}

GET Request for fetching user details
9. Deleting a user
To make a delete request, first, we will need to add the permission that allows us to delete the User to the custom roles.
On the dashboard, go back to the Security section and modify the Roles on the Users collection to permit deletion requests. Save the modifications and add the DELETE HTTP route to our index.js file:
app.delete('/users/:userId', require('./routes/delete-user.js'));
Finally create the delete-user.js file inside the routes folder and paste the code:
const faunadb = require('faunadb')
const FaunaError = require('../errors/FaunaError.js')

const {Delete, Ref, Collection} = faunadb.query

module.exports = {
  config: {
    isPrivateRoute: true
  },
  async handler (request, reply) {

    const userId = request.params.userId

    const client = new faunadb.Client({
      secret: request.faunaSecret
    })

    try {
      const deleteResult = await client.query(
        Delete(
          Ref(
            Collection('Users'),
            userId
          )
        )
      )

      reply.send(deleteResult)

    } catch (error) {
      throw new FaunaError(error)
    }
  }
}
Our endpoint uses the Delete function from the faunadb.query object to match the userId passed as a parameter. Making the DELETE request to http://localhost:3000/users/301556533148254727 endpoint responds with the deleted document.
If we try to use a secret for a deleted user, we will get back a 401 error indicating that the request is unauthorized.
10. Conclusion
The simplicity of the FaunaDB cloud database offers great experience without sacrificing scalability and simplicity. It is a complete serverless, fast, and ACID-compliant database that will scale infinitely on the cloud without much hassle from the developer.
Fastify on the other hand offers a high performance and ludicrous speed in Node.js web servers. It’s rich ecosystem of plugins ensures we do not reinvent the wheel.
Worrying about being developer friendly?
Well, just like Express, Fastify is simple and elegant with great logging system. What else can we ask for?
I hope you give it a try in your next Node.js project.
Happy coding!