
Table of Contents
Node.js is a popular server-side language that is used by millions of developers worldwide. While building Node.js projects, we use various packages that make development easier. All of these packages are managed by the Node Package Manager.
To learn more about Node.js, check out this amazing article about Node.js by MaiXuanViet.com contributor.
1. Introduction
A package manager is software that manages versions, packages and dependencies for your project. When a project grows in scale, a package manager helps to manage dependencies. It works perfectly across versions and even in collaborative projects. It cuts costs by reducing dependency problems across developer teams.
To install Node.js packages, we use the NPM registry, which is a centralized repository of packages. In this article, we will learn how to create a Node.js package and deploy it on the NPM registry for public use.
For more background on Node.js and various related technologies, check out some amazing MaiXuanViet.com articles below:
- Most Useful Node.js Packages
- Building a Node.js Application Using Docker
- Linting in Node.js using ESLint
- APIs in Node.js vs Python – A Comparison
2. Create an NPM Account
To get started, let’s create an NPM account.
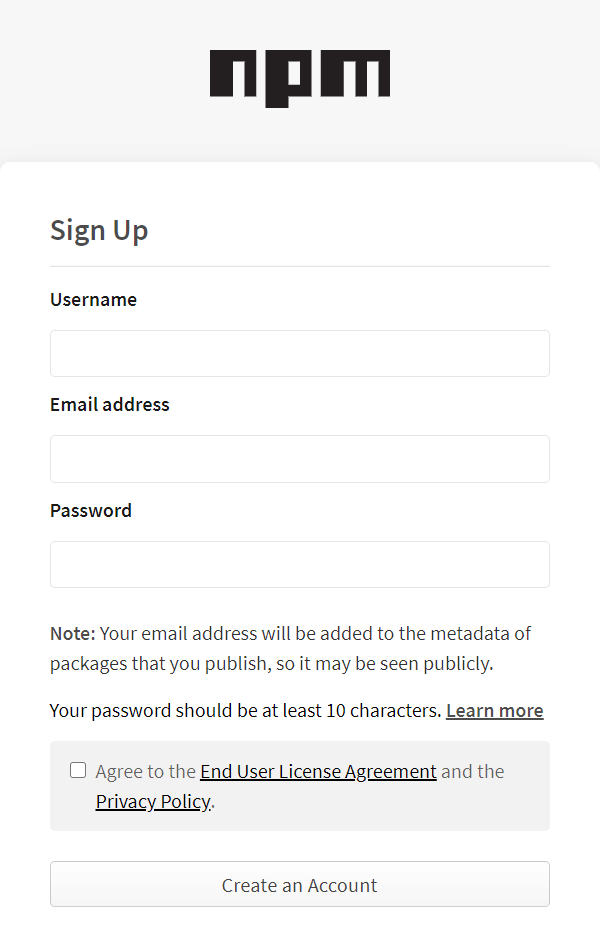
- Go to the npmjs website and click on the sign up button.

- Enter a username, email address, and password.
- Now, you have to verify your account. Check the inbox of the email address that you provided and click on the verification email. This will verify your npm account.
- You have successfully created an NPM account, and can start publishing packages.
- You need to sign in to your npm account on your console to start publishing packages.
- To do this, open a new folder and start your terminal. Enter the command:
npm login
- Now, enter your username, password and email ID.
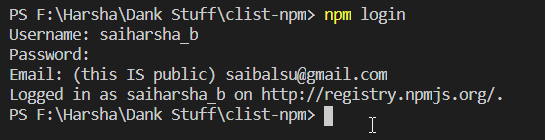
- We have successfully signed in.
3. Let’s Code
- Every package published to the NPM registry should have a
package.jsonfile. Let’s start by initializing a package.json file. - The minimum requirements of a
package.jsonfile is a name and a version. Let’s enter those pieces of information into the file.
{
  "name": "clist-node",
  "version": "1.0.0"
}
- Enter a different name in package.json because every NPM package should have a unique name.
- In our sample NPM package, we are going to use the axios package for making API calls. Install it by using this command:
npm i axios
Note: To learn more about Axios, check out its NPM package page here.
- We’ll be using the clist API that returns a list of contests like hackathons, programming contests, etc..,
- Create an account on the clist website and get an API key.
- The entry point of our package would be the
index.jsfile. Create a file named index.js in the same directory.
// module.exports exports the function getContests as a promise and exposes it as a module.
// we can import an exported module by using require().
module.exports = async function getContests() {
  const axios = require("axios"); // Importing the Axios module to make API requests
  var result;

  const username; // Insert Your Username here
  const api_key; //Insert API key here

  await axios // Making a GET request using axios and requesting information from the API
    .get(
      "https://clist.by/api/v1/json/contest/?username=" + username + "&api_key=" + api_key + "&limit=20&end__gt=2020-09-19T00%3A00%3A00"
    )
    .then((response) => { // If the GET request is successful, this block is executed
      return response; // The response of the API call is passed on to the next block
    })
    .then((contests) => { // In this block, we store the response data into a variable 'result'
      result = contests.data.objects;
    })
    .catch((err) => {
      console.log(err); // Error handler
    });
  return result; // The contest data is returned
};
Note: This package requires an API key to run. Therefore, it might not run directly if you install it.
Now that we’ve programmed the package, it’s time to deploy it.
4. Deployment
- To deploy the package, enter the command:
npm publish
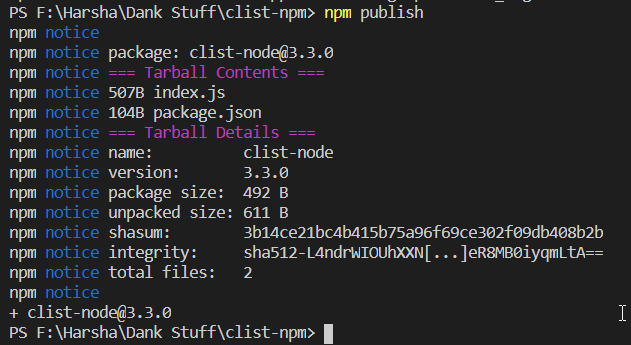
- In a moment, you’ll get an email from the NPM registry indicating that your package has been successfully published!
5. Using the Package
- Let’s install and test our package.
- Open a new folder and initialize a
package.jsonby using the command:
npm init -y
Note: The -y option creates a package.json without an interactive process.
- Now, let’s install our published npm package.
npm i clist-node
Create an index.js file and let’s code.
const clist = require("clist-node"); // import the installed package

clist()
  .then((res) => {
    // If the function successfully retrieves the data, it enters this block
    console.log(res); // Print the contest data on the console
  })
  .catch((err) => {
    console.log(err); // Error handler
  });
Run this file by using the command:
node index.js
- The contest data from our NPM package would be printed out on the console. The retrieved data can be used to dynamically render elements on our front-end, store them in a database or process the data further. The possibilities are endless.

- We have successfully deployed and tested our NPM package!
6. Conclusion
To summarize what we did:
- Created an NPM Account from npmjs.org.
- Login to the terminal using your npm credentials using the command,
npm login. - Initialized the
package.jsonfile using thenpm init -ycommand. - Wrote code.
- Deployed the package using,
npm publish. - Use your deployed package using
npm i <package-name>.
7. Further Readings
For more knowledge on NPM packages and JavaScript, check out the articles below.