
Table of Contents
Typescript, a JavaScript superset, is gaining tremendous popularity among developers. It incorporates every JavaScript feature with supplementary traits such as static typing and type checking.
Many factors make Node.js a popular JavaScript framework. Node.js has a strong NPM (Node Package Manager) ecosystem that provides open-source code (packages) that you can use in any of your Node.js projects. Check out this fantastic article to learn more about why Node.js is a popular framework.
Node.js is great for making server-side applications, but it lacks some modern components such as type checking. A Node.js codebase can also be very hard to maintain.
Typescript supports these modern coding styles, such as static typing and type checking. It is made to build extensive and high-level applications. That’s why it would be great to have Typescript as the primary language to support Node.js functionality.
This allows you to write server-side-based applications with strong type checking, which allows you to avoid runtime type errors and other Typescript advantages and take full advantage of Node.js.
To benefit from these vital Node.js features, you need to set up and configure your Typescript with Node.js runtime. This guide will teach you how to set up and run your Typescript application with Node.js and run some Node.js packages within your Typescript application.
1. Prerequisites
To follow it tutorial along – the reader will need the following:
- Node.js installed on your computer.
- Basic understanding of Node.js.
- Basic understanding of Typescript.
2. Setting up Node.js
Once Node.js is installed in the computer, run node –v to confirm if the installation was successful.
Just like you would have done with any application running on the Node.js runtime, create a project folder. Open a command line and change the directory to point to this new project folder.
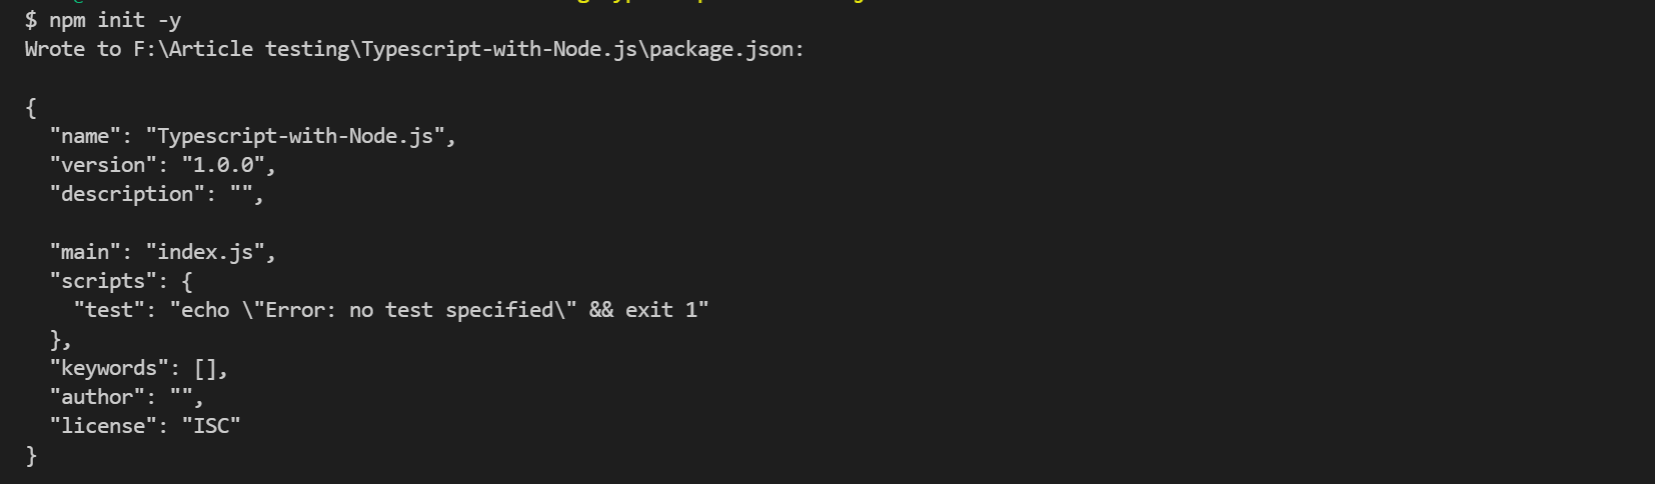
To generate the Node.js package.json file, run npm init. This will introduce systematic questions about your project. This prompts the way you would set up the regular Node.js project. Alternatively, run npm init -y and override the packages.json file with the default values.
3. Setting up Typescript
To set up Typescript with Node.js, you need Typescript dependencies. To install the Typescript compiler package, run the following command:
npm install -g typescript
The command above will install the Typescript compiler globally. This means any project you create on your computer can access Typescript dependencies without reinstalling the Typescript package when building another project.
Run tsc --version to confirm if the compiler is installed.

Note: Typescript code doesn’t build directly on a browser (no browser will read Typescript directly). A browser will only read JavaScript code. To invoke any Typescript code, you need a compiler to transpile Typescript to browser executable JavaScript. Typescript will only help you in the development process so that you benefit from its features.
4. Creating a Typescript config file
To initialize the Typescript project with Node.js, create a tsconfig.json file in the project root directory.
The config file stores the options for the Typescript compiler. Alternatively, you can run tsc --init to automatically create this file in whatever directory you’re in.

This file is the Typescript configuration file. It specifies typescript compile options.
The tsconfig.json file has many options. It’s good to know when to turn things on and off. TSC reads this file and uses these options to transpile Typescript into brower readable JavaScript.
Let’s edit this config file to include the necessary option to run Typescript.
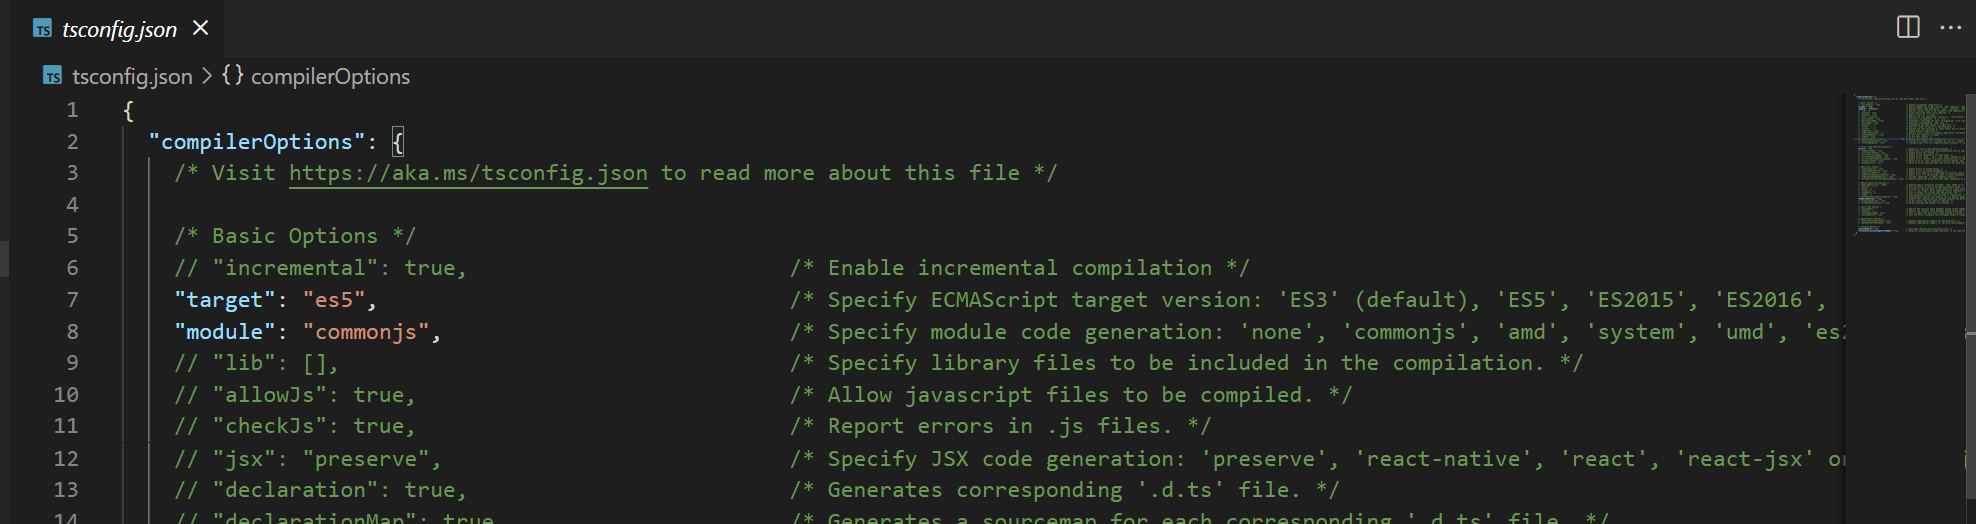
"target": "es6"– one key thing you need to define is the version of JavaScript the compiler will output. If you need more advanced JavaScript features, such as using the arrow functions,const, andlet, you can choose to use ES6 or a higher version. The target option allows you to use and follow the new JavaScript patterns. Most of today’s browsers only understand the es6 version of JavaScript. We need to tell the Typescript compiler to transpile our Typescript code into es6 JavaScript."module": "commonjs"– this is the JavaScript module formatting system for structuring and organizing JavaScript code. This lets the compiler use module functions such asrequire()and objects such asmodule.exports."rootDir": "./src"– a directory where the input Typescript files are stored. I named the folder assrc."outDir": "./dist"– this an output directory where the output structure of the compiled JavaScript will be saved. In this case, JavaScript code will be saved in a folder calleddistin the root directory of the main project."moduleResolution": "node"– a module import resolution algorithm that mimics the way the Node.js searches for modules in real-time."strict": true– enable all JavaScript strict type-checking options."esModuleInterop": true– esModuleInterop allows us to compile ES6 modules to commonjs modules."exclude":[]– tells Typescript not to compile specified files or folders. In this case, you can tell the Typescript not to compile thenode_modulesfolder since it already installed the JavaScript versions of Node.js library dependencies.
Such as:
"exclude":[
    "./node_modules"
]
Check this tutorial to learn a few more options that you can include in your tsconfig.json file.
Here is an example of a tsconfig.json file option.
{
  "compilerOptions": {
    "target": "es6",
    "module": "commonjs",
    "outDir": "./dist",
    "rootDir": "./src",
    "strict": true,
    "moduleResolution": "node",
    "esModuleInterop": true,
  },
  "exclude":[
    "./node_modules"
  ]
}
Feel free to add or change this file as needed to configure the Typescript compiler to your application and environment needs.
5. Using Typescript with Node.js
Go ahead and create the folder src in your project directory. src hosts the Typescript files as explained earlier. Inside src, create an index.ts file and start writing some Typescript code. While writing down Typescript, it is advisable to have a Typescript compiler installed in your project’s local dependencies.
Run npm install -D typescript to do so.
function sum (num1:number, num2:number){
    return num1 + num2;
}
console.log(sum(8,4))
Let’s see how we can execute the above Typescript using Node.js. Run tsc to build Typescript into JavaScript. This will build, compile and output JavaScript code into the path you specified in "outDir": "./dist" of the config.json file.

Now run the command below to execute the code:
node dist/index.js

Running the above commands every single time to compile and run in a development environment can be annoying. To make this process easier, you need to install a package called ts-node.
npm install -D ts-node
Ts-node allows us to point to a Typescript file. It will run .ts, compile it and run it with Node.js for us.
When using Ts-node, make sure you have Typescript installed in your local project. To install it, run
npm install -D typescript.
Go ahead and configure your package.json script tag and start the build command as shown below.
"scripts": {
   "start": "ts-node ./src/index.ts"
}
You can now run npm start to execute the index.ts. And when you delete the dist folder with the compiled index.js then still run npm start, you will get the same results.

6. Using Typescript with packages
The climax of using Typescript and Node.js is the ability to utilize the open-source NPM packages and frameworks. Let me demonstrate how we can use Typescript to start interacting with NPM packages.
This example will set up Typescript With Express.js. You should install Express.js from the NPM registry.
To do so, run npm install express.
Note: Always make sure you have Node.js types checking package installed whenever writing Typescript using Node.js.
npm install -D @types/node
Node.js packages are written in JavaScript and not Typescript. To get the type definitions for its packages, you need to install third-party packages called @types.
For example, to use Express type definations, install @types/express by running:
npm install -D @types/express
This will give you access to type definitions for Express.
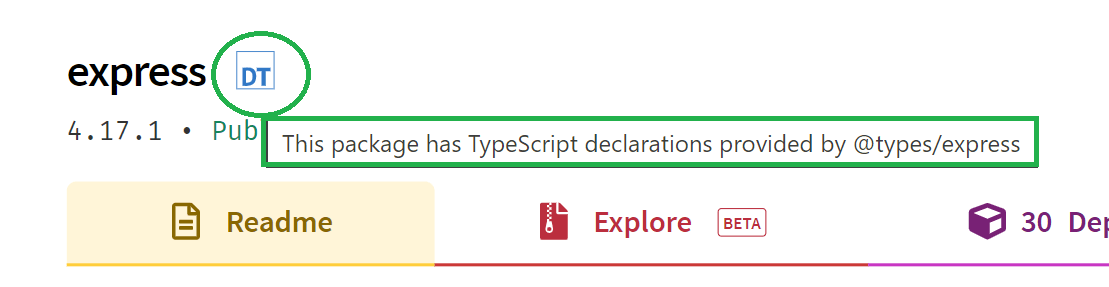
Not all packages have @types. Package with types has the following NPM @types tag.
Let’s set a simple Express server using Typescript.
- Import the package. When using Node.js, you would typically import a package using the
require()function. With Typescript, this is a little different. Use the keywordimportto access a package module, as shown below.
import express, {Request,Response,Application} from 'express';
- Initialize Express inside Typescript.
const app:Application = express();
- Set the server port.
const PORT = process.env.PORT || 8000;
- Set an endpoint/route.
app.get("/", (req:Request, res:Response):void => {
  res.send("Hello Typescript with Node.js!")
});
- Listen to the server port.
app.listen(PORT, ():void => {
  console.log(`Server Running here 👉 https://localhost:${PORT}`);
});
- Run
npm startto set the server up and running. When you openhttps://localhost:8000/in your browser, a response will be sent back to you as defined in theres.send().
When developing an extensive application, it’s advisable to hook your project with watch parameters that will help you restart your server whenever you make and save changes to your code structure.
There are two main options:
- Ts-node-dev – Ts-node-dev watches
.tsfiles, and whenever you make a change, it will restart the server for you.
Run the command below to install it.
npm install -D ts-node-dev
To use it, modify the package.json script tag as shown below.
"scripts": {
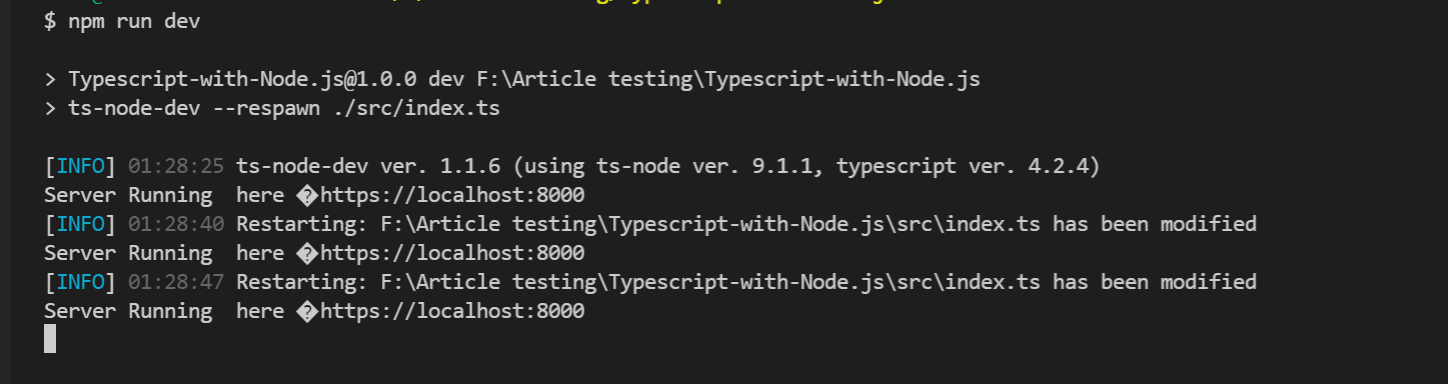
"dev": "ts-node-dev --respawn ./src/index.ts"
}
Then run npm run dev, and your server will be watched every time you make changes in your code.
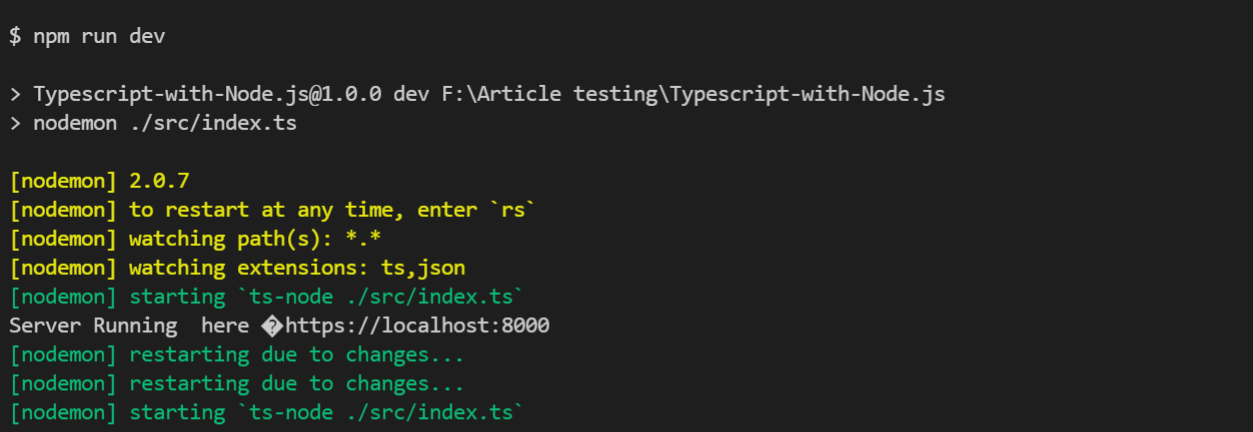
- Nodemon – Nodemon works the same as Ts-node-dev . It is a Node.js package used to watch
.jsfiles when creating a server. Whenever you make a change and save the server file, Nodemon will automatically restart the server for you.
Run the command below to install it.
npm install -D nodemon
To use it in your project, edit the package.json script tag as follows:
 "scripts": {
   "dev": "nodemon ./src/index.ts"
 }
Then run npm run dev.
7. Conclusion
Typescript will help you in the development process so that you don’t struggle with bugs and minor errors. It catches errors during compilation and before code runtime.
This gives you an eye ahead to figure out and fix runtime errors. This will improve your development speed, especially when building an extensive application.
Typescript has become a popular language among JavaScript developers. Check this tutorial and learn how to get started with Typescript.
Happy coding!