
Table of Contents
- 1. Prerequisites
- 2. Step 1 – Installing Node.js and Yarn
- 3. Step 2 – Creating the Strapi project
- 4. Step 3 – Creating the FILES collection
- 5. Step 4 – Creating the TYPES collection
- 6. Step 5 – Adding data to the collections
- 7. Step 6 – Publishing your content
- 8. Step 7 – Testing the endpoints
- 9. The next steps
- 10. Conclusion
Strapi is an open-source headless CMS used for building fast and easily manageable APIs written in JavaScript. It enables developers to make flexible API structures easily using a beautiful user interface.
Strapi can be used with various databases including MongoDB, PostgreSQL, etc.
1. Prerequisites
To follow along with this tutorial, you need some understanding of REST APIs. You will also need Postman for testing API endpoints.
In this tutorial, we are going to:
- Create an API using Strapi.
- Test CRUD API endpoint using Postman.
Let’s get started.
2. Step 1 – Installing Node.js and Yarn
To create a Strapi project, you need at least Node.js 14 installed in your machine. If you are running on Windows or Mac, head over to the downloads page to get the Node.js installer.
If you are running on Linux, open a terminal window and run the following commands to install Node.js 14.
$ curl -fsSL https://deb.nodesource.com/setup_14.x | sudo -E bash -
$ sudo apt-get install -y nodejs
We will be using Yarn package manager to create the Strapi project. Open a new terminal window and run the following command to install Yarn.
$ npm install --global yarn
3. Step 2 – Creating the Strapi project
Let’s create a file manager API to demonstrate basic Strapi usage. Run the following command on a terminal.
$ yarn create strapi-app file-manager --quickstart
Please be patient as this command will take some time to execute.
Strapi uses a SQLite database by default. To setup Strapi using another database, e.g. MongoDB or PostgreSQL, remove the
--quickstartflag from the above command.
The command creates a new folder file-manager containing the project files and directories. It also serves your Strapi at http://localhost:1337/admin.
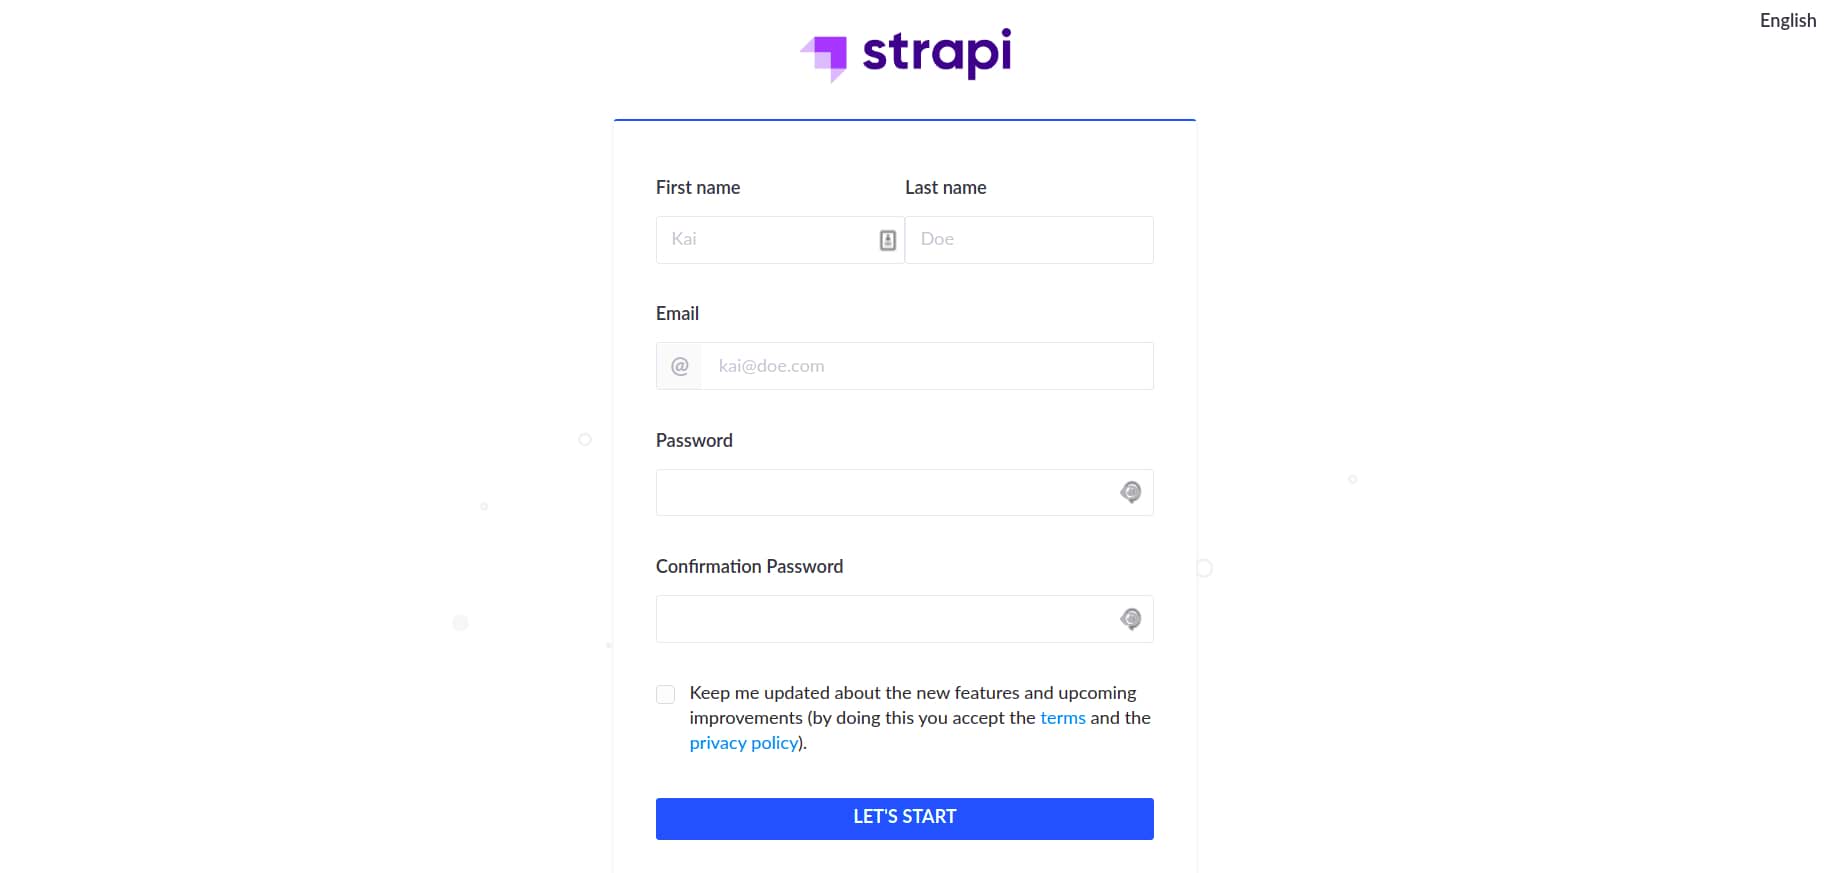
Before you can use the newly created Strapi, you need to create an administrator. Fill in and submit the form to create one.
4. Step 3 – Creating the FILES collection
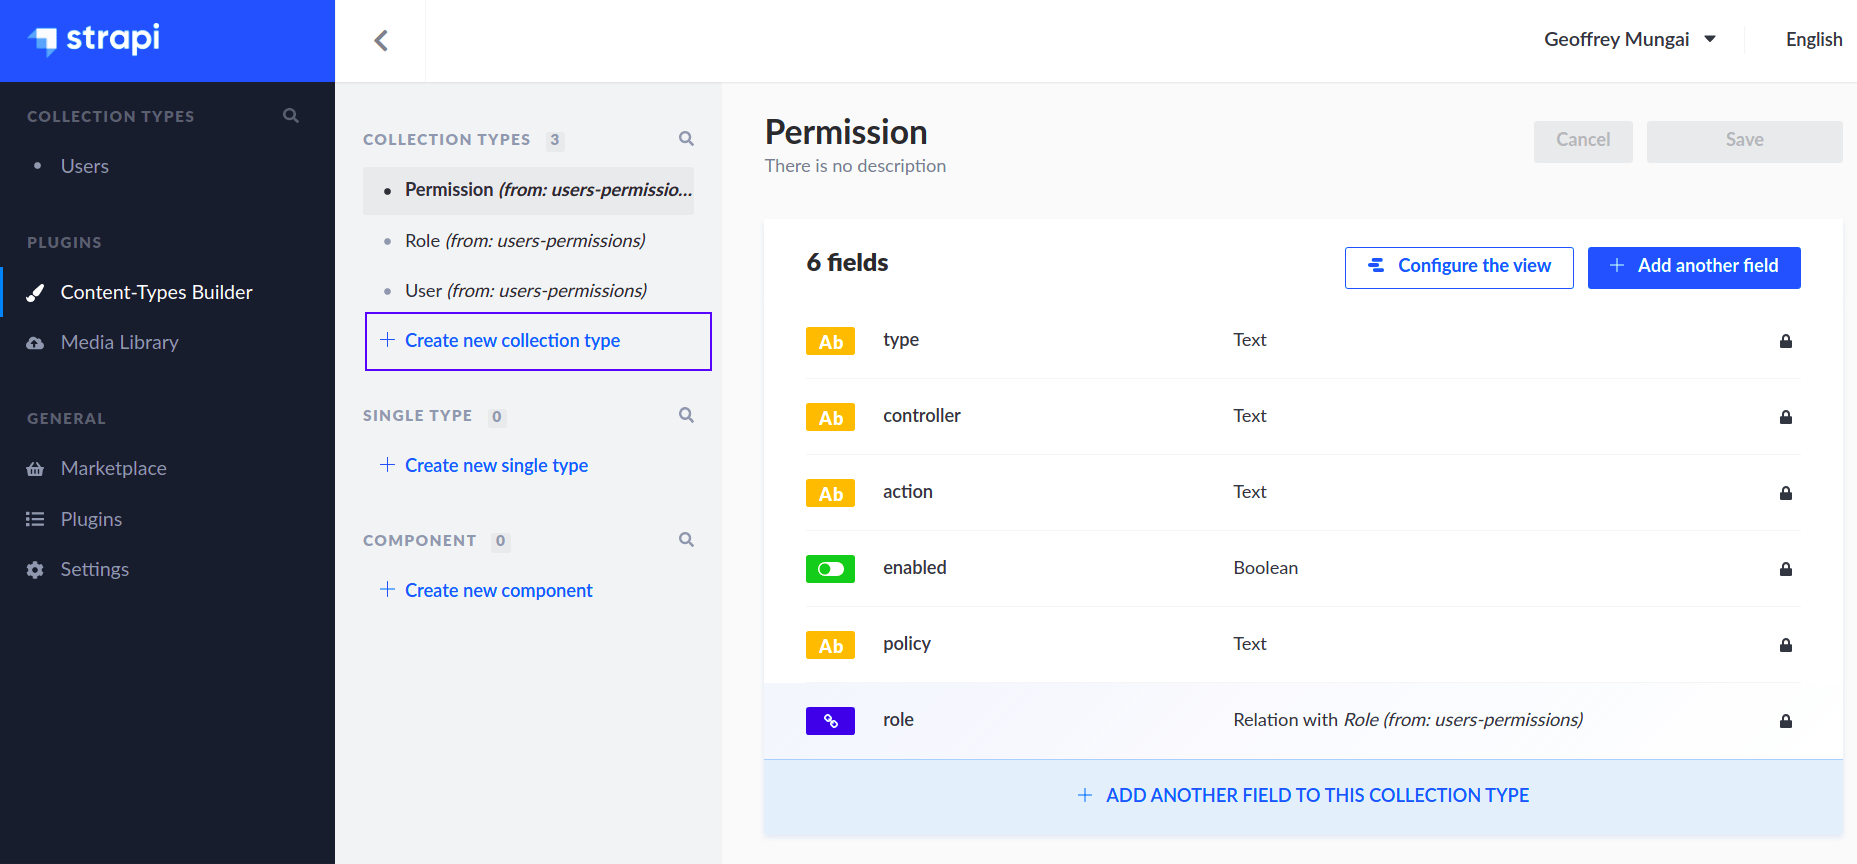
A Strapi collection provides a way of creating object templates. It acts like a class in Object-Oriented Programming.
Let’s create a file item (collection) containing a name and description field.
- Click Content-Types Builder from the sidebar.
- Then, click Create new collection type under COLLECTION TYPES.
- Type
Filesunder display name and hitContinue. - Click the Text field and type
nameunder Name. - Check the
Required fieldand theUnique fieldin the ADVANCED SETTINGS tab. - Click Add another field.
- Select Rich text and type
descriptionin the Name field. Then hit Finish. - Hit Save to save the collection and wait for the server to restart.
5. Step 4 – Creating the TYPES collection
Let’s add another field to the file item: the type field. This field will indicate the type of file. eg. a document, video, audio, etc.
To see how we can do this, we’ll create another collection type.
- Head over to the Content-Types Builder and click Create a new collection type.
- Type
Typeunder Display name and hit Continue. - Click the Text field and type
nameunder Name. - Check the
Required fieldand theUnique fieldin the ADVANCED SETTINGS tab and hit Finish. - Click Save to save the collection.
- Navigate to Content-Type Builder > COLLECTION TYPES > Files and click ADD ANOTHER FIELD TO THIS COLLECTION TYPE.
- Select the Relation field.
- On the right-hand dropdown, select
Type. Then select the relationship that readsFile has one Type.
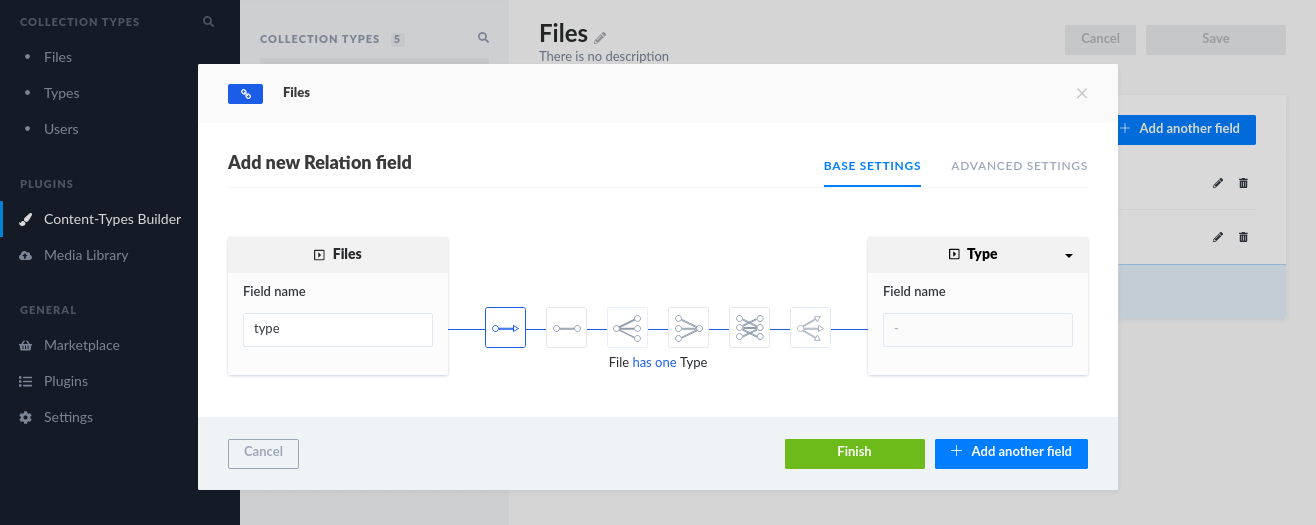
- Hit Finish and then Save the collection.
6. Step 5 – Adding data to the collections
- Navigate to Types in the left-hand menu and click Add New Types.
- Type
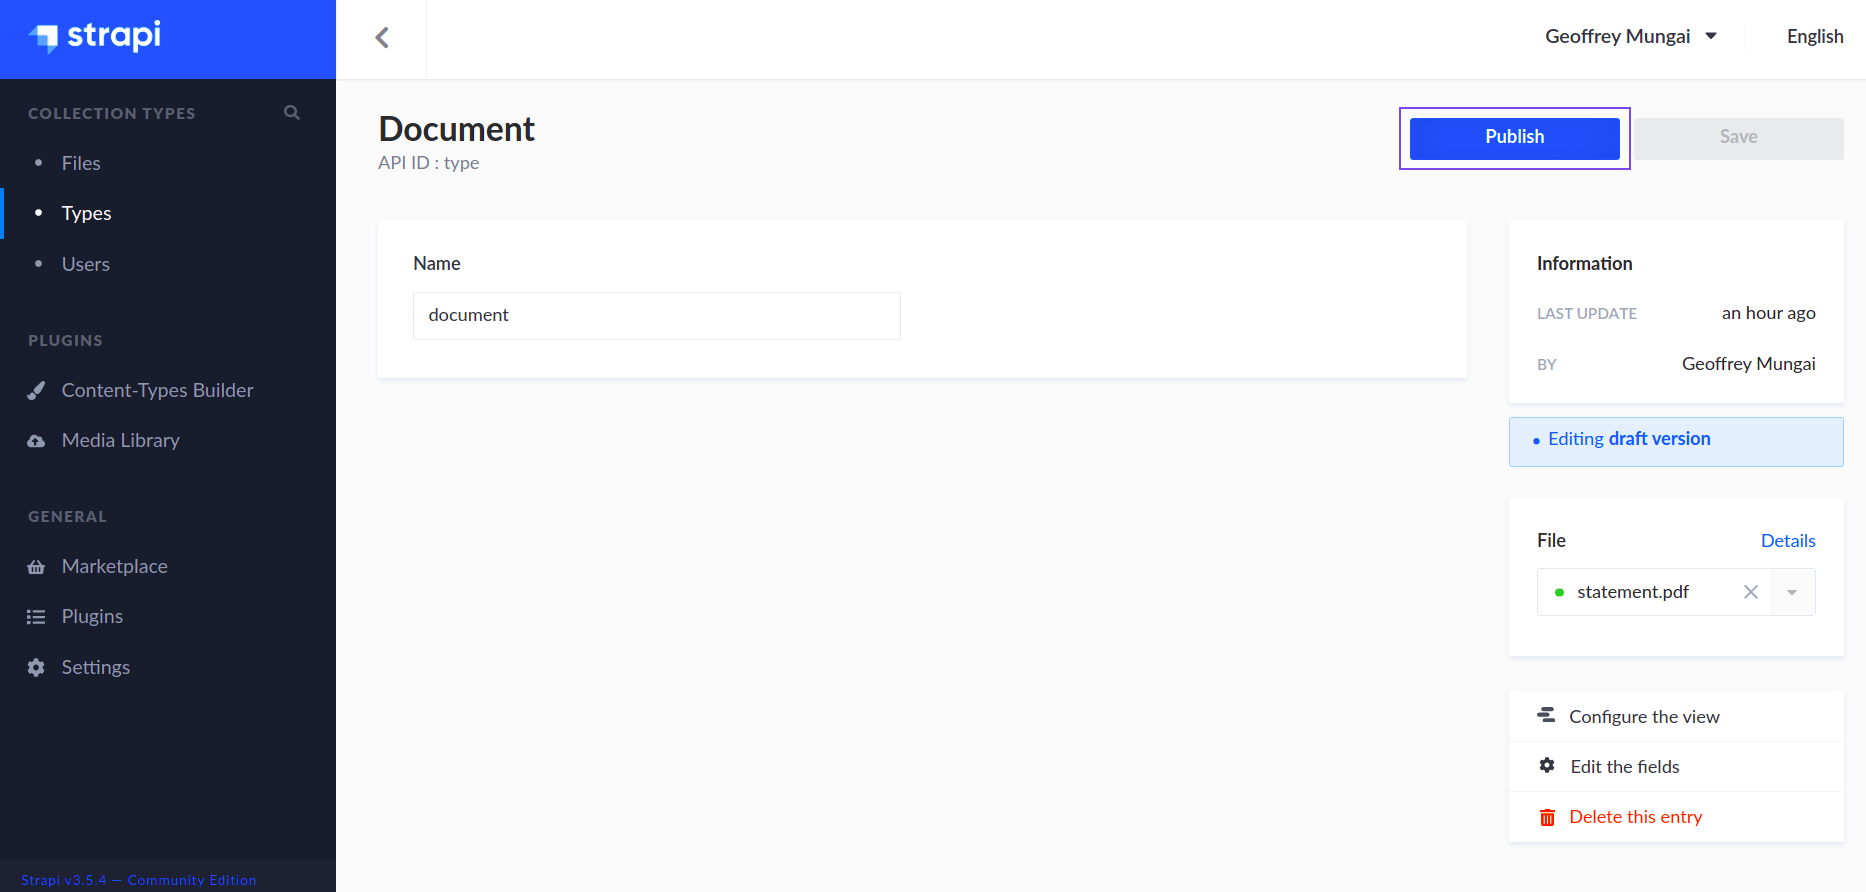
Documentunder the Name field and click Save. - Navigate to Files in the left-hand menu and click Add New Files.
- Type
statement.pdfunder Name andYour monthly spendingunder Description. - Select
Documentfrom the Type dropdown and click Save.
Feel free to add other items to your collections.
7. Step 6 – Publishing your content
To publish your collections, you need to allow CRUD operations for those specific collections. Let’s publish the Files and Types collections.
- Navigate to GENERAL > Settings > USERS & PERMISSIONS PLUGIN > Roles.
- Click Public.
- Scroll down to FILE and TYPE under Permissions > APPLICATION and check the following checkboxes:OperationDescription
createfor adding a single itemfindfor getting all itemsfindonefor getting a single itemupdatefor updating a single itemdeletefor deleting a single item - Click Save.
- Navigate to the
statement.pdfandDocumentyou created earlier and click Publish.
You can now access your collections at http://localhost:1337/files and http://localhost:1337/types.
8. Step 7 – Testing the endpoints
8.1. Retrieving items in a collection
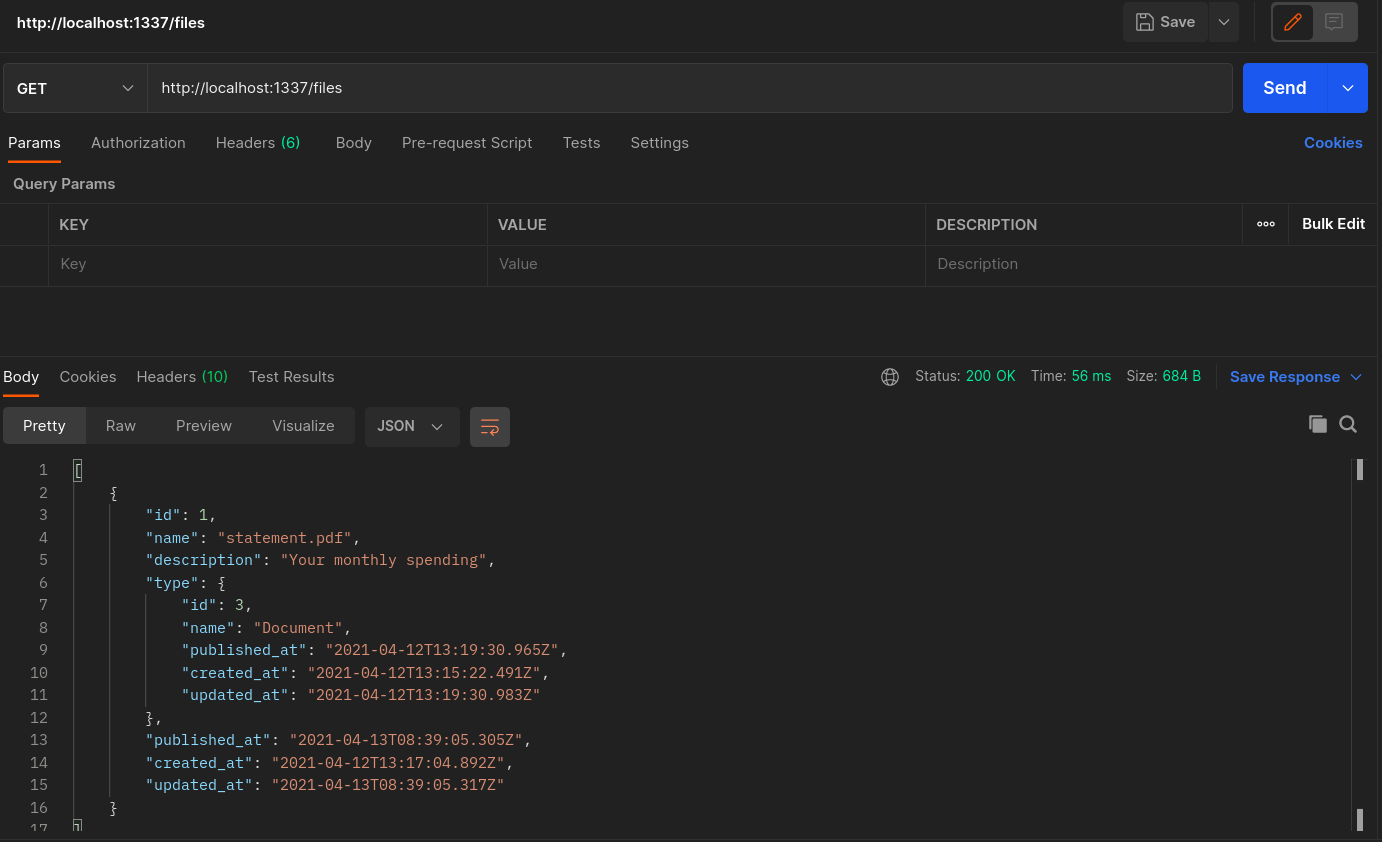
Open Postman and make a GET request to http://localhost:1337/files as shown below. The endpoint returns a list of the items you added to the Files collection.
Similarly, you can get a list of the items in the Type collection by performing a GET to http://localhost:1337/types.
8.2. Retrieving a single item
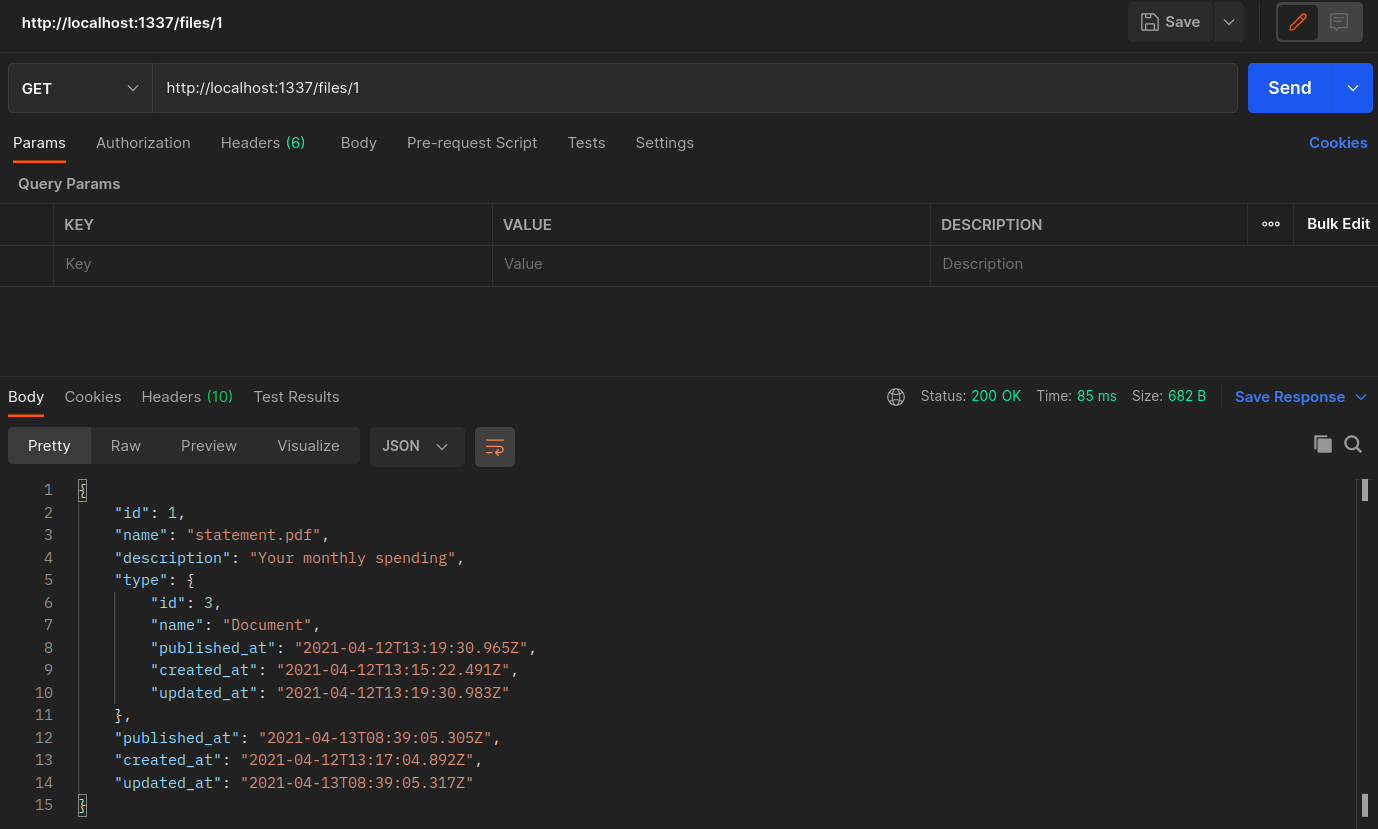
A GET request to http://localhost:1337/files/1 will return the file with the id 1.
Similarly, a GET request to http://localhost:1337/types/1 will return the type with id 1.
8.3. Creating an item
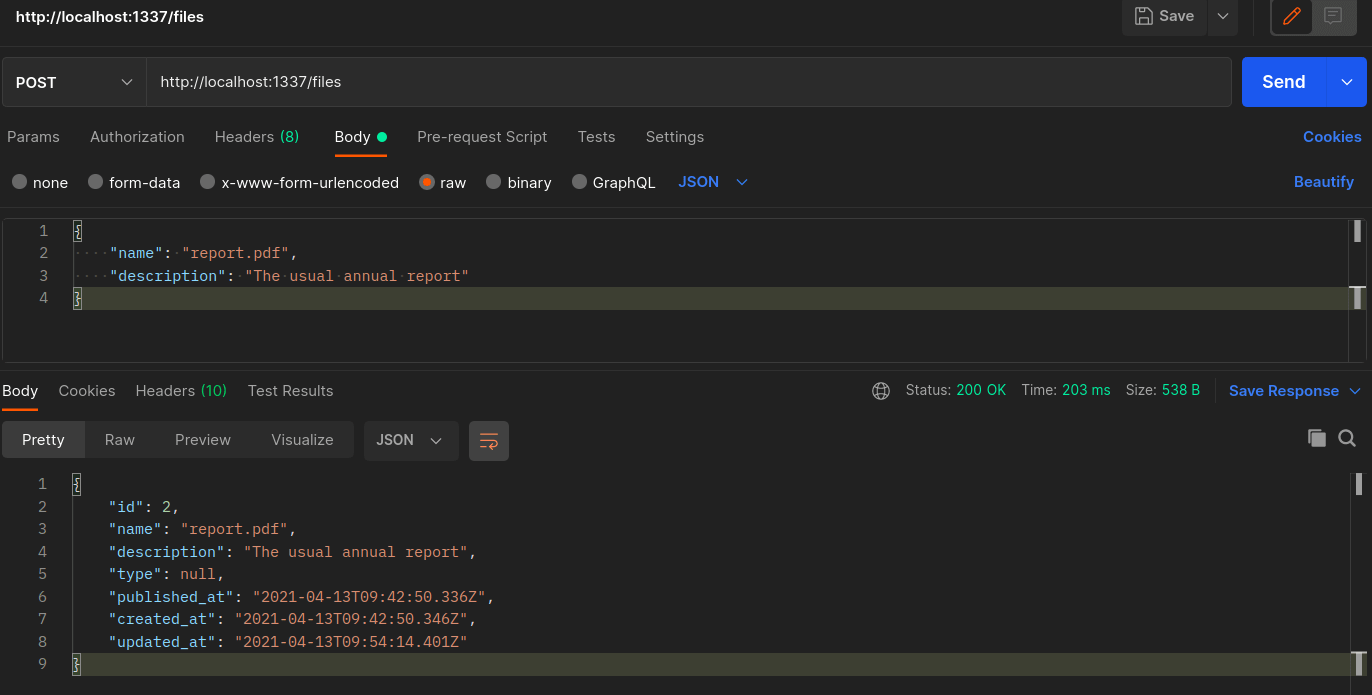
A POST request to http://localhost:1337/files/ will create a new entry in the Files collection. The endpoint returns the created object upon a successful POST request, as shown below.
Similarly, a POST request to http://localhost:1337/types will create a new entry in the Types collection.
8.4. Updating an item
A PUT request to http://localhost:1337/files/2 will update the file with id 2. The endpoint returns the updated object on a successful PUT request, as shown below.

8.5. Deleting an item
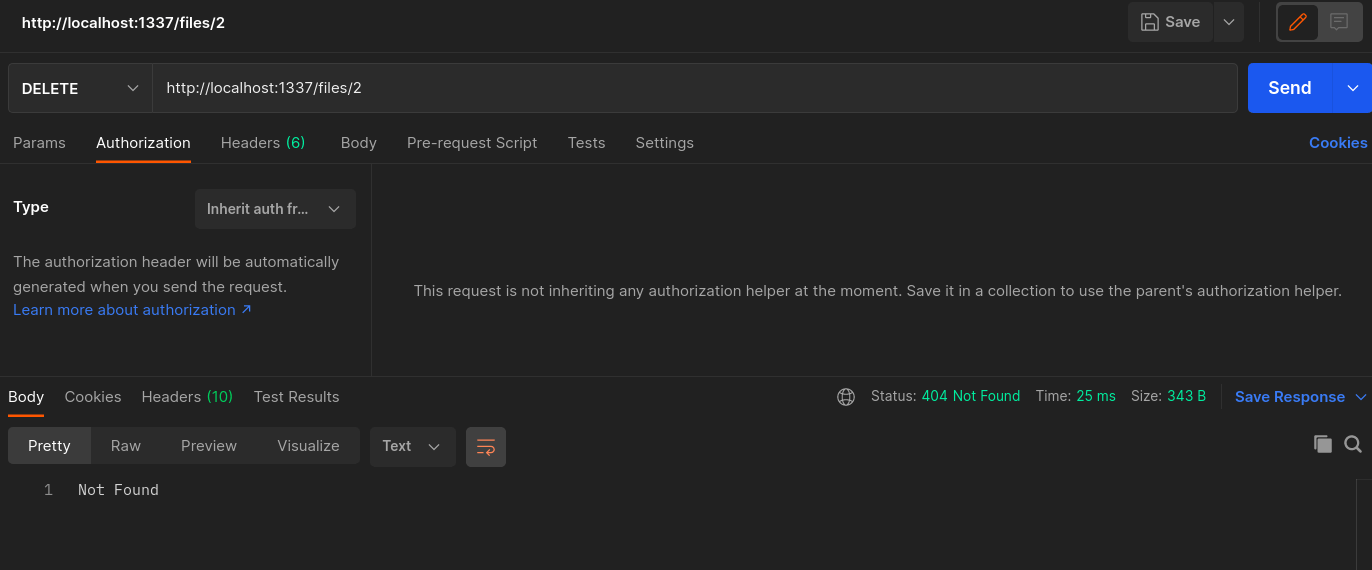
A DELETE request to http://localhost:1337/files/2 will delete the entry with id 2.
Trying to hit the same endpoint again will return the text Not Found.
9. The next steps
With the collections in place, you can now consume your API using your awesome frontend. Strapi offers integrations for some frontend frameworks like Vue.js, Angular, React, etc.
It also offers integrations with static site generators like Hugo. Strapi also has an Apollo-based GraphQL plugin for querying content.
You can also browse through some of the available Strapi starters here.
Strapi has many official and community-made plugins which you can install to add functionality to your Strapi backend.
To deploy your Strapi API see the deployment guidelines.
10. Conclusion
Strapi is such a cool and awesome tool when it comes to increasing productivity. It reduces the amount of code the developer has to write and manage. Strapi enables the developer to build a strong backend using an easy-to-use interface. Feel free to play around with Strapi.
It has more than just collections to offer.
Happy coding!